Advertisement
Quick Links
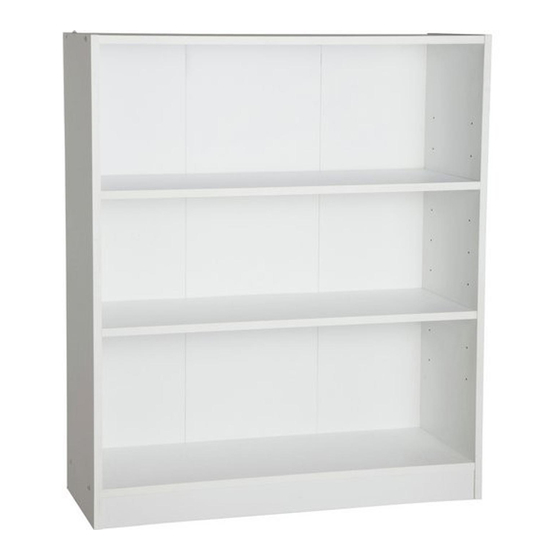
Small Extra Deep Bookcase
Assembly Instructions
Dimensions
Width - 78cm
Depth - 29.1cm
Height - 91.5cm
Important
- Please read these instructions fully before starting assembly
If you need help or have damaged or missing parts, call the Customer Helpline: 08456 400800
- Please keep for future reference
Ref. no. 609/1006,609/2067,609/2782,610/9565,610/9479,610/9493,610/9486 Date: 20/11/09
609/1006
609/2067
609/2782
610/9565
610/9479
610/9493
610/9486
Advertisement

Related Manuals for Argos 609/1006


Summary of Contents for Argos 609/1006
- Page 1 Width - 78cm Depth - 29.1cm Height - 91.5cm Important - Please read these instructions fully before starting assembly If you need help or have damaged or missing parts, call the Customer Helpline: 08456 400800 Ref. no. 609/1006,609/2067,609/2782,610/9565,610/9479,610/9493,610/9486 Date: 20/11/09...
-
Page 2: Care And Maintenance
Safety and Care Advice Important – Please read these instructions fully before starting assembly Do not stand on the product, components and tools listed on this could cause damage. recommend the pages 2 and 3. use of power drill/drivers for inserting screws, room) as possible. - Page 3 Components - Panels Please check you have all the panels listed below Top Panel Right Side Panel (749 x 285mm) (915 x 286mm) Left Side Panel (915 x 286mm) Bottom Panel (749 x 285mm) Front Panel (749 x 59mm) Shelf x 2 (749 x 284mm) Back Panel (850 x 767mm)
- Page 4 Components - Fittings If you have damaged or missing components, call the Customer Helpline: 08456 400800 Please check you have all the ttings listed below Note: The quantities below are the correct amount to complete the assembly. in some cases more ttings may be supplied than are required.
- Page 5 Assembly Instructions Step 1 Attaching bottom panel Use Plastic Supports and Screws to x the Front Panel onto the Bottom Panel Un nished back edge Step 2 Finished Attaching side panels front edge Place a small amount of Glue into the dowel holes and onto the join’t sufaces.Use Screws Wooden Dowels...
- Page 6 Assembly Instructions Step 4 Attaching shelf panel SIide Support Covers onto Shelf Supports lnsert Shelf Supports (Support Covers included) into the unit. Ensure they are well tted before inserting the Shelves. Note: Set the shelf supports to the desired height. Use Covering Sticker cover the Screw Heads.
- Page 7 Assembly Instructions Step 5 Fixing to wall It is recommended that the bookcase is xed to a wall. wall Strap onto the back of the top panel. Note: With help, move bookcase be used for your wall, seek professional advice if in doubt. into position.
-
Page 8: A Guide To - Wall Mounting & Fixings
A Guide to - Wall Mounting & Fixings Important: When drilling into walls always Important note: check that there are no hidden wires or pipes etc. If plastic wall plugs Make sure that the screws and wall plugs being used are supplied with your are suitable for supporting your unit. - Page 17 Small Extra Deep Bookcase Assembly Instructions 609/1006 - Please keep for future reference 609/2067 609/2782 609/3592 610/9479 610/9493 610/9565 Dimensions Width - 78cm Depth - 29.1cm Height - 91.5cm Important - Please read these instructions fully before starting assembly If you need help or have damaged or missing parts, call the Customer Helpline: 08456 400800...
- Page 18 Safety and Care Advice Important - Please read these instructions fully before starting assembly • Check you have all the • Do not stand on the product, • We do not components and tools listed on this could cause damage. recommend the pages 2 and 3.
- Page 19 Components - Panels If you have damaged or missing components, call the Customer Helpline: 08456 400800 Please check you have all the panels listed below Top panel Right side panel (74.9 x 28.4cm) (91.5 x 28.6cm) Finished front edge Left side panel (91.5 x 28.6cm) Bottom panel (74.9 x 28.4cm)
- Page 20 Components - Fittings Note: The quantities below are the correct amount to complete the assembly. in some cases mor may be supplied than are required. (This screw is included in the bag of wall strap) Plastic support x 4 14mm Screw x 9 Wall strap x 1 Wooden dowel x 4 50mm Screw x 8...
- Page 21 Assembly Instructions Step 1 Attaching bottom panel Use Plastic supports Front panel onto the Bottom panel back edge Step 2 Finished Finished Attaching side panels front edge front edge Place a small amount of Glue into the dowel holes. Use Screws the Left side panel Right side panel onto...
- Page 22 Assembly Instructions Step 4 Attaching shelf panel With help, carefully stand bookcase upright. Warning: The bookcase is heavy. Lift with care. SIide Support covers onto Shelf supports lnsert Shelf supports (Support covers included) into the unit. before inserting the Shelves. Note: Set the shelf supports to the desired height.
- Page 23 Assembly Instructions Step 5 Fixing to wall It is recommended that the Note: Wall plugs supplied are wall. for solid wall only. wall be used for your wall, seek strap onto the back of professional advice if in doubt the top panel. With help, move bookcase into position.
- Page 24 A Guide to - Wall Mounting & Fixings Important: When drilling into walls always Important note: check that there are no hidden wires or pipes etc. If plastic wall plugs Make sure that the screws and wall plugs being used are supplied with your are suitable for supporting your unit.
- Page 25 Components Small Extra Deep Bookcase 1 x Top Panel 2 x Shelf Simple Assembly Instructions Please keep for future reference 1 x Back Panel 1 x Bottom Panel 1 x Front Panel 1 x Right Side Panel 8 x Plastic Plug 8 x Shelf Support 1 x Left Side Panel 8 x Support Cover...
- Page 26 Assembly Instructions Assembly Instructions Stage 1 – Stage 2 – Fitting the Bottom Panel Fitting the Back Panel CAUTION: Always check CAUTION: Always check the assembly method is correct the assembly method is correct before applying Glue. before applying Glue. NOTE: It would be useful to ask NOTE: It would be useful to ask someone to help you at this...
- Page 27 Assembly Instructions Assembly Instructions Stage 3 – Stage 4 – Fitting the Shelves Finishing the Unit IMPORTANT: When drilling into NOTE: It would be useful to ask walls always check that there someone to help you at this are no hidden wires or pipes etc. fig.
- Page 28 A Guide to A Guide to Wall Mounting & Fixings Wall Mounting & Fixings IMPORTANT: No.3 "Shield Anchor" Wall Plug No.5 "Cavity Fixing - Heavy Duty" When drilling into walls always check Heavy Loads Wall Plug that there are no hidden wires or pipes etc.
Need help?
Do you have a question about the 609/1006 and is the answer not in the manual?
Questions and answers