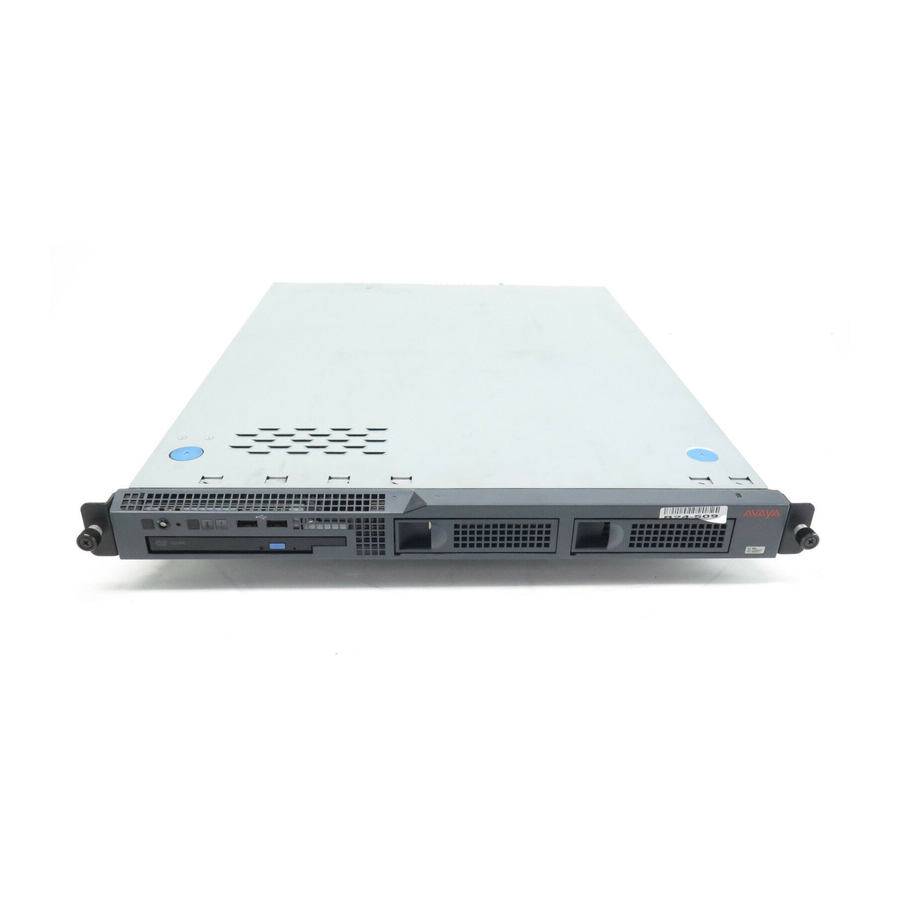
Avaya S8500 Replacing
Hide thumbs
Also See for S8500:
- Manual (330 pages) ,
- Job aids for field replacements (186 pages) ,
- Installing and configuring (118 pages)
Table of Contents
Advertisement
Quick Links
Replacing the S8500 dual network interface
This section describes the steps required to replace an existing dual network interface card
(NIC) on the S8500 and S8500B Media Servers. The control network traffic from the server out
to the dedicated customer LAN travels through the NIC.
Note:
This procedure applies to both S8500B and S8500 media servers. The section
Note:
about
S8500B and S8500.
The components of this procedure include:
Backing up the media server
●
Powering down the media server
●
Removing the cover of the media server
●
Removing the fan unit
●
Removing the old network interface card
●
Installing the new network interface card
●
Replacing the fan unit
●
Replacing the cover and cabling
●
Powering up the server
●
Checking LED activity on the dual network interface card
●
Confirming original Ethernet configuration
●
!
CAUTION:
Wear an antistatic wrist ground strap whenever handling the media server or its
CAUTION:
components. Connect the strap to an approved ground, such as an unpainted
metal surface.
Backing up the media server
Backup the media server before you power it down. To backup the media server complete the
following steps:
1. Connect the services laptop to the port labeled 2 (Eth 1) on the back of the media server
using the crossover cable.
2. Open a browser window on the laptop.
Installing the new network interface card
has different procedures for
555-245-760 Issue 3 January 2005
1
Advertisement
Table of Contents

Summary of Contents for Avaya S8500
- Page 1 Replacing the S8500 dual network interface This section describes the steps required to replace an existing dual network interface card (NIC) on the S8500 and S8500B Media Servers. The control network traffic from the server out to the dedicated customer LAN travels through the NIC.
- Page 2 (Figure 1: Welcome Window on page 2). Figure 1: Welcome Window 4. Click Continue. 5. Accept the Avaya certificate by clicking Yes. The logon window appears (Figure 2: Logon window on page 3). 2 Replacing the S8500 dual network interface...
- Page 3 Figure 2: Logon window 6. Type craft in the Logon ID field and the password (obtained from ART) in the Password field and click Logon. 7. Suppress alarm origination by clicking Yes. 8. Click Launch Maintenance Web Interface. 9. Select Data Backup/Restore > Backup Now from the navigation pane. 10.
- Page 4 3. Lift the cover straight up and move it away from the server as shown in Figure 3: Locating the server cover’s captive screws on page 5. 4 Replacing the S8500 dual network interface...
-
Page 5: Removing The Fan Unit
Figure 3: Locating the server cover’s captive screws h3mscaps LAO 070103 Figure notes: Server cover’s captive screws Removing the fan unit To remove the fan unit from the media server: 1. Locate the slot labeled PCI-2 on the left hand side of the back of the server under the fan unit. - Page 6 NIC out of its slot. 2. Firmly pull the card out of its slot. Installing the new network interface card Depending on the S8500 server model, use one of the following procedures: Installing the new network interface card in the S8500B media server ●...
- Page 7 NIC firmly into the expansion slot. Ensure that the NIC is completely and correctly seated in the PCI-2 expansion slot of the S8500 Media Server. Incomplete insertion might cause damage to the system board or the NIC . 2. Position the faceplate so that it fits in the PCI-2 slot using the captive screw to hold it in place.
-
Page 8: Replacing The Fan Unit
Replacing the fan unit To replace the fan unit in the media server: 1. Replace the fan unit with the fan blades pointed down toward the NIC, securing the fan unit with the two original screws. 8 Replacing the S8500 dual network interface... -
Page 9: Powering Up The Server
3. Finger-tighten the thumb screws on the back of the server. 4. Release the retaining tabs on the rails and slide the S8500 Media Server back into place on the data rack. 5. Locate the marked cable that you removed from the old NIC and plug it into the Ethernet 2 port, which is labeled “ACT/LINK A”... -
Page 10: Configuring The Nic
Replacing the S8500 dual network interface Figure 6: S8500 rear panel dual NIC LEDs 100-127 -, 3,0A, 50/60 Hz 200-240 -, 1,5A, 50/60 Hz PCI 2 LINK TX/RX LINK TX/RX 133 MHz/64 Bit, 100 MHz/64 Bit h3msble2 KLC 082503 100-127 -, 3,0A,... -
Page 11: Testing Connectivity To Customer's Network
Unused ● 6. Using the drop-down menu, set the Corporate LAN field to Ethernet 2 to have the IPSI control on a dedicated, separate Ethernet port. 7. Click Continue. 8. Fill in the following information for Ethernet 2: IP address ●... - Page 12 2. Type command and click OK to open an MS-DOS command window. 3. Type ping serveripaddress and click OK, where serveripaddress is the IP address of media server. 4. Verify that the ping was successful. 12 Replacing the S8500 dual network interface...
- Page 13 5. If DNS is administered, type ping servername and press Enter, where servername is the host name of media server. 6. Verify that the ping was successful. 555-245-760 Issue 3 January 2005...
- Page 14 Replacing the S8500 dual network interface 14 Replacing the S8500 dual network interface...


Need help?
Do you have a question about the S8500 and is the answer not in the manual?
Questions and answers