
Related Manuals for Ovislink OV704WVG


Summary of Contents for Ovislink OV704WVG
- Page 1 All manuals and user guides at all-guides.com OvisLink OV704WVG Quick Installation Guide...
- Page 2 All manuals and user guides at all-guides.com...
- Page 3 All manuals and user guides at all-guides.com...
-
Page 4: Hardware Description And Installation
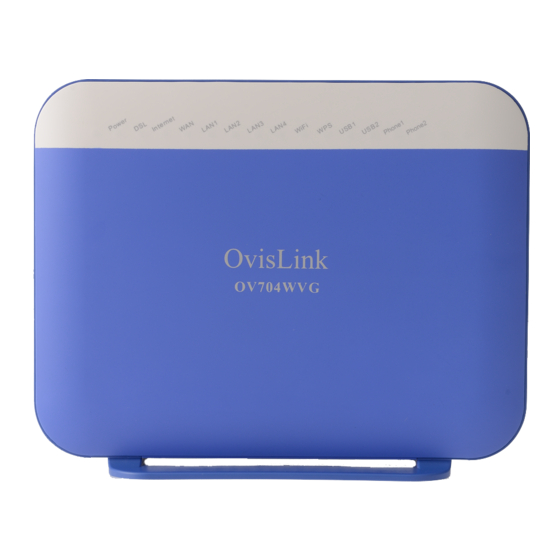
All manuals and user guides at all-guides.com Hardware Description and Installation Note: The figures in this document are for reference only. Hardware Description Figure 1 Front panel The following table describes the indicators on the front panel. Indicator Color Status Description The device is powered on and the device operates normally. - Page 5 All manuals and user guides at all-guides.com Indicator Color Status Description Device is powered off. Internet synchronized successfully in the route mode. Internet data being Green Blink transmitted. Internet Ethernet interface disconnected. Authentication has failed. The WAN interface is connected to the Ethernet cable.
- Page 6 All manuals and user guides at all-guides.com Indicator Color Status Description Connection succeeds under Wi-Fi Protected Setup. Negotiation is in progress under Green Blink Wi-Fi Protected Setup. Wi-Fi Protected Setup disabled. The connection of 3G or USB flash disk has established. USB1/2 Green Blink...
- Page 7 All manuals and user guides at all-guides.com Rear Panel and Side Panel Figure 3 Side Figure 2 Rear panel panel...
- Page 8 All manuals and user guides at all-guides.com The following table describes the interfaces and the buttons. Interface Description RJ-11 port. Connect the router to DSL connector or splitter through telephone cable. RJ-11 port, using the telephone cable to Phone1/2 connect the telephone set. RJ-45 port, for connecting the router to a PC or LAN 4~1 another network device.
-
Page 9: Hardware Installation
All manuals and user guides at all-guides.com Warning: Do not press the Reset button unless you want to clear the current settings. The Reset button is in a small circular hole on the rear panel. If you want to restore the default settings, please press the Reset button gently for 1 second with a fine needle inserted into the hole and then release the button. - Page 10 All manuals and user guides at all-guides.com types of materials and background RF noise in your home or business. Connecting the Device Step 1 Connect the DSL port of the router and the Modem port of the splitter with a telephone cable;...
-
Page 11: Pc Network Configuration
All manuals and user guides at all-guides.com Figure 4 Connecting the DSL router Note: If you use 3G WAN service, connect the 3G USB data card to the USB port of the router. PC Network Configuration Windows XP System Step 1 Choose Start >... - Page 12 All manuals and user guides at all-guides.com Step 4 Select the Obtain an IP address automatically button. Step 5 Select Obtain server address automatically button. Step 6 Click OK to save the settings. Win7 and Win8 System Set a fixed IP address ...
- Page 13 All manuals and user guides at all-guides.com Step 2 Choose Change Adapter Settings > Local Area Connection. Right-click Local Area Connection, and choose Properties. Step 3 Double-click Internet Protocol Version (TCP/IPv4). Step 4 Select Obtain an IP address automatically and Obtain DNS server address automatically, and then click OK.
- Page 14 All manuals and user guides at all-guides.com Note: It is suggested to disable the Wi-Fi before configuring the wired connection. Wireless Connection XP, Win7 and Win8 system Step 1 Turn on the Router. The WLAN is enabled by default.
- Page 15 All manuals and user guides at all-guides.com Step 4 Click the Status check box to turn Wi-Fi on, select the SSID from the wireless network list, and then click Apply. Step 5 Enter the password and click Join. Quick Configuration Step 1 Click the Wi-Fi icon on the top of desktop and select Turn Wi-Fi on.
- Page 16 All manuals and user guides at all-guides.com...
Need help?
Do you have a question about the OV704WVG and is the answer not in the manual?
Questions and answers