Table of Contents
Advertisement
Quick Links
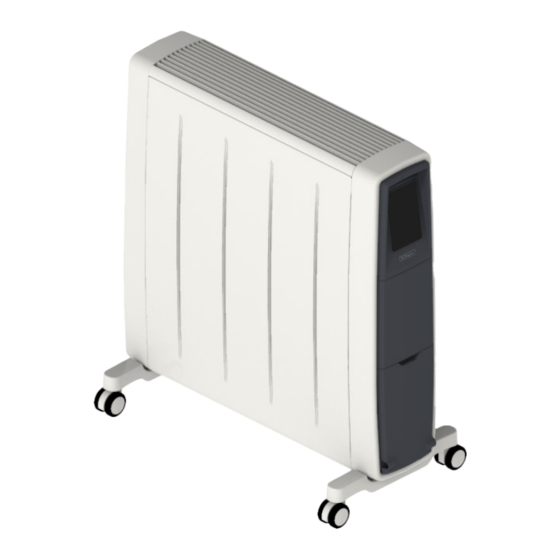
FutM2CE & FutM3CE
As with all portable heating appliances: This product is suitable only for well insulated spaces or occasional use.
08/54927/0 Issue 1
These products comply with all the required European and UK Product Safety, Electromagnetic Compatibility and Environmental Standards. They
are fully compliant with the LVD, EMC, RoHS and Eco Design Directives and Regulations.
Advertisement
Table of Contents

Subscribe to Our Youtube Channel
Related Manuals for Dimplex FutuRad FutM2CE


Summary of Contents for Dimplex FutuRad FutM2CE
- Page 1 FutM2CE & FutM3CE As with all portable heating appliances: This product is suitable only for well insulated spaces or occasional use. 08/54927/0 Issue 1 These products comply with all the required European and UK Product Safety, Electromagnetic Compatibility and Environmental Standards. They are fully compliant with the LVD, EMC, RoHS and Eco Design Directives and Regulations.
-
Page 2: Important Safety Advice
Important Safety Advice IMPORTANT: THESE INSTRUCTIONS SHOULD BE READ CAREFULLY BEFORE USE AND RETAINED FOR FUTURE REFERENCE WARNING: To avoid danger of suffocation please should be kept away unless continuously supervised. remove all packaging materials particularly plastic Children aged from 3 years and less than 8 years and EPS and keep these away from vulnerable shall only switch on/off the appliance provided people, children and babies. -
Page 3: Electrical Connection
DO NOT operate the radiator with the mains lead to this heater, therefore cut off the plug. When cut overhanging the outlet grille. off this plug can constitute a shock hazard if inserted If the radiator is tipped over, unplug it and allow it to into a socket outlet. -
Page 4: Cable Storage
Assembly WARNING - The radiator must only be operated with the wheels and castors securely fitted and in the upright position. WARNING - The radiator is heavy – ensure that it is supported to prevent it from toppling. Ask a second person to help with this if necessary. -
Page 5: Operation
Operation Before using the heater ensure that all warnings and instructions have been read carefully. IMPORTANT - Objects or clothing must not be placed on the appliance. IMPORTANT - Do not operate unless the castors have been securely fitted. IMPORTANT - The element has been coated with a protective film which will burn off during the first few minutes of use and may cause a small amount of fuming. - Page 6 Standby & Power Up When the appliance is plugged in there will be an audible beep and the unit will enter 'Standby' mode. Standby mode is an inactive mode where the appliance is energised but will not emit any heat. The Standby mode is identified by a blank display with only the Standby icon illuminated red, as shown below.
-
Page 7: Operational Modes
Operational Modes The appliance has the following operational modes: • Manual mode, this is a continuous active heating mode. It is possible to select a heat output and a desired room temperature, the appliance will continue to control the room until the mode is changed, the appliance is plugged out. - Page 8 Manual Mode Setup Manual mode is the default operational mode. To activate manual mode: • From the Standby screen press the standby button ' '. the appliance will automatically enter manual mode with the default or last used settings. • To alter the temperature use the ‘...
- Page 9 Delayed Start Timer Setup To setup a delayed start timer: • First set the Heat mode and Temperature you wish the appliance to operate after the delayed start period. • Press and hold the Runback button ‘ ’ for 2 seconds. The delayed start icon ‘ ’...
- Page 10 Temperature Units To switch temperature from degrees Celsius to degrees Fahrenheit: • Press and hold ' ' and ' ' buttons together for 2 seconds. • Press & hold The temperature units on the display will change to degrees Fahrenheit. •...
- Page 11 If you are a consumer and you experience a problem with your Dimplex product, which is found to be defective due to faulty materials or workmanship within the Guarantee Period, this Dimplex Guarantee will cover repair or - at the discretion of Dimplex –...
- Page 12 Glen Dimplex Heating & Ventilation, Grange Drive, Hedge End, Southampton SO30 2DF, Telephone: 0344 879 3588 Visit: www.dimplex.co.uk [c] Glen Dimplex All rights reserved. Material contained in this publication may not be reproduced in whole or in part, without prior permission in writing of Glen Dimplex.
Need help?
Do you have a question about the FutuRad FutM2CE and is the answer not in the manual?
Questions and answers