Advertisement
Quick Links
®
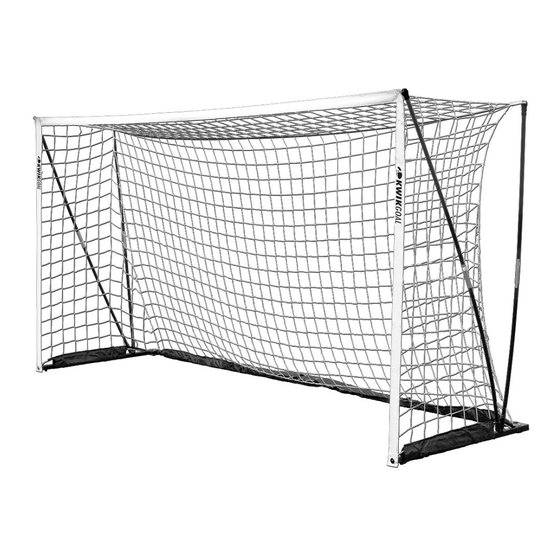
ASSEMBLY INSTRUCTIONS FOR 2B1703 KWIK FLEX GOAL
1. Unpack all parts and check for damage that may have occurred during shipping. If damage has occurred,
notify Kwik Goal immediately. Lay out all parts. Remove all cardboard and packaging immediately. Wet or
damp packaging may damage contents.
Parts
Left Base (1)
Left Rear Base (1)
(Part# VZ725)
(Part# VZ727)
Left Center Base (1)
Center Connector (1)
(Part# VZ729)
(Part# VZ734)
Right Center Base (1)
Net (1)
(Part# VZ730)
(Part# VZ735)
Right Rear Base (1)
(Part# VZ728)
Carry Bag (1)
(Part# VZ736)
Right Base (1)
(Part# VZ726)
Rear Tension Rod (2)
Bottom Tension Rod (4)
Front Tension Rod (2)
(Part# VZ858-03)
(Part# VZ858-05)
(Part# VZ859-03)
42-1/2"
36-5/8"
45"
140 Pacific Drive Quakertown, PA 18951
(P) 215-536-2200 / (P) 800-531-4252 / (F) 215-536-4309 / (F) 800-778-8869
Visit our website @ kwikgoal.com
2015, Rev. 2019 Kwik Goal Ltd.
NZ393 Rev. 02/11/19
Advertisement

Subscribe to Our Youtube Channel
Related Manuals for KwikGoal KWIK FLEX GOAL 2B1703


Summary of Contents for KwikGoal KWIK FLEX GOAL 2B1703
- Page 1 (Part# VZ858-03) (Part# VZ858-05) (Part# VZ859-03) 42-1/2” 36-5/8” 45” 140 Pacific Drive Quakertown, PA 18951 (P) 215-536-2200 / (P) 800-531-4252 / (F) 215-536-4309 / (F) 800-778-8869 Visit our website @ kwikgoal.com 2015, Rev. 2019 Kwik Goal Ltd. NZ393 Rev. 02/11/19...
- Page 2 2. Open base frame by swinging outward until button locks in place in center connector as shown. Use care to keep net from getting pinched in moving parts. Base Frame Center Connector Base Frame Open until button locks in place Center Connector Base Frame Base Frame...
- Page 3 4. Open left and right bases by swinging outward until button Open until button is engaged locks in place in left and right rear base. Left Rear Base Left Base Left Base Left Rear Base Right Rear Base 5. Add tension rods to base as shown. Right Base Rear Tension Rod (Short)
- Page 4 6. Connect top corners of net to front tension rod assembly by sliding rod cap over end of tension rod. Rod Cap Assembled Front Tension Rod 7. Connect backdrop corners of net to back tension rod assembly by sliding rod cap over end of tension rod. Rod Cap Assembled Rear Tension Rod...
- Page 5 8. Secure corner of net to left and right base with hook & loop straps as shown. Hook & Loop Strap Left Base Go to kwikgoal.com for additional product information. NZ393 Rev. 02/11/19...
Need help?
Do you have a question about the KWIK FLEX GOAL 2B1703 and is the answer not in the manual?
Questions and answers