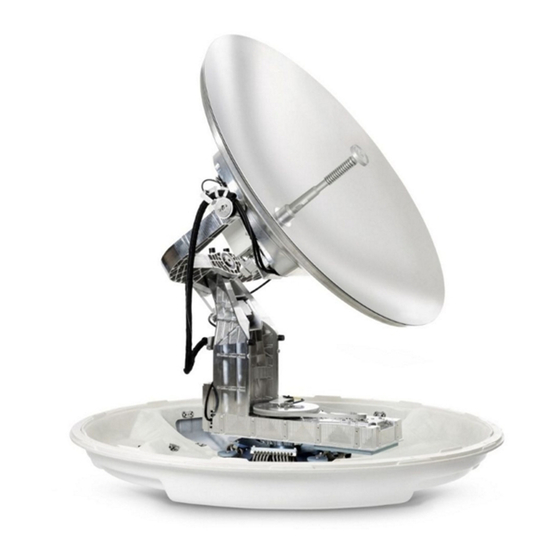
COBHAM SAILOR 1000 XTR Ku Replacement Manual
Polarization motor & drive belt replacement
Hide thumbs
Also See for SAILOR 1000 XTR Ku:
- Installation and operation manual (159 pages) ,
- Field replacement procedure (6 pages) ,
- Installation manual (191 pages)
Advertisement
Field Replacement Procedure
SAILOR 1000 XTR Ku – Polarization motor & drive belt replacement
Brief Summary:
Field replacement document for replacing the polarization motor and drive belt.
Tools needed
Large wrench (40 Nm)
•
•
Socket wrench 8 mm
Torque wrench (1.0 – 6.0 Nm)
•
•
5mm Hex bit M6 for the radome
•
4mm Hex bit, M5. for the motor
•
Torx T25 screwdriver
•
Optibelt Freq measuring device
Spare part:
S-67-176324 Polarization motor
•
•
S-41-207851-000 Belt for polarization drive
Following legal entities are trading as / doing business as Cobham SATCOM
Thrane & Thrane A/S, Kgs. Lyngby, Denmark
Sea Tel Inc., Concord USA
Cobham SATCOM
Global Technical Service dept.
Date: September 2021
Document Number:
97-177616-A
www.cobham.com/satcom
Advertisement
Table of Contents

Summary of Contents for COBHAM SAILOR 1000 XTR Ku
- Page 1 Global Technical Service dept. Date: September 2021 Document Number: 97-177616-A SAILOR 1000 XTR Ku – Polarization motor & drive belt replacement Brief Summary: Field replacement document for replacing the polarization motor and drive belt. Tools needed Large wrench (40 Nm) •...
- Page 2 Location of the polarization motor and belt Replacing the part: 1. Open the service hatch, loosen the 8 screws. Do not use a pow er tool! Access the pedestal through the hatch. Power off the ADU (at the ADU power on/off switch at the antenna control module).
- Page 3 Disconnect the cables connected to parts on the RF pack. a) 2x LNB cables (using socket wrench 8mm), b) BUC cable (using a wrench), c) OMT cable (be careful as the PCB is fragile) d) polarisation motor cable. 5. With a Torx25 screw driver loosen the four screws (do not remove them entirely) to remove the RF pack.
- Page 4 10. Remove the 2 shafts to loosen the waveguide arm using an Allen key 4 mm. Important: DO NOT slide the waveguide arm away yet in order not to drop the O- rings into the waveguide accidentally. 11. With a small tool, remove the two O-rings underneath the waveguide arm.
- Page 5 13. Slide the waveguide with the O-rings back in place. Important: Make sure not to drop the O- rings into the waveguide. 14. Fasten the waveguide shafts at 2.5 Nm using an Allen key size 4 mm 15. When attaching the belt verify that the marking on the motor pulley points towards the adjustment screw.
- Page 6 17. Tighten the motor adjustment screw. 18. Make 3 measurements using an Optibelt frequency measuring device , turning the OMT all the way to the end stop clockwise, counter clockwise and midway. 19. Verify that all 3 measurements are in the range of 110 to 160 Hz.
- Page 7 25. Connect the cables: a) 2x LNB cables (socket wrench 8mm, 1.0 Nm), b) BUC cable (wrench, 2.0 Nm), c) OMT cable (insert carefully as the PCB is very fragile) d) polarisation motor cable. 26. Mount the feed horn, tighten to 40 Nm. 27.
- Page 8 Close the hatch. Apply copper grease to thread of the 8 screws. Grease type: Rocol 250, Nulon 90, or Abcon 790. 30. After closing the hatch, make sure to mount all eight screws before tightening. This is to avoid that the last screws will misalign. Do not use a pow er tool! 31.


Need help?
Do you have a question about the SAILOR 1000 XTR Ku and is the answer not in the manual?
Questions and answers