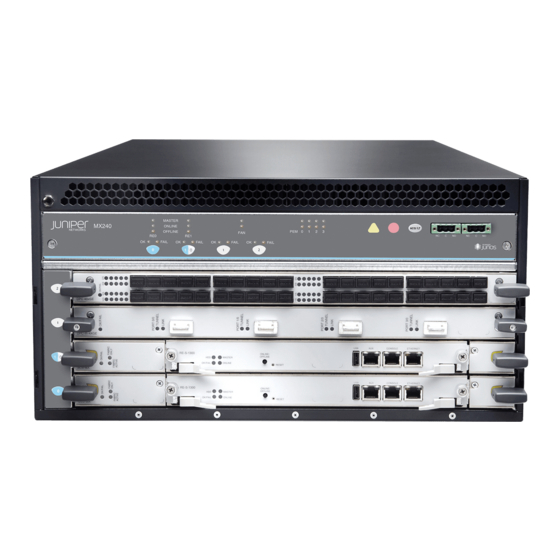
Juniper MX240 Instructions
Removing components from the mx240 chassis before installing it without a lift
Hide thumbs
Also See for MX240:
- Hardware manual (512 pages) ,
- Instruction for upgrading (35 pages) ,
- Quick start manual (31 pages)
Advertisement
Table of Contents
Removing Components from the MX240 Chassis Before Installing It Without a Lift
Removing the Power Supplies Before Installing the MX240 Router Without a Lift
To make the router light enough to install manually, you first remove most
components from the chassis. The procedures in this section for removing
components from the chassis are for initial installation only, and assume that you
have not connected power cables to the router. The following procedures describe
how to remove components from the chassis, first from the rear and then from the
front:
1. Removing the Power Supplies Before Installing the MX240 Router Without a
Lift on page 1
2. Removing the Fan Tray Before Installing the MX240 Router Without a
Lift on page 2
3. Removing the SCBs Before Installing the MX240 Router Without a Lift on page 2
4. Removing the DPCs Before Installing the MX240 Router Without a Lift on page 3
5. Removing the FPC Before Installing the MX240 Router Without a Lift on page 4
Remove the leftmost power supply first and then work your way to the right. To
remove the AC or DC power supplies (see Figure 1):
Attach an electrostatic discharge (ESD) grounding strap to your bare wrist, and
1.
connect the strap to an approved site ESD grounding point. See the instructions
for your site.
For an AC-powered router, switch the AC input switch on the power supply to
2.
the off ( O ) position. For a DC-powered router, switch the DC circuit breaker on
the power supply to the off ( O ) position.
We recommend this even though the power supplies are not connected to power
sources.
Pull the power supply straight out of the chassis.
3.
Figure 1: Removing a Power Supply Before Installing the Router
Removing Components from the MX240 Chassis Before Installing It Without a Lift
1
Advertisement
Table of Contents

Related Manuals for Juniper MX240


Summary of Contents for Juniper MX240
- Page 1 2. Removing the Fan Tray Before Installing the MX240 Router Without a Lift on page 2 3. Removing the SCBs Before Installing the MX240 Router Without a Lift on page 2 4. Removing the DPCs Before Installing the MX240 Router Without a Lift on page 3 5.
- Page 2 Removing the Fan Tray Before Installing the MX240 Router Without a Lift To remove the fan tray (see Figure 2 ): Attach an electrostatic discharge (ESD) grounding strap to your bare wrist, and connect the strap to an approved site ESD grounding point. See the instructions for your site.
- Page 3 Repeat the procedure for the second SCB. Figure 3: Removing an SCB Removing the DPCs Before Installing the MX240 Router Without a Lift To remove a DPC (see Figure 4): Have ready an antistatic mat for the DPC. Also have ready rubber safety caps for each DPC using an optical interface on the DPC that you are removing.
- Page 4 Figure 4: Removing a DPC Removing the FPC Before Installing the MX240 Router Without a Lift To remove an FPC (see Figure 5): Attach an electrostatic discharge (ESD) grounding strap to your bare wrist, and connect the strap to an approved site ESD grounding point. See the instructions for your site.
- Page 5 Related Topics or T Series Router Installing the MX240 Chassis in the Rack Manually Reinstalling Components in the MX240 Router After Installing It Without a Lift Preventing Electrostatic Discharge Damage to an M Series, MX Series, or T Series Routing Platform...
Need help?
Do you have a question about the MX240 and is the answer not in the manual?
Questions and answers