Advertisement
30A Deluxe Roof Mounted
Quick Start Guide
INSTALL SAFETY
- Inspect the installation area for safety
hazards.
- Be sure to remove all metal such as rings
and other jewelry.
- Disconnect all power sources and ensure
solar panels are completely covered by a
box or blanket until installation is done
INSTALL INSTRUCTIONS
1. Arrange the layout of your panels and wire, ensuring that:
- 3-port roof cap is no more than 15' from charge controller.
- panel wires can reach 3-port roof cap.
- charge controller is no more than 10' from battery.
- panels are not shaded by vents, A/C units, or other
obsturctions.
2. Connect 15' Solar wire(s) to the 3-port roof cap(s).
- Strip the ends of both positive and negative wires 1/2 inch.
- Screw the red (+) wire into corresponding positive terminal,
black (-) wire into corresponding negative terminal.
3. Mount 3-port roof cap(s) and route the 15' cable(s) from roof to
charge controller location.
* Do not make connections at this time.
4. Attach mounting feet to panels. Proceed with panel installation.
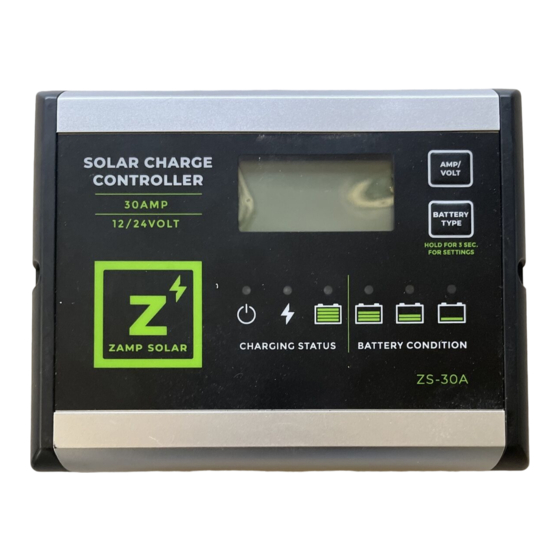
5. Connect the negative battery wire to the charge controller, then
connect the battery positive wire through an overcurrent protection
device (40A fuse/circuit breaker) to the charge controller as shown
below.
6. Proceed to route the 10' cable from the charge conroller to the
battery.
INSTALL TOOLS
Flat head screwdriver
Philips head screwdriver
Wire stripper
Dicor
Advertisement
Table of Contents

Related Manuals for Dometic Zamp Solar ZS-30A Deluxe


Summary of Contents for Dometic Zamp Solar ZS-30A Deluxe
- Page 1 30A Deluxe Roof Mounted Quick Start Guide INSTALL SAFETY INSTALL TOOLS - Inspect the installation area for safety Flat head screwdriver hazards. Philips head screwdriver - Be sure to remove all metal such as rings and other jewelry. Wire stripper - Disconnect all power sources and ensure solar panels are completely covered by a Dicor...
- Page 2 30A Deluxe Roof Mounted Quick Start Guide 7. Connect the positive and negative battery wires to the battery as INSTALL TOOLS shown below and verify the charge conroller turns on. 8. Connect the positive and negative solar wires to the charge controller.
Need help?
Do you have a question about the Zamp Solar ZS-30A Deluxe and is the answer not in the manual?
Questions and answers