
Subscribe to Our Youtube Channel
Related Manuals for Waterdrop M5


Summary of Contents for Waterdrop M5
- Page 1 Countertop Reverse Osmosis Water Filtration System Instruction Manual Read and save these instructions (live chat available)
- Page 3 Find the installation video Search “Waterdrop M5 Countertop RO Installation” on Register 1-year manufacturer warranty* Visit warranty.waterdropfilter.com and enter the product serial number. The serial number is the last 7 digits of the barcode on the cover plate and packaging box.
-
Page 5: Table Of Contents
Contents Installation Instructions Before Installation ··································································1 Product Introduction ·······························································2 Installation Tips ·········································································3 Installation Steps ····································································4 ···············································4 Step 1: Install the Feed Water Adapter ···························5 Step 2: Connect the PE Tubing and the System Housing ···························································6 Step 3: Install the Connector ························································7 Step 4: Install the Drain Saddle ···············································7... -
Page 6: Installation Instructions
Installation Instructions Before Installation Product Specifications To achieve the optimal performance, it is highly recommended to use the system within the operational parameters. Wsterdrop M5 Countertop Reverse Name Osmosis Water Filtration System Total Filtration Capacity 550 gallons Service Flow Rate... -
Page 7: Product Introduction
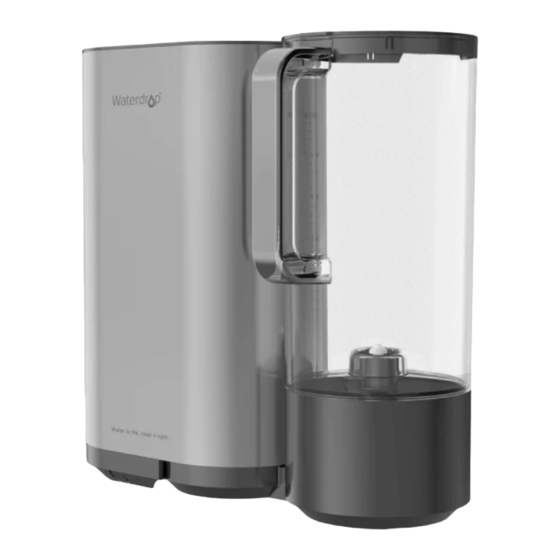
Product Introduction Product Overview Spout Lid Cover Plate All-In-One Filter Cover Tank System Housing Base Parts List White 1/4” PE Tubing Red 1/4” PE Tubing Thread Extension Stem Metal Gasket X 118” X 118” Pressure Relief Valve “L” Quick-Connect Fitting Cable Tie Feed Water Adapter Drain Saddle... -
Page 8: Installation Tips
Installation Tips How to Use the Quick-Connect Fittings To connect: 1. There is an existing mark (Figure 1) Mark for at the end of the tubing that you can Full Insert use to confirm whether the tubing is fully inserted into the fitting. Push the tubing into the fitting until you reach the mark on the tubing. -
Page 9: Installation Steps
6. Once breaking through the surface, swirl the drill a little to apply pressure in a circle evenly. Installation Steps Prior to installation, it is highly recommended to watch the video “Waterdrop Countertop RO Installation ” on NOTE: •... -
Page 10: Step 2: Connect The Pe Tubing And The System Housing
3/8" 1/2" Cold Water Pipe Cold Water Pipe Screw Washer Feed Water Adapter Converter Cold Water Unscrew Supply Valve Figure 4 Figure 5 Step 2: Connect the PE Tubing and the System Housing Place the system housing in a proper position on the counter. Remove the plugs from the “DRAIN”... -
Page 11: Step 3: Install The Connector
Step 3: Install the Connector NOTE: If there is no hole in your kitchen sink or countertop, you have to drill one (1⅜”) or use the hole in the soap dispenser. Refer to Page 3. 1. Remove the plastic nut of the connector and move the black gasket to the middle of the thread stem. -
Page 12: Step 4: Install The Drain Saddle
Step 4: Install the Drain Saddle 1. Stick the foam seal on the front plate of the drain saddle. Ensure that the hole of the foam seal is aligned with the hole of the front plate. Choose a spot on the drainpipe that is convenient for installing the drain saddle (Figure 9). -
Page 13: Step 6: Start Up The System
under the sink evenly. According to the arrow of pressure relief valve, connect the white end to the PE tubing of the feed water adapter, and connect the blue end to the PE tubing of the filtration system. Connect the pressure relief valve to the inlet tubing. - Page 14 Figure 13 NOTE: • During the first use of the system, the water will be delayed for about 100 seconds. This will vary according to the water pressure and temperature. This is because the filtered water must overcome the resistance of the RO membrane, fill the waterway, and finally reach the tank.
-
Page 15: Owner's Manual
Owner’s Manual Section 1: Filter Life Reminder • Remove the cover plate before use. Set the timer to the current month. Replace the filter after 12 months. Section 2: Filter Replacement Steps • Turn off the feed water adapter before filter replacement. 3. -
Page 16: Precautions
• Check whether the tubing connected to the system is incorrect and aging. • Make sure all tubing is fully inserted to the point where you reach the mark on the tubing. • Use only authorized WD-M5-G parts and filters. -
Page 17: Troubleshooting
• Check the tightness of the feed water adapter and make sure there is no water leakage. • When the quick-connect fitting leaks, do not replace only the lock clip. You must replace the entire quick-connect fitting. • Do not omit any lock clips. •... -
Page 18: Limited Product Warranty
• High TDS in the filtered water When working properly, the system will provide a 90%+ TDS rejection rate (tested under standard laboratory conditions). If the TDS reading is high, the following are possible causes: a. The system hasn’t been used in a while. Discard the residual water and the first tank of water. - Page 19 2. The product is purchased from someplace other than our official website or from someone other than our authorized dealers, as in such cases we cannot verify or guarantee the integrity or authenticity of the product. Our sole obligation under this warranty shall be the repair or replacement of a non-conforming product or parts of this product or, at our option, the return of the product and a refund of the purchase price.
Need help?
Do you have a question about the M5 and is the answer not in the manual?
Questions and answers