Advertisement
Table of Contents
Advertisement
Table of Contents

Related Manuals for Breezesta CO-0100


Summary of Contents for Breezesta CO-0100
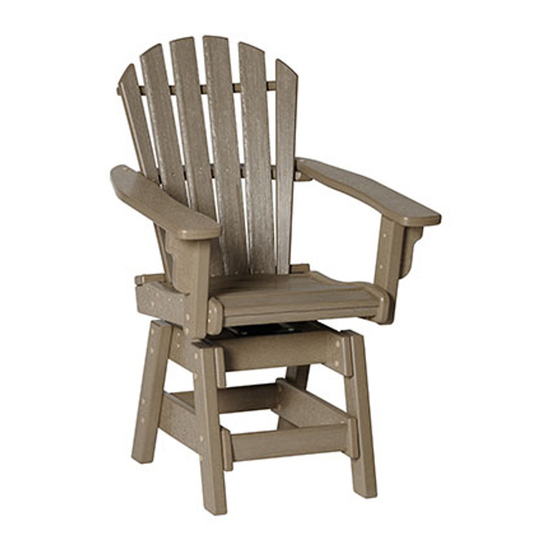
- Page 1 COASTAL SWIVEL DINING CHAIR CO-0100 REV01-2/19 CO-0100 Assembly...
- Page 2 #8 X 2" TORX SCREW H-0000-S82 #8 X 2-1/2" TORX SCREW H-0000-S825 DOUBLE SCREW H-0000-DS T25 & T20 TORX BIT H-0000-CTD COASTAL SWIVEL ASSEMBLY - TOP H-0000-SAC COASTAL SWIVEL ASSEMBLY - BOTTOM H-0000-SAC Suggested Tools: Drill, Plastic Mallet, 1/2" Socket Wrench CO-0100 Assembly...
- Page 3 Part E clockwise until tight in the orientation shown Place Part F into the pre cut slot and attach with Hardware f Attach Part E to Part G Repeat steps 3-5 for Parts using Hardware f H, E, & F CO-0100 Assembly...
- Page 4 Bottom View Using Hardware d & a 1/2" wrench, attach Hardware j, assembly may be made easier if turned upside down Insert Hardware j into i as shown & push down firmly until the assembly clicks in place CO-0100 Assembly...
Need help?
Do you have a question about the CO-0100 and is the answer not in the manual?
Questions and answers