Advertisement
Quick Links
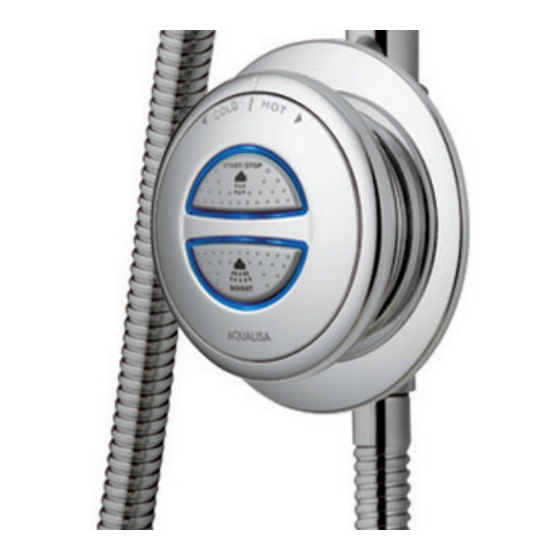
Quartz
Digital
Exposed with adjustable height head
The Waste Electrical and Electronic Equipment (Producer Responsibility) Regulation 2004
This product is outside the scope of the European Waste Electrical and Electronic Equipment Directive as interpreted within the UK.
In the UK this product can therefore be disposed of through commercial non-WEEE waste facilities.
The original manufacturer does not accept any liability under the WEEE directive.
Quartz Digital exposed with adjustable height head installation instuctions
®
page 1
Advertisement


Need help?
Do you have a question about the Quartz QZ.A1.EV.05 and is the answer not in the manual?
Questions and answers