Aqualisa SIERRA Installation And User Manual
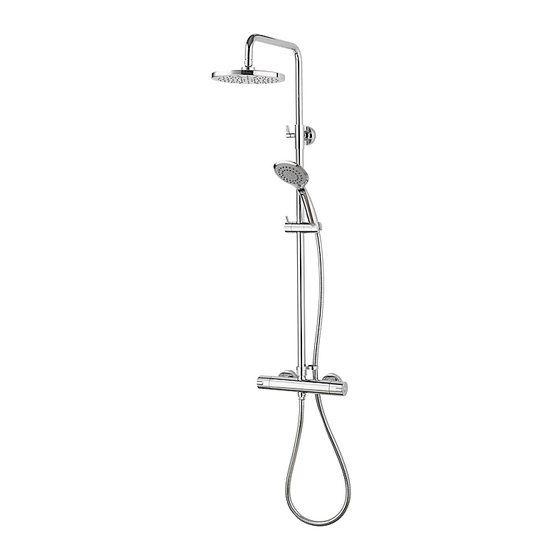
Round shower column
Hide thumbs
Also See for SIERRA:
- Installation and user manual (20 pages) ,
- Installation and user manual (16 pages)
Table of Contents
Advertisement
Advertisement
Table of Contents

Related Manuals for Aqualisa SIERRA


Summary of Contents for Aqualisa SIERRA
- Page 1 SIERRA ROUND SHOWER COLUMN INSTALLATION AND USER GUIDE...
-
Page 2: Table Of Contents
However should any parts be damaged or missing please contact your point of purchase. This does not affect your statutory rights. In addition if you require replacement parts please contact the Aqualisa customer helpline on 01959 560010 for assistance. -
Page 3: Components
COMPONENTS DESCRIPTION Bar Valve Sealing Washer Cover Plate Threaded Connector Copper Olive Bracket Wall Screw Fixing Bracket Wall Plug Hose Restraint Riser Rail Handset Holder Rail Bracket Wall Stay Screw Wall Stay Wall Plug Allen Key Drencher Head Handset Shower Hose - 1.5m... -
Page 4: Warranty
WARRANTY Aqualisa products are supplied complete with a 1 year guarantee that can be upgraded by registering this product with Aqualisa. For details see: www.aqualisa.co.uk/warranty BEFORE YOU START This shower should be installed by a competent person in compliance with current Water Supply Regulations. -
Page 5: Installation
Pump Installation: PUMPS MUST NOT BE FITTED DIRECTLY TO A WATER MAIN. REFER TO PUMP MANUFACTURERS INSTALLATION GUIDELINES. Ensure there is adequate flow through the pump to activate the flow switches. Combination boiler: MUST have a minimum rating of 24kW (80,000 Btu) and be of the type fitted with a fully modulating gas valve. - Page 6 This product incorporates an adjustable height shower column. Height adjustment: 845-1050mm N.B. Measured from inlet pipe centres to the top of the arm. Once the wall surface has been finished, flush through the pipe work prior to trimming the length of the pipes to 26-28mm, measured from the finished wall surface.
- Page 7 Place the copper olives onto the protruding pipework. IMPORTANT: The pipework must not protrude past the copper olives by more than 7mm. Holding the flat edges of the fixing bracket with a large adjustable spanner, screw the threaded connector onto the fixing bracket using a 22mm spanner.
- Page 8 Position the shower column assembly on the bar valve outlet, hand tighten the nut to allow enough free movement to gauge a fit. The telescopic section of the riser can adjust the height between 845-1050mm, loosen the clamp on the rail bracket; adjust to the desired height and re-tighten the clamp.
- Page 9 Reposition the shower column onto the bar valve outlet - hand tighten only. Tilt the shower column back and slot the rail bracket into the wall stay, hold in place by gently tightening the grub screws (final adjustment will be made in step 10). Tighten the fixing nuts of the shower column and bar valve inlets using a suitable tool, taking care not to overtighten.
-
Page 10: Cartridge Temperature Adjustment
CARTRIDGE TEMPERATURE ADJUSTMENT This product has been factory set under balanced pressures, and a hot water supply of 65°C. N.B. This product can reach temperatures in excess of 50°C. If site conditions vary significantly from the factory conditions, it may be necessary to reset the temperature of the cartridge to enable the product to deliver 38°C when the temperature knob is set to the 38°C position. -
Page 11: General Maintenance
GENERAL MAINTENANCE Cleaning the thermostatic cartridge 1. Before carrying out any maintenance, ensure the water supplies are isolated. Once isolated, turn the shower on to release internal pressure. If unsure contact a qualified tradesman. 2. Carefully remove the cap (1), loosen the screw (2), then remove the temperature knob (3). - Page 12 Cleaning the on/off divert headworks (image overleaf) 1. Before carrying out any maintenance, ensure the mains water supply is isolated. Once isolated, turn the shower on to release internal pressure. If unsure contact a qualified tradesman. 2. Carefully remove the cap (1), loosen the screw (2), then remove the control knob (3).
-
Page 13: General Cleaning
GENERAL CLEANING Whilst modern plating techniques are used in the manufacture of these fittings, the plating will wear if not cleaned properly. The safest way to clean your product is to wipe with a soft damp cloth. Stains can be removed using washing up liquid. -
Page 14: Trouble Shooting
For cooler temperature - rotate towards the wall. For warmer temperature - rotate away from the wall. N.B. With all Sierra shower valves fitted to combination boiler systems, it may be necessary to adjust the flow control knob and reduce the flow to achieve a comfortable showering temperature. - Page 15 Control dials stiff Debris/Scale build up. See General Maintenance (pages to operate. 11-13). No flow or low Check shower head, hose and filters Clean as necessary. Refer to General flow rate and/ for any blockage. Maintenance section (page 11). or varying Partially closed stop or service valve Open stop or service valve.
- Page 16 Please note that calls may be recorded for training and quality purposes. The company reserves the right to alter, change or modify the product specifications without prior warning. ™ Trademark of Aqualisa Products Limited. Drawing No: 704449 Issue 02 July 19...
Need help?
Do you have a question about the SIERRA and is the answer not in the manual?
Questions and answers