Advertisement
ZOLL AED 3
Setup Guide
Connecting your ZOLL AED 3 to a WiFi Network for Data Transmission
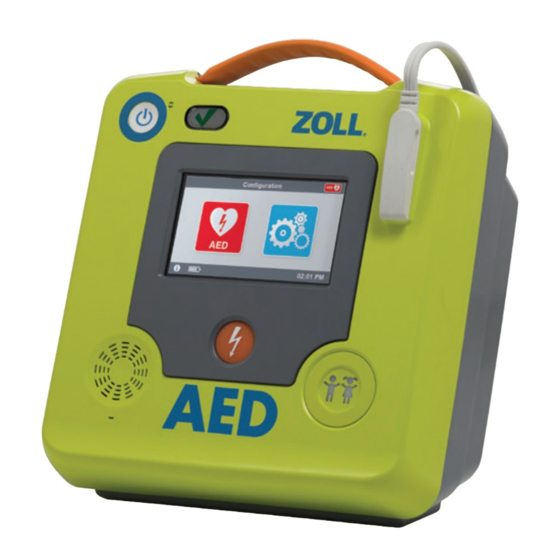
Every ZOLL AED 3
defibrillator can be connected to a local WiFi network to aid in device management
®
and rapid clinical event data transmission. Prior to connecting your ZOLL AED 3 to a local network, we
recommend that you follow these important steps.
Confirm the following information with your IT team:
Type and frequency of your WiFi network
•
The ZOLL AED 3 device supports these WiFi
º
authentication protocols: PSK, PEAP, or TLS. It is
compatible with both 2.4 and 5 GHz frequencies.
Note: Due to cyber security concerns, the ZOLL
º
AED 3 device will not connect to open networks
(no password required) or those that require active
confirmation.
MAC device addresses:
•
If your facility tracks the MAC address of connected
º
devices, you can find these on the ZOLL AED 3
device while in non-rescue mode by selecting the "(i)"
button in the user interface (UI). Each MAC address is
unique to the device/serial number.
The ZOLL AED 3 defibrillator can connect to different
•
hosted/in-premise network accounts for Device History
(device self-test transmission) or Clinical Archives (clinical
event files).
Device History — configuration settings for
º
PlusTrac
and Defibrillator Dashboard
™
Clinical Archives — configuration settings
º
for ZOLL Online RescueNet
in-premise CaseReview.
WiFi
®
Connection Setup Tips:
For PSK networks, use the Quick Setup icon for easy
•
connection. Simply use the WiFi search icon to
find your network (SSID). Select your network
and enter the password (Pre-Shared Key).
For all other network types, ZOLL
•
IT Setup softkey. When configuring your device, be sure to
have a member of your IT team present for assistance.
For Device History/Self-test transmission, all ZOLL
•
AED 3 devices are preprogrammed to connect to the ZOLL
Online and PlusTrac Device Management server. You don't
need to change the server settings unless you are connecting
to Defibrillator Dashboard.
Once you configure your first ZOLL AED 3 device, use the
•
TEST WIFI button to confirm proper configuration.
º
º
º
™
For the TLS method of WiFi authentication, you'll need to
•
obtain both a root certificate and a client certificate from
CaseReview or
®
your IT department. ZOLL recommends using the .pem (b64-
encoded) format prior to deployment.
Test WiFi will run Network Test Connection, send a self-test
file (DSF) to confirm operation, and perform an internal
clock synchronization.
If you receive an error notification, please refer to the ZOLL
AED 3 WiFi Spec Sheet for a description of the error.
Once configuration has been confirmed, export the device
configuration to a USB and use that file to import the WiFi
configuration into all other AEDs.
recommends you use the
®
Advertisement
Table of Contents

Related Manuals for ZOLL AED 3 WiFi


Summary of Contents for ZOLL AED 3 WiFi
- Page 1 WiFi network to aid in device management ® and rapid clinical event data transmission. Prior to connecting your ZOLL AED 3 to a local network, we recommend that you follow these important steps.
- Page 2 Copyright © 2020 ZOLL Medical Corporation. All rights reserved. Defibrillator Dashboard, PlusTrac, RescueNet, ZOLL AED 3, and ZOLL are registered trademarks of ZOLL Medical Corporation in the United States and/or other countries. All other trademarks are the property of their respective owners.
Need help?
Do you have a question about the AED 3 WiFi and is the answer not in the manual?
Questions and answers