Sign In
Upload
Download
Table of Contents
Contents
Add to my manuals
Delete from my manuals
Share
URL of this page:
HTML Link:
Bookmark this page
Add
Manual will be automatically added to "My Manuals"
Print this page
×
Bookmark added
×
Added to my manuals
Manuals
Brands
Basler Manuals
Controller
SR4A
Instruction manual
Basler SR4A Instruction Manual
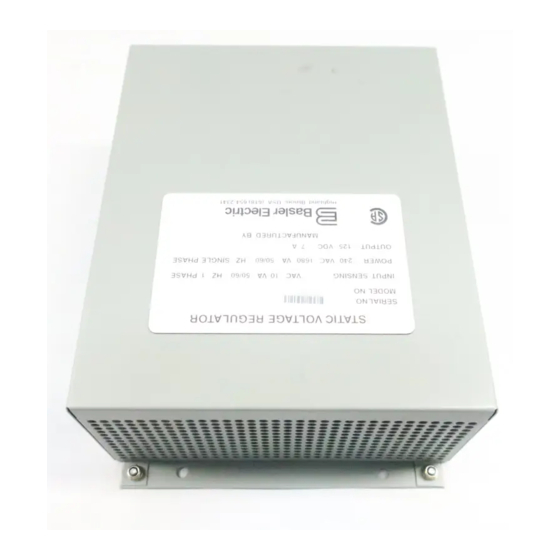
Voltage regulator
Hide thumbs
1
2
3
Table Of Contents
4
5
6
7
8
9
10
11
12
13
14
15
16
17
18
19
20
21
22
23
24
25
26
27
28
29
30
31
32
33
34
35
36
37
38
39
40
41
42
43
page
of
43
Go
/
43
Contents
Table of Contents
Troubleshooting
Bookmarks
Table of Contents
Table of Contents
General Information
Description
Specifications
Physical Specifications
Optional Features
Accessories
Model Number Description and Selection
Typical Model Number
Model Number Designations
Principles of Operation
Application Information
Functional Circuits
Overall Block Diagram
Parallel Compensation
Installation
Mounting
Interconnection
Brush Type Rotary Exciter Interconnection
Parallel Compensation
Reactive Droop Compensation (Droop)
Reactive Differential (Cross-Current) Compensation CT
Top View of Voltage Regulator
Operation
General
Operation at Reduced Speeds
Voltage Shutdown
Adjustments
Initial Operation
Wiring
Field Flashing
Parallel Operation
Maintenance, Replacement Parts and Troubleshooting
Corrective Maintenance
Preventive Maintenance
Replacement Parts
Component Location and Identification
SR4A Replacement Parts
Advertisement
Quick Links
1
Specifications
2
Overall Block Diagram
3
Interconnection
4
Wiring
5
Adjustments
Download this manual
INSTRUCTION MANUAL
FOR
VOLTAGE REGULATOR
Model: SR4A & SR8A
Part Number: 9 0177 00 XXX
Publication Number: 9 0177 00 990
Revision:
R
09/97
Table of
Contents
Previous
Page
Next
Page
1
2
3
4
5
Advertisement
Table of Contents
Need help?
Do you have a question about the SR4A and is the answer not in the manual?
Ask a question
Questions and answers
Subscribe to Our Youtube Channel
Related Manuals for Basler SR4A
Controller Basler SCP 250 Instruction Manual
Var/power factor controller (40 pages)
Controller Basler SSR 32-12 Instruction Manual
Ssr series. class 200 equipment voltage regulators (4 pages)
Controller Basler SR6A Instruction Manual
Voltage regulator (42 pages)
Controller Basler SR8A Instruction Manual
Voltage regulator (43 pages)
Controller Basler DGC-2020 Instruction Manual
Digital genset controller (251 pages)
Controller Basler DECS-250 Instruction Manual
Digital excitation control system (352 pages)
Controller Basler 4C-1.25A84W-24V Manual
Light controller (22 pages)
Controller Basler DECS-200 Instruction Manual
Digital excitation control system (181 pages)
Controller Basler VR63-4A/UL Instruction Manual
Voltage regulator (3 pages)
Controller Basler DGC-500 Instruction Manual
Digital genset controller (154 pages)
Controller Basler BE2000E Instruction Manual
Digital voltage regulator (82 pages)
Controller Basler AVC63-12 Instructions
Automatic voltage regulator (4 pages)
Controller Basler DGC-2020HD Instruction Manual
Digital genset controller (418 pages)
Controller Basler DGC-2020HD Instruction Manual
Digital genset controller (404 pages)
Controller Basler DGC-2020HD Installation Instructions Manual
Digital genset controller (88 pages)
Controller Basler DGC-2020ES Configuration Instruction Manual
Digital genset controller (156 pages)
This manual is also suitable for:
Sr8a
Sr4a2b15b3e
Sr4a2b15b3a
Sr8a3b15b4e
Table of Contents
Print
Rename the bookmark
Delete bookmark?
Delete from my manuals?
Login
Sign In
OR
Sign in with Facebook
Sign in with Google
Upload manual
Upload from disk
Upload from URL


Need help?
Do you have a question about the SR4A and is the answer not in the manual?
Questions and answers