Table of Contents
Advertisement
Quick Links
Dear Client
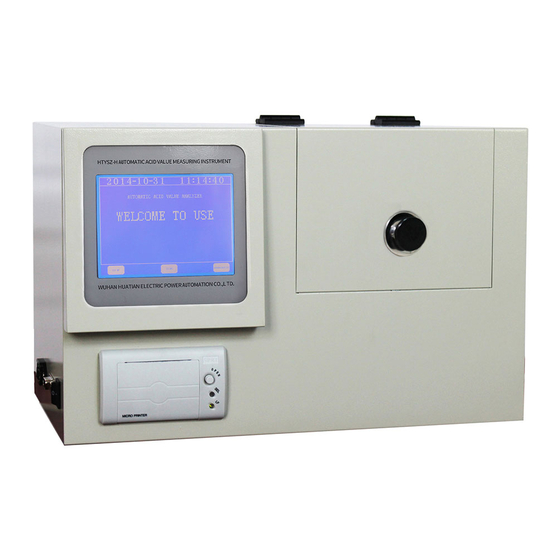
Thank you for Purchasing our HTYSZ-H Automatic Acid
Value Tester. Please read the manual in detail prior to first use,
which will help you use the equipment skillfully.
company's products continually, so there may be
slight differences between your purchase equipment
and its instruction manual. You can find the changes
in the appendix. Sorry for the inconvenience. If you have further
questions, welcome to contact with our service department.
may bring voltage, when you plug/draw the test wire or
power outlet, they will cause electric spark. PLEASE
CAUTION RISK OF ELECTRICAL SHOCK!
Company Address:
T4,No. 41, High-tech 2 Road,East Lake High-tech Development Zone,
Wuhan
Sales Hotline: 86-27- 87457960
After Service Hotline: 86-27- 87459656
Fax: 86-27- 87803129
E-mail: qiao@hvtest.cc
Website: www.hvtest.cc
Our aim is to improve and perfect the
The input/output terminals and the test column
1
Advertisement
Table of Contents

Subscribe to Our Youtube Channel
Related Manuals for HVTest HTYSZ-H


Summary of Contents for HVTest HTYSZ-H
- Page 1 Dear Client Thank you for Purchasing our HTYSZ-H Automatic Acid Value Tester. Please read the manual in detail prior to first use, which will help you use the equipment skillfully. Our aim is to improve and perfect the company's products continually, so there may be slight differences between your purchase equipment and its instruction manual.
- Page 2 SERIOUS COMMITMENT All products of our company carry one year limited warranty from the date of shipment. If any such product proves defective during this warranty period we will maintain it for free. Meanwhile we implement lifetime service. Except otherwise agreed by contract.
- Page 3 ground pole of the shell must be grounded. To prevent electric shock, the grounding conductor must be connected to the ground. Make sure the product has been grounded correctly before connecting with the input/output port. Pay Attention to the Ratings of All Terminals To prevent the fire hazard or electric shock, please be care of all ratings and labels/marks of this product.
- Page 4 -Security Terms Warning: indicates that death or severe personal injury may result if proper precautions are not taken Caution: indicates that property damage may result if proper precautions are not taken.
-
Page 5: Table Of Contents
Content I. Overview....................6 II. Instrument features................7 III. Technical specification................9 IV. Structure....................9 V. Menu and keys operation..............10 Instrument is divided into four displays:..........11 VI. Installation..................19 VII. Test procedure................. 20 VIII. Cautions...................21 IX. Troubleshooting................22... -
Page 6: Overview
I. Overview In power system and industrial and mining enterprises have a lot of oil filled electrical equipment, transformer oil, and the acid value of turbine oil is a regular inspection items shall be measured. Insulation oleic acid value automatic tester used in transformer oil, turbine oleic acid determination instrument, adopt computer control, automatic electrical, optical, mechanical and chemical integration design, completely replaces manual operation, raised the working... -
Page 7: Instrument Features
is reliable, high degree of automation. It can be widely used in electric power, chemical industry, environmental protection and other fields. II. Instrument features The instrument uses powerful new generation processors and peripheral circuits, high precision, high positioning accuracy, the titration point is accurate and reliable, reproducible results. - Page 8 10 years, for later queries to print. 7. Calendar clock, temperature compensation, as accurate, record the date and time, determination in power to run more than 10 years; 8. With special reagent bottle holding extract and neutralization liquid, reagent in use process not exposed to air, avoid the influence of solvent evaporation and CO2 in the air;...
-
Page 9: Technical Specification
III. Technical specification 1. Power supply voltage: AC220V±20%,50Hz±10% 2. Acid value determination range: 0.0001 ~ 0.50000mgKOH/g 3. Minimum resolution: 0.0001 mgKOH/g 4. Measurement accuracy: acid value between 0.001 ~ 0.1000 mgKOH/g, Allowable error range: 0.02mgkoh /g The acid value is between 0.1000 ~ 0.5000 mgKOH/g, Allowable error range: 0.05mgkoh /g 5. -
Page 10: Menu And Keys Operation
NOTE: The turntable can be placed six oil cups, one experiment can be done up to 6 oil sample. The instrument is divided into three parts, control box, mechanical transmission parts, and test area. Test area places the oil cup turntable, drip detecting devices, automatic determination the acid value. -
Page 11: Instrument Is Divided Into Four Displays
button function is clearly defined, users learn to use the instrument becomes simple. Instrument is divided into four displays: boot; parameter settings; history; sample test; 1. Boot screen: Connect instrument power cord; turn on the power switch, the screen center cross cursor image appears, as shown in the figure below: At this time, you can carry out touch screen calibration, the... - Page 12 At this point, according to the prompts on the screen five basis points in turn (that is, the four corners and center) for calibration. Note: equipment has been calibrated before delivery, no special circumstances, no need the calibration! Remember! If without touching the cross cursor after boot 2 seconds, automatically enter the welcome screen, as shown in the figure below: There are three functions in the current display:...
- Page 13 "Set.", enter the clock and the parameters settings; "Data:" into the historical test data; "Test”: enter the sample test. 2. The parameter Setting Under the boot screen, press the "set." key, the LCD screen display as shown in the figure below: Under current display screen with your finger touch to modify parameters are selected, checked, according to "▲", "▼"...
- Page 14 3. History data Under the boot screen, press the "Data" button, can display the history of experimental records, as shown in the figure below: pgup: the former historical record, the record number plus 1, long press the key, the page forward quickly. pgdn: show next history record, record number minus 1, long press the key, fast flip backward, minimum record number is 1.
- Page 15 About one and a half minutes into the testing interface automatically, as shown in the figure below: (1) Neutralization concentration: the concentration of neutralizing liquid (national standard concentration between 0.02 to 0.05 moL/L), if the concentration different with its shown, according to the concentration of the neutral solution with the increase and decrease the number of changes, the instrument automatically save the data.
- Page 16 (2) blank test: the interface is as follows Used for measuring the acid value of the extract. If changed the extract liquid, blank experiment must do first before sample test. Method is as follows: Put one empty cup into test cup position, place one stir, and then select the test cup, for example "...
- Page 17 value is greater than or equal to the end color value, test finished, changing method according to the numbers below the color to increase and decrease value, instrument automatically save. "Print": print the current measurement record. "▲”: modify the selected sample weight, increase. "▼"...
- Page 18 open the cover, put the cup with oil at setting position, and place one stir into it. And then select the corresponding cup position, as follows: in "test cup " column, touch the screen to select, as shown in the figure below: After selected test cup, then input the corresponding sample weight, the method is as follows: in "Mass"...
-
Page 19: Installation
After all input, press the "RUN" to test, and "Test result" column indicates the process, display information such as position..., extraction... , neutralization…, test cancel, test end, etc. For several oil cups, according to 1 cup, 2 cups,... 6 cup sequence, automatic test, until all finished. -
Page 20: Test Procedure
back of the instrument. 5. Switch on 220V power supply. Note: 220V power supply should have good grounding wire! VII. Test procedure 1. Turn on the power, instrument display the main menu. 2. Blank test: if change the extract liquid, blank experiment must do first before sample test. -
Page 21: Cautions
record cup number. (5) Put the oil cup into corresponding number plate, place one stir respectively. (6) Selected experimental cup corresponds to the sample weight, and input samples weight. (7) Press the "RUN" key to determine sample automatically. (8) every sample finished, the screen shows the test results, for the sample set is complete, the instrument will automatically print the measuring results (if you choose the automatic printing function). -
Page 22: Troubleshooting
is not accurate, to effect experimental results. 4. If you do blank test, open the protective cover, then the oil sample test should also open the protective cover, keep the test ambient light consistent. 5. The cup into the cup tray, must ensure that the bottom of the cup is completely into the tray, ensure light detection is not affected. - Page 23 Solution: need to blank experiment. Ensure that the blank experiment must be accurate.
Need help?
Do you have a question about the HTYSZ-H and is the answer not in the manual?
Questions and answers