Advertisement
Quick Links
Model / Modelo / Modéle
Write purchased model number here. Retain
these instructions for future use.
Escriba aquí el número del modelo comprado.
Conserve estas instrucciones para usarlas en el futuro.
Inscrivez le numéro de modèle ici. Conservez
ces instructions pour consultation.
48" x 34"
B67311-4834-WH
60" x 32"
B67311-6032-WH
www.deltafaucet.com
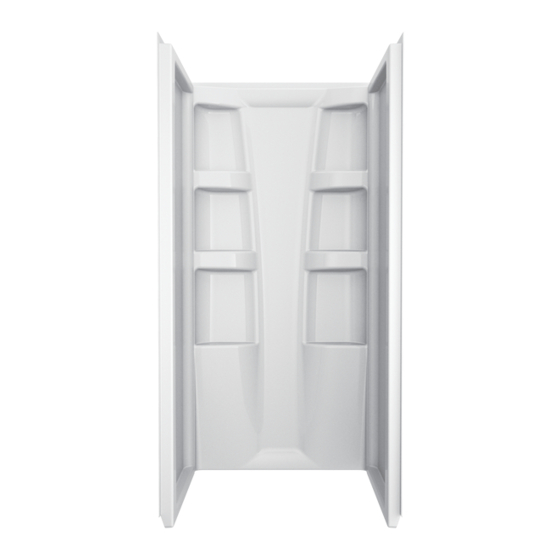
DIRECT-TO-STUD WALL SET
PIEZAS PARA LA INSTALACIÓN DIRECTA AL
MONTANTE
MUR DE DOUCHE À FIXER AUX MONTANTS
36" x 36"
40064
48" x 34"
40084
60" x 32"
40104
1
36" x 36"
B67513-3636-WH
48" x 34"
B67513-4834-WH
60" x 30"
B67513-6030-WH
60" x 32"
B67513-6032-WH
101338
07/31/2018
101338 Rev. B
Advertisement

Related Manuals for Delta B67513-3636-WH


Summary of Contents for Delta B67513-3636-WH
- Page 1 Escriba aquí el número del modelo comprado. Conserve estas instrucciones para usarlas en el futuro. Inscrivez le numéro de modèle ici. Conservez ces instructions pour consultation. 36” x 36” 36” x 36” 40064 B67513-3636-WH 48” x 34” 48” x 34” 48” x 34” 40084 B67513-4834-WH B67311-4834-WH 60”...
- Page 2 REQUIREMENTS FOR SUCCESSFUL INSTALLATION REQUISITOS PARA UNA INSTALACIÓN EXITOSA EXIGENCES À RESPECTER POUR RÉUSSIR L’INSTALLATION KNOWLEDGE BASE: Framing Plumbing • Confirm that your model will fit in intended location and plumbing fixtures are located where required before beginning installation. • Walls and sub-floor must be solid, plumb, and square. •...
-
Page 3: Tools And Materials Required
TOOLS AND MATERIALS REQUIRED • 2” x 6” and 2’ x 4” lumber for additional wall studs • Lumber for bracing • Rags or padding to protect product during bracing NOTE: It is recommended to install insulation. HERRAMIENTAS Y MATERIALES NECESARIOS •... - Page 4 ROUGHING-IN Rough plumbing must be installed before panel installation. For masonry construction, floor and walls must be framed to accommodate plumbing and installation. Studs should be located as shown below. CONEXIÓN DE CAÑERÍAS Deben instalarse las cañerías antes de instalar el panel. Para los trabajos de mampostería, el piso y las paredes deben acanalarse para dar lugar a las cañerías y la instalación.
- Page 5 B67513-3636-WH 12 1/4" 11 1/2" 12 1/4" (31.1 cm) (29.2 cm) (31.1 cm) 12" (30. cm) Horizontal 2" x 4" 1 1/2" (3.8 cm) 12" (30. cm) 2 x 4 x 70-3/4” (5 x x 179.7 cm) (94.6 cm) "...
- Page 6 14 5/8” 15 3/8” 15 3/8" 14 5/8" B67513-6030-WH (37.2 cm) (39 cm) (39 cm) " Horizontal 2" x 4" 1 1/2" (3.8 cm) 12" (30. 2 x 4 x 70-3/4” ” (5 x x 179.7 cm) 1 11/16" (4.3 cm) 60"...
- Page 7 éléments pour la porte 40064, 40084, 40104, B67311-6032-WH, B67311-4834-WH 2 3/16” (5.56 cm) B67513-6032-WH, B67513-6030-WH, B67513-4834-WH, B67513-3636-WH 1 11/16” (4.3 cm) 70 3/4” (179.7 cm) NOTE: 1 1/2" (3.8 cm) It is recommended to install insulation on exterior walls. It is recommended that two people install this product.
- Page 8 Dry Fit Panel (opposite of drain) Dry Fit Panels • Drill 3/16” holes at all stud locations on top flanges (1). • Check panels for gaps and alignment. • Drill 3/16” holes along side flanges (2) at locations equal • Check that vertical side panel flanges (1) are straight and distance apart.
- Page 9 Back side of panel. Parte posterior del panel Face arrière du panneau. Prepare for Plumbing Fixtures Apply Fire Retardant Pad • Measure and mark location for plumbing fixtures on the front • Remove backing from self-adhesive pad. of the side panel. Drill pilot holes. •...
- Page 10 Preparing for Back Panel Secure Back Panel • Press back panel in place. Apply adhesive to studs up to the pencil line (1). • Secure top flanges (1) to studs with 1-1/4” panhead or roundhead screws. Apply sealant along back of base. NOTICE Do not use drywall screws to secure flanges to wall studs.
- Page 11 Preparing for Side Panels Secure Side Panels • Slide the side panel into gap between wall and back panel, pressing Apply sealant along side of base and back panel. firmly into corner and against studs. • Push in and down until panel tops are even and curved area on Apply adhesive to studs up to the pencil line.
- Page 12 Brace Wall Panels Apply Sealant • Protect surface of wall (1) where it will contact braces. • Apply sealant to all seams. • Install temporary braces (2) to hold side panels tight against studs while adhesive dries. • Install plumbing fixtures and fittings per manufacturer’s instructions. •...
-
Page 13: Care And Cleaning
CARE AND CLEANING We recommend that you clean your acrylic bathing product with mild detergents. Use a terry cloth towel, soft cloth, or sponge. Avoid using abrasive scrubbing pads, steel wool, or sponges. After cleaning, rinse thoroughly with water. NOTICE When using drain cleaner or clog remover, rinse thoroughly with water. - Page 14 SHALL NOT BE LIABLE FOR ANY SPECIAL, INCIDENTAL OR CONSEQUENTIAL DAMAGES elect to refund the purchase price (the return of the product may be required at Delta Faucet Com- (INCLUDING LABOR CHARGES TO REPAIR, REPLACE, INSTALL OR REMOVE THIS PROD- pany’s option).
Need help?
Do you have a question about the B67513-3636-WH and is the answer not in the manual?
Questions and answers