
Related Manuals for Timeguard NTT08


Summary of Contents for Timeguard NTT08
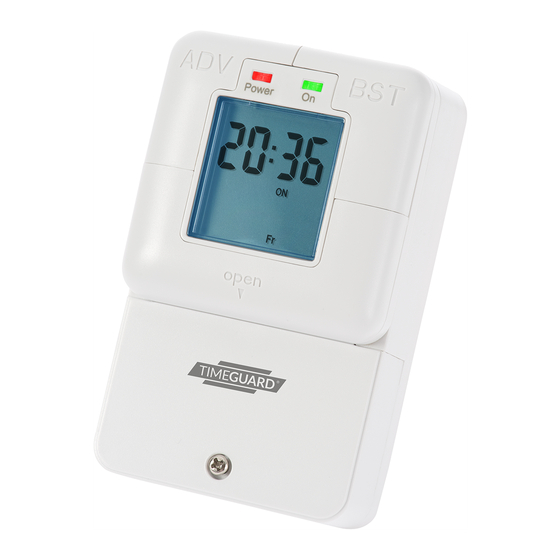
- Page 1 All manuals and user guides at all-guides.com 7 Day Digital Time Switch Model: NTT08...
-
Page 2: General Information
All manuals and user guides at all-guides.com 1. General Information These instructions should be read carefully and retained for further reference and maintenance. 2. Safety • Before installation or maintenance, ensure the mains supply to the time switch is switched off and the circuit supply fuses are removed or the circuit breaker turned off. -
Page 3: Installation
• CE Approved Note: Not suitable for use with Discharge Lighting. The LED switching capabilities of this product can be increased to 200W by the addition of the Timeguard ZV900 Automatic switch load controller – sold separately. Power LED Output Illuminated... - Page 4 All manuals and user guides at all-guides.com or water/gas pipes that may be hidden beneath the surface. Insert the rawl plug into the hole. • Fix the top mounting screw and leave 2.5mm proud off of the wall. • Place the key hole in the top of the product, over the screw head, and slide down.
-
Page 5: Connection Diagram
All manuals and user guides at all-guides.com 5. Connection Diagram • The terminals are marked as follows on the bottom of the wall plate; 230V 50Hz L1 E Mains Supply Load Wiring as marked on the terminals – Left to right Live Supply (Brown or Red) to Neutral Supply (Blue or Black) to Neutral Load to immersion heater... - Page 6 All manuals and user guides at all-guides.com 6. Battery • The time switch has a factory fitted rechargeable battery to give clock operation and programme memory back up during loss of mains supply. • Before programming for the first time, connect the unit to the mains for at least 15 minutes prior to pressing the Rst button and programming the unit.
-
Page 7: Setting The Clock
All manuals and user guides at all-guides.com 8. Setting the clock • Press and hold the Time button for 3 seconds, the word Hold will show on the screen. • After 3 seconds release the Time button and the screen will show the year;... - Page 8 All manuals and user guides at all-guides.com • The display should now show the correct time/day of the week, for example; Modifying the date and time of day Normally the only change required will be to the time of day minutes, in which case; •...
- Page 9 All manuals and user guides at all-guides.com 9. Programming ON/OFF times The NTT08 has 4 independent On/Off periods available for programming each day. There is a choice of programming options, including 7 days the same (24 hours), 5 + 2 days...
- Page 10 All manuals and user guides at all-guides.com • Use Adv/Ovr or Boost button to set the hour for the first ON period. • Press the Prg button once to set and move you to the minutes. • Use Adv/Ovr or Boost button to set the minutes for the first ON period.
- Page 11 All manuals and user guides at all-guides.com • The display will now show the correct time and day as per this example; • At this stage the output ON/OFF indicator (as in the above image) may not reflect the current programme status accurately. •...
- Page 12 All manuals and user guides at all-guides.com Programming across midnight • Enter the required programme 1 ON time. • Set the programme 1 OFF time to 00:00 (i.e. midnight). • Set the programme 2 ON time to 00:00 as well. •...
-
Page 13: Boost Button
All manuals and user guides at all-guides.com 10. Advance/Override button In normal operating mode the Adv/Ovr button advances the programme to the next time change. • If the output is currently OFF, it will change the output to ON ADVANCE, until the next programmed OFF time. -
Page 14: Year Guarantee
020 8450 0515. Note: A proof of purchase is required in all cases. For all eligible replacements (where agreed by Timeguard) the customer is responsible for all shipping/postage charges outside of the UK. All shipping costs are to be paid in advance... - Page 15 All manuals and user guides at all-guides.com...
- Page 16 All manuals and user guides at all-guides.com If you experience problems, do not immediately return the unit to the store. Telephone the Timeguard Customer Helpline; HELPLINE 020 8450 0515 or email helpline @ timeguard.com Qualified Customer Support Co-ordinators will be on-line to assist in resolving your query.
Need help?
Do you have a question about the NTT08 and is the answer not in the manual?
Questions and answers