Advertisement
Quick Links
Advertisement

Related Manuals for Zline KECOM-RD-48


Summary of Contents for Zline KECOM-RD-48
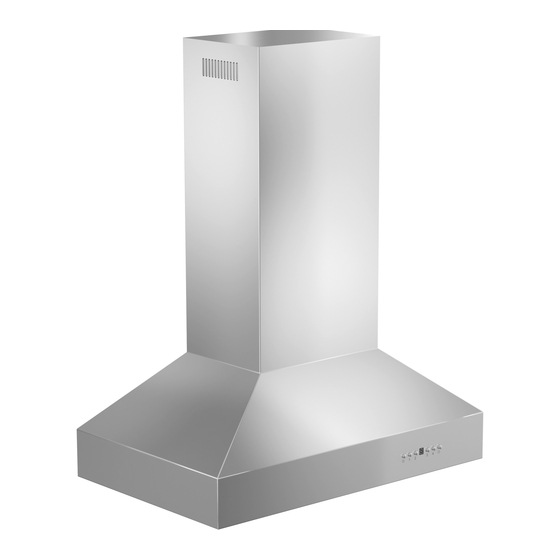
- Page 1 Wall Range Hood Installation Installation Tutorial Video...
-
Page 2: Parts Supplied
Wall Range Hood Installation Please unpack your range hood when it is delivered and inspect to ensure all parts are included. Parts Supplied: 1. Main Hood With All Lights and Button Banks Pres-installed 2. Adjustable Stainless Chimney Cover 3. Transition Piece (For 6˝ or 8˝) 4. - Page 3 Wall Range Hood Installation *The recommended height to install your hood is 30˝ minimum and 36˝ maximum above the cooktop. *For Outdoor (304 Series) hood installation, the unit must be installed at a minimum of 36˝ above the grill. Find the center of the wall where you are installing the hood.
- Page 4 Wall Range Hood Installation Install the transition piece securing it with screws provided. (Figure 4) Figure 4 Make your electrical and ducting connections. Try and minimize the use of elbows. More elbows and lon- ger runs create higher static pressure. The hood comes with a grounded three prong plug that can either be direct wire or plugged into a 20amp.
- Page 5 Wall Range Hood Installation Install the two part chimneys on top Figure 7 of the hood. Slide the inside section up until the vertical vent slots are vis- ible, attach top portion to mounting bracket with screws. Secure lower chimney portion to the hood with screws provided.
- Page 6 Remote Blower Installation Options Installation When installing your new remote blower type range hood, follow the instructions for the type Tutorial Video of hood you are installing. If you are installing a wall, Island, under cabinet or insert hood then you will follow those instructions. This portion of the manual will explain how to install the remote blower for your range hood.
- Page 7 Remote Blower Installation Options Run electrical cord (Provided) back to the range hood (up to 26). Remote Blower with Brackets Install a regular outlet with a 20 amp circuit. The hood comes with a grounded 3 prong grounded plug. Run duct work to the outside of the house and add a back draft damper outside.
- Page 8 Remote Blower Installation Options The Remote Blower is designed for our Remote Range Hoods. This unit is installed remotely in the interior of your home. This provides venting, but with reduced noise. T85 Remote Blower—Single Motor (This Blower must be used with Remote Blower Hood) Airflow 280 / 400 / 580 / 900 (CFM) Noise Level: 1.2 / 2.6 / 4.2 / 6.5 (Sones) Dimensions: 26.14 x 14.6 x 13...
- Page 9 Remote Blower Installation Options The Remote Blower is designed for our Remote Range Hoods. This unit is installed remotely in the interior of your home. This provides venting, but with reduced noise. T85 Remote Blower—Single Motor (This Blower must be used with Remote Blower Hood) Airflow 280 / 400 / 580 / 900 (CFM) Noise Level: 1.2 / 2.6 / 4.2 / 6.5 (Sones) Dimensions: 26.14 x 14.6 x 13...
Need help?
Do you have a question about the KECOM-RD-48 and is the answer not in the manual?
Questions and answers