Table of Contents
Advertisement
Quick Links
Advertisement
Table of Contents

Related Manuals for Zline Attainable Luxury Alpine Series


Summary of Contents for Zline Attainable Luxury Alpine Series
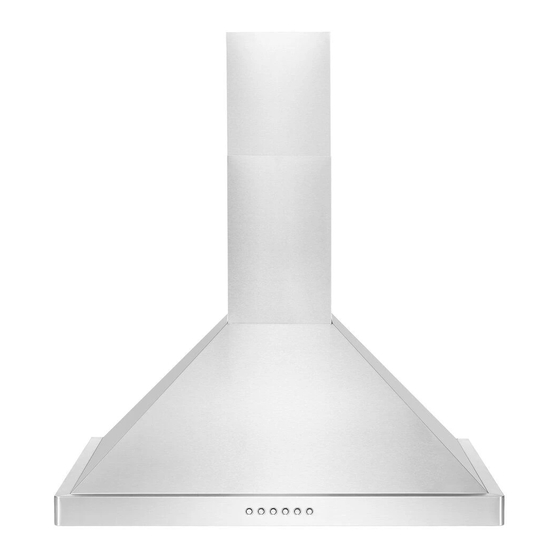
- Page 1 lpine erieS Ange oodS Installation Guide and Users Manual...
-
Page 2: Registering Your Product
SCAN ME ZLINE is fueled by a passion for innovation; A relentless pursuit of bringing the highest end By registering your appliance, you will have access to: luxury designs and professional features into everyone’s homes. Because we continually strive •... -
Page 3: Warranty
ZLINE on an exchange basis and will be either new or refurbished date of original purchase at retail and no warranties, whether express or implied shall to be functionally equivalent to new. - Page 4 DISCLAIMER TABLE OF CONTENTS IMPORTANT SAFETY INSTRUCTIONS Carefully inspect all items for damages before accepting delivery. Customer should note any damages on the freight bill or express receipt. Request the name ALPINE WALL HOOD SAFETY and signature of the carrier’s agent and keep a copy to support your claim. Upon acceptance of items, owner assumes responsibility for its safe arrival.
-
Page 5: Safety Instructions
SAFETY INSTRUCTIONS SAFETY INSTRUCTIONS This is the safety alert symbol. This symbol alerts you to potential hazards • Ducted fans MUST ALWAYS be vented to the outdoors. At the point where the that can hurt you and others. All safety messages will follow the safety alert duct work ends, add an external damper to prevent air from entering the home WARNING symbol. - Page 6 SAFETY INSTRUCTIONS ALPINE WALL MODELS • All ZLINE range hoods are ETL listed, ensuring all parts were tested for safety This is the safety alert symbol. This symbol alerts you to potential hazards and meet industry standards and regulations. NOTE: This ensures all included that can hurt you and others.
- Page 7 • Use this unit only in the manner intended by the manufacturer. If you have • Use an extinguisher ONLY if: questions, contact ZLINE at 614-777-5004. • You know you have a Class A, B, C extinguisher, and you already know how to operate it.
-
Page 8: Tools Needed
BEFORE INSTALLATION BEFORE INSTALLATION ALPINE WALL MODELS ALPINE WALL MODELS TOOLS NEEDED: ELECTRICAL REQUIREMENTS • Contact a qualified electrical installer. • Assure that the electrical installation is adequate and in conformance with Na- Pencil tional Electrical Code, ANSI/NFPA 70 — latest edition, or CSA Standards C22. 1-94, Canadian Electrical Code, Part 1 and C22. -
Page 9: Venting Requirements
BEFORE INSTALLATION BEFORE INSTALLATION ALPINE WALL MODELS ALPINE WALL MODELS ADVANCED PREPARATIONS FOR THE MOST EFFICIENT & QUIET OPERATION • A distance of 28” to 31” is recommended between stove top and the bottom of Be familiar with the controls of the range hood by reading through the Range range hood. -
Page 10: Venting Methods
BEFORE INSTALLATION BEFORE INSTALLATION ALPINE WALL MODELS ALPINE WALL MODELS Due to different ceiling height configurations, recommended height may not be Horizontal wall venting applicable. Horizontal wall venting Option 1: Option 2: Option 1: Option 2: CALCULATING VENT SYSTEM LENGTH To calculate the length of the system you need, deduct the equivalent feet for each vent piece used in the system from the recommended maximum duct run. -
Page 11: Installation
BEFORE INSTALLATION INSTALLATION ALPINE WALL MODELS ALPINE WALL MODELS 4. Mark the locations of the support mounting bracket holes, vent cutout (if used), WARNING: HAZARD OF ELECTRIC SHOCK and power supply cable cutout on the ceiling. Use drill and saber saw or Do not perform service on an electrically live system. -
Page 12: Operation
INSTALLATION OPERATION ALPINE WALL MODELS ALPINE WALL MODELS Calculate the height of the duct tube and extend approximately 6” (15 cm) longer than required, connect the lower end of the duct tube to the range hood and the upper end to the vent system. Make sure the main electrical supply remains disconnected then connect power plug to the electrical cord or wall plug. -
Page 13: Maintenance And Cleaning
MAINTENANCE AND CLEANING MAINTENANCE AND CLEANING ALPINE WALL MODELS ALPINE WALL MODELS HOW TO CHANGE OR REPLACE LIGHT BULB • If hood looks splotchy, use a stainless steel cleaner to clean the surface of Make sure the range hood is unplugged or turn OFF breaker. the hood. -
Page 14: Observe The Following
ALPINE WALL MODELS ALPINE UNDER CABINET MODELS This is the safety alert symbol. This symbol alerts you to potential hazards ZLINE Customer Service is available at 1-614-777-5004. that can hurt you and others. All safety messages will follow the safety alert WARNING symbol. - Page 15 Check the operation of the range 4. Use an extinguisher ONLY if: hood. If there are any issues, do not install the range hood. Call ZLINE at 614-777- • You know you have a Class ABC extinguisher and you already know 5004.
-
Page 16: Grounding Instructions
BEFORE INSTALLATION BEFORE INSTALLATION ALPINE UNDER CABINET MODELS ALPINE UNDER CABINET MODELS WARNING NOTICE: Considering excessive weight, two or more people are required to install or move this appliance. Failure to do so can cause physical injuries. GROUNDING INSTRUCTIONS 15amp, 120V, 60Hz This appliance must be grounded. - Page 17 BEFORE INSTALLATION INSTALLATION ALPINE UNDER CABINET MODELS ALPINE UNDER CABINET MODELS STEP 1: PROTECT THE COOKTOP Roof cap Put a thick, protective covering over counter top, cook top, or range to protect it from damage or dirt. Duct (for vertical discharge) STEP 2: CREATE WORK STATION (OPTIONAL) Ply wood or Wood block...
- Page 18 Flush with the front frame of cabinet Flush with the front frame of cabinet Ply wood on Cabinet jack Flush with the front frame of cabinet Ply wood on Cabinet jack Ply wood on Cabinet jack solid flatform or car jack solid flatform or car jack solid flatform...
- Page 19 INSTALLATION OPERATION ALPINE UNDER CABINET MODELS ALPINE UNDER CABINET MODELS STEP 9: INSTALL OIL TUNNEL OR Grease cup (NOT AVAILABLE FOR ALL MODELS) • Power: Turn ON/OFF the range hood and activate power-off delay timer Oil tunnel Oil tunnel Side view (3mins).
-
Page 20: Cleaning Exterior Surfaces
MAINTENANCE AND CLEANING MAINTENANCE AND CLEANING ALPINE UNDER CABINET MODELS ALPINE UNDER CABINET MODELS HOW TO CHANGE OR REPLACE LIGHT BULB • If hood looks splotchy, use a stainless steel cleaner to clean the surface of Make sure the range hood is unplugged or turn OFF breaker. the hood. -
Page 21: Troubleshooting
TROUBLESHOOTING ALPINE UNDER CABINET MODELS ZLINE Customer Service is available at 1-614-777-5004. FAULT TROUBLESHOOTING Check if the range hood has been plugged in. Make sure that all power has been turned back on and all electrical Range hood does wiring is properly connected. - Page 22 Installation Guide and User Manual 1.1.0 1-614-777-5004 contact@zlinekitchen.com www.zlinekitchen.com...
Need help?
Do you have a question about the Attainable Luxury Alpine Series and is the answer not in the manual?
Questions and answers