
Related Manuals for RADWAG HRP


Summary of Contents for RADWAG HRP
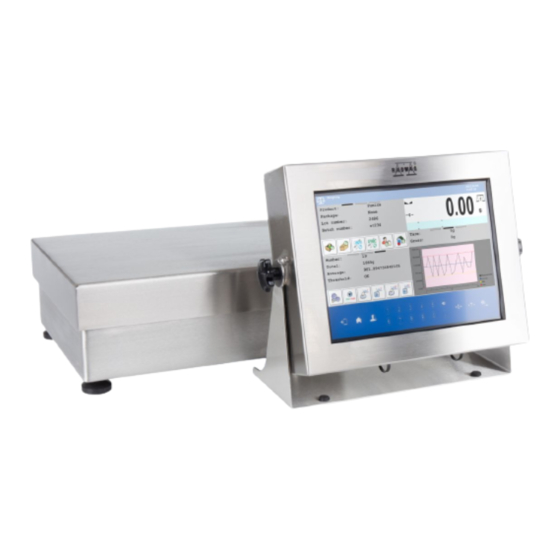
- Page 1 IMMB-14-01-01-22-EN Quick Start Weighing Platforms • HRP High Resolution Platforms • 1-Load-Cell Platforms • 4-Load-Cell Platforms...
- Page 2 To view the full user manual, go to the website or scan the QR code: radwag.com/en/manuals/9584...
- Page 3 1. CONTENT HRP High Resolution Platforms Platform ×1 C2-C3 H1-H6 1-Load-Cell Platforms Platform ×1 D2 1-Load-Cell Platforms Scale Weighing pan Grounding foot×1 Foot ×1 ×1 ×3 4-Load-Cell Platforms Platform ×1 Ramp Platforms Platform x1 Ramp ×1...
-
Page 4: Notes And Warnings
2. UNPACKING HRP Platforms, F1 | C2-C3 | H1-H6 1-Load-Cell Platforms D2 1-Load-Cell Platforms 3. NOTES AND WARNINGS Operate the device in a room free from dust, where the temperature ranges: +104 -10–40 °C (14–104 °F). Potential temperature change shall occur gradually and slowly. -
Page 5: Grounding Check
4. PRE-OPERATION ACTIVITIES 4.1. Transport Lock Removal HRP High Resolution Platforms F1 | C2-C3 | H1-H6 1-Load-Cell Platforms 4-Load-Cell Platforms 4.2. Grounding Check Models: Check if the grounding spring is correctly positioned. Make sure that the grounding spring protrudes slightly from... - Page 6 Make sure that the grounding spring protrudes slightly from the hole. 5. PLATFORM COMPONENTS ASSEMBLY HRP Platforms Models: Connect the platform to the terminal via a suitable cable. Insert weighing pan receivers into lever seats. Install the receiver with the grounding...
- Page 7 Install the weighing pan. D2 1-Load-Cell Platforms Models: Install the bracket for the weighing Install the grounding foot Install the weighing pan. terminal. in the seat of your choice. 5.2. Feet Assembly (If Not Assembled) Screw the base of the foot onto the foot pin.
- Page 8 5.3. Ramp Scales - Floor Fixing Attach the steel clamping rings to the scale feet Fix the steel clamping rings to the floor and install and secure the whole thing with a steel locking ring. the ramp. Attach the feet to the scale. 5.4.
- Page 9 8 hours). interface. 6.2. LEVELLING HRP High Resolution Platforms To level the scale, turn its feet; keep turning the feet until an air bubble takes the central position. F1 | C2-C3 | H1-H6 1-Load-Cell Platforms To level the scale, turn its feet;...
- Page 10 D2 1-Load-Cell Platforms Models: To level the scale, turn its feet; keep turning the feet until an air bubble takes the central position. 4-Load-Cell Platforms Have a spirit level ready to level the scale. Place the spirit level on the weighing pan.
-
Page 11: Cleaning And Maintenance
7. CLEANING AND MAINTENANCE 7.1. Preparing for Cleaning Switch the scale off. Unplug the scale from the mains. Remove elements that are not part of the scale. 7.2. Preliminary Cleaning Remove stuck-on large impurities, residues of the weighed product. Do not use sharp, metal tools. 7.3. - Page 12 Place the weighing platform on a dry floor. Check the levelling. Adjust the level of the weighing platform if necessary. Install the weighing pan if removed. Connect to the mains when completely dry. Clean and disinfect all surfaces immediately after the weighing process. www.radwag.com...
Need help?
Do you have a question about the HRP and is the answer not in the manual?
Questions and answers