Advertisement
Quick Links
Advertisement

Related Manuals for fantastic furniture COMO Single Bed


Summary of Contents for fantastic furniture COMO Single Bed
- Page 1 Assembly Instructions COMO Single Bed VER 1.2...
-
Page 3: What You Need
(P2) 2 x Drawer Supports Drawer Front (P13) Left Drawer (P7) Side (P8) 13 x Fantastic Furniture 26 x Plastic Connectors ComfortSlats Single 4 x Elbow 28 x Small 2 x Cam Bolts 2 x Cam Nuts 26 x Screws... - Page 4 Step 1 You will need: 5 x Small Dowels (H2) 5 x Small Cam (P7) Bolts (H8) Insert 5 x Small Dowels (H2) into Drawer Front (P7), and attach 5 x Small Cam Bolts (H8) to it. Step 2 You will need: 8 x Small Screws (H14)
- Page 5 Step 4 You will need: 4 x Small Dowels (H2) (P8) (P11) (P9) Slide Drawer Base (P11) into the groove in the Drawer Sides (P8,P9). Insert 4 x Small Dowels (H2) into Drawer Support (P13). Step 5 (P9) You will need: 6 x Screws (H6) (P10)
- Page 6 Step 7 You will need: 2 x Cam Bolts (H3) 16 x Screws (H5) 4 x Elbow Connectors (P3) (H11) Attach 1 x Cam Bolt (H3) to Side Rail (P3). Attach 2 x Elbow Connectors (H11) to Side Rail (P3) with 8 x Screws (H5). Repeat Step 7 again with the other Side Rail (P3).
- Page 7 Step 9 You will need: 8 x Screws (H6) 2 x Flat Connetors (H12) 3 x Plastic Glides (H13) (P1) Attach 2 x Flat Connectors (H12) to Bedhead (P1) with 8 x Screws (H6). Then hammer 3 x Plastic Glides (H13) on the bottom of Bedhead (P1). Step 10 You will need: 8 x Screws...
- Page 8 Step 11 You will need: 2 x Small Dowels (P3) (H2) 2 x Cam Nuts (H4) (P6) This is how a cam nut works ..(P3) The head of the cam bolt goes into the open mouth of the cam nut. You then turn the cam nut so it tightens over the bolt.
- Page 9 Step 13 You will need: 4 x Small (P2) Dowels (H2) Bolts (H10) 1 x Allen Key (H16) (P6) (P3) (P3) Insert 4 x Small Dowels (H2) into the holes of Bedfoot (P2). Attach Side Rails (P3) to Bedfoot (P2) with 6 x Bolts (H10) using Allen Key (H16). Step 14 2 PEOPLE CAREFULLY TURN OVER THE BED FRAME...
- Page 10 Step 15 (P1) You will need: 4 x Screws (H5) (P4) (P14) (P14) (P6) (P2) Attach 2 x Blocks (P14) to Rail (P4) with 4 x Screws (H5). Step 16 You will need: 4 x Screws (H5) (P2) (P4) (P14) (P14) (P6) (P1)
- Page 11 Option 1 : DRAWERS ON LEFT HAND SIDE Option 2 : DRAWERS ON RIGHT HAND SIDE Step 17 (P1) You will need: 8 x Small Screws (H14) 2 x Screws (H5) (P5) 3 x Stickers (H7) (P2) (P2) (P5) (P5) (P4) (P5) (P1)
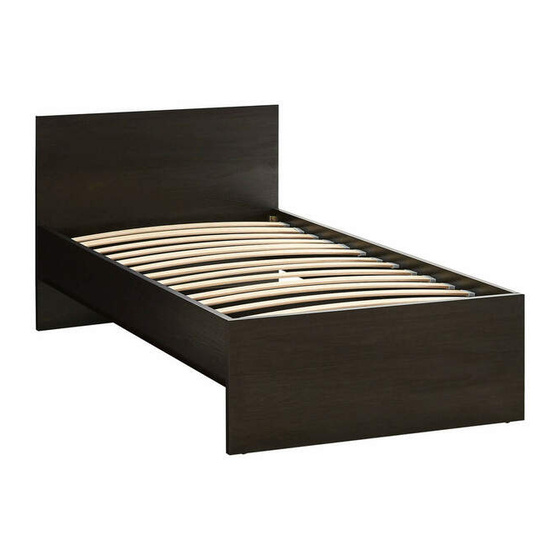
- Page 12 ComfortSlats Single Push plastic connectors firmly onto each Fantastic Furniture ComfortSlats Single. Place the slat in position then push down in the centre to flatten. Make sure the plastic prong lines up with the hole, then push in firmly. Repeat the same process for the other end of the slat.
- Page 13 Step 19 Put the drawers into the bed. The job is now complete! In the interest of our environment Please dispose of all packaging thoughtfully. Page 13...
Need help?
Do you have a question about the COMO Single Bed and is the answer not in the manual?
Questions and answers