Advertisement
Quick Links
Multisensor 6 user guide : Aeotec Group
MultiSensor 6 user guide.
Modified on: Wed, 18 Mar, 2020 at 6:07 PM
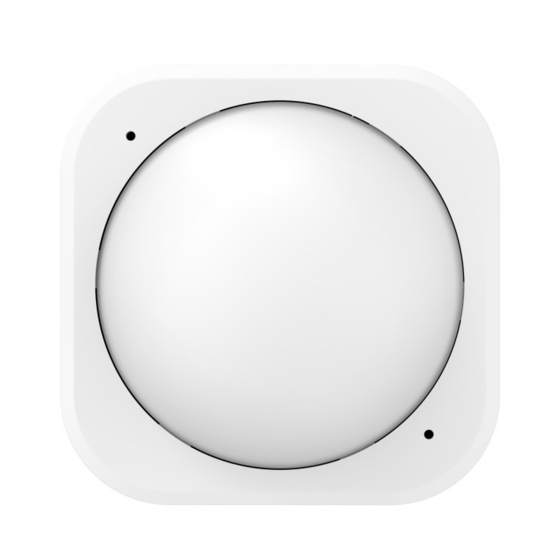
Aeotec MultiSensor 6.
Aeotec MultiSensor 6 was developed to detect ambient values and movement and to transmit them with Z-Wave
Plus
(http://aeotec.com/z-wave-plus)
You can find out more about MultiSensor 6 by following that link.
To see whether MultiSensor 6 is known to be compatible with your Z-Wave system or not, please reference our Z-
Wave gateway comparison
Multisensor 6
(https://aeotec.freshdesk.com/solution/articles/6000166772-multisensor-6-technical-specifications-)
can be viewed at that link.
Get to Know your MultiSensor.
Your MultiSensor comes packaged with a number of accessories that will help with its installation and operation.
Package Contents:
1. MultiSensor
2. Battery Cover
3. Back-Mount Arm
4. Double-Sided Tape
5. Screws (×2)
6. Micro USB Cable
https://aeotec.freshdesk.com/support/solutions/articles/6000057073-multisensor-6-user-guide-
. It is powered by Aeotec's Gen5
(http://aeotec.com/z-wave-gateways)
(http://aeotec.com/z-wave-gen5)
listing. The technical specifications of
29-09-2020 17:00
technology.
Pagina 1 van 13
Advertisement

Related Manuals for Aeotec MultiSensor 6


Summary of Contents for Aeotec MultiSensor 6
- Page 1 (http://aeotec.com/z-wave-gen5) You can find out more about MultiSensor 6 by following that link. To see whether MultiSensor 6 is known to be compatible with your Z-Wave system or not, please reference our Z- Wave gateway comparison listing. The technical specifications of (http://aeotec.com/z-wave-gateways)
-
Page 2: Important Safety Information
MultiSensor 6 is intended for use in dry locations only. Do not use in damp, moist, and/or wet locations. Do not use rechargable CR123A batteries. -
Page 3: Quick Start
2. Insert the smaller end of the provided USB cable into your sensor's USB port. 3. Insert the larger end of the USB cable into a computer or adapter. Your MultiSensor 6 is now powered on. 4. Make sure to seat the Battery Cover back onto the MultiSensor 6 and lock it in. - Page 4 Adding your MultiSensor 6 into a Z-Wave Network. With it powered on, it's now time to add your MultiSensor 6 to a Z-Wave network. To pair MultiSensor 6, you are not limited to only the Z-Stick or Minimote. You may use any Z-Wave Gateway to pair MultiSensor 6, but compatibility and how the sensor shows ultimately depends on the gateway and software integration of products.
- Page 5 If your MultiSensor 6 will be powered by batteries, you should avoid installing it in a location where the temperature can drop below 0°C / 32°F - this is below the batteries' working point. Selecting a location for your sensor also depends on the layout of any area that you want monitoring.
- Page 6 Multisensor 6 user guide : Aeotec Group 29-09-2020 17:00 If installing MultiSensor 6 in a corner where the wall meets the ceiling it can take measurements within a 2.5 x 3.5 x 5 metres / 8 x 11 x 15 feet range: For optimal performance, your MultiSensor 6 should NOT be mounted directly on or near metal framing or other large metallic objects.
- Page 7 With your MultiSensor 6 now a part of your Z-Wave network and having determined its installation location, it's time to finish its physical installation. There are 2 ways that your MultiSensor 6 can be mounted on a wall or ceiling. Most simply it can be placed upon a shelf without the need to attach further accessories.
- Page 8 Multisensor 6 user guide : Aeotec Group 29-09-2020 17:00 Tips: We suggest you choose the second method (using screws to affix the Back-Mount Arm) would be more stable. 2. After you have completed the affixing of Back-Mount Arm, you will need to lock MultiSensor to the Back-Mount Arm by screwing MultiSensor in.
-
Page 9: Advanced Functions
MultiSensor never is. If you wish to use MultiSensor 6 outdoors, you will need to lower settings, and angle MultiSensor 6 accordingly as all environments will require different solutions or different settings for the motion sensor to work properly. Parameter 4 [1 byte] will determine the sensitivity of the motion sensor from a value range of 0 disabled to 5 max sensitivity (your ability to configure this setting will depend on the gateway used). - Page 10 3. Release MultiSensor 6 Action Button The LED on MultiSensor 6 will now rapidly blink its Yellow/Orange LED while it is in its awake state. You may send in any configurations or commands from your current gateway to configure your MultiSensor 6.
- Page 11 You can determine the health of your MultiSensor 6s connectivity to your gateway using a manual button press, hold, and release function which is indicated by the LED color. 1. Press and hold MultiSensor 6 Action button 2. Wait until the RGB LED turns into a Purple Color 3.
- Page 12 Smartthings hub has basic compatibility to the MultiSensor 6, it does not allow you to access its advanced configuration functions readily. In order to make full use of your MultiSensor 6 to its fullest, you must install a custom device handler in order to access other functions of the switch.
- Page 13 Multisensor 6 user guide : Aeotec Group 29-09-2020 17:00 https://aeotec.freshdesk.com/support/solutions/articles/6000057073-multisensor-6-user-guide- Pagina 13 van 13...
Need help?
Do you have a question about the MultiSensor 6 and is the answer not in the manual?
Questions and answers