Table of Contents
Advertisement
Quick Links
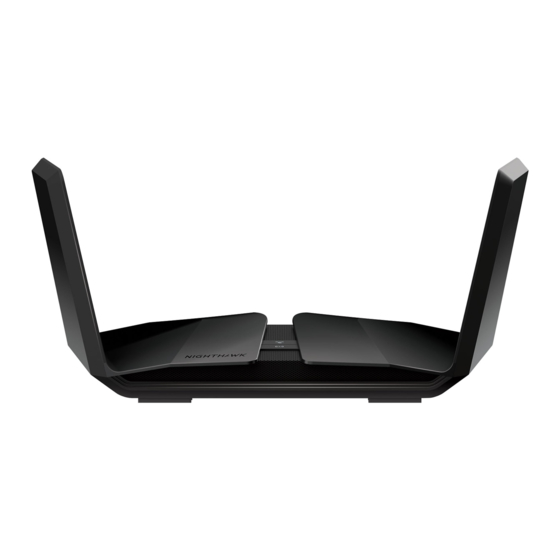
Netgear Nighthawk RAX120
Please follow the steps below to set up your Netgear Nighthawk RAX120.
1. Ensure your NBN Connection Box is turned on.
2. Plug an Ethernet cable from the UNI-D1 port on your NBN Connection Box into
the Internet/WAN port on your Nighthawk modem.
If UNI-D1 doen't work, try each UNI-D port.
3. Plug in the power cable and turn your Nighthawk modem on using the Power button.
4. You can connect devices such as PC desktops, laptops or gaming consoles by plugging
Ethernet cables from the device to any of the four LAN ports, or you can connect
devices via WiFi.
5. Go to http://192.168.1 or http://www.routerlogin.net in your browser.
Modem Setup Guide – NBN FTTP
1
Advertisement
Table of Contents

Related Manuals for TPG Netgear Nighthawk RAX120


Summary of Contents for TPG Netgear Nighthawk RAX120
- Page 1 Modem Setup Guide – NBN FTTP Netgear Nighthawk RAX120 Please follow the steps below to set up your Netgear Nighthawk RAX120. 1. Ensure your NBN Connection Box is turned on. 2. Plug an Ethernet cable from the UNI-D1 port on your NBN Connection Box into the Internet/WAN port on your Nighthawk modem.
- Page 2 9. Enter in your TPG username and password. 10. Click Apply. Once you receive notification that your TPG NBN service is active, your Nighthawk RX120 should now be online. If you are still having issues, please call us on 1300 997 271 for...
Need help?
Do you have a question about the Netgear Nighthawk RAX120 and is the answer not in the manual?
Questions and answers