Advertisement
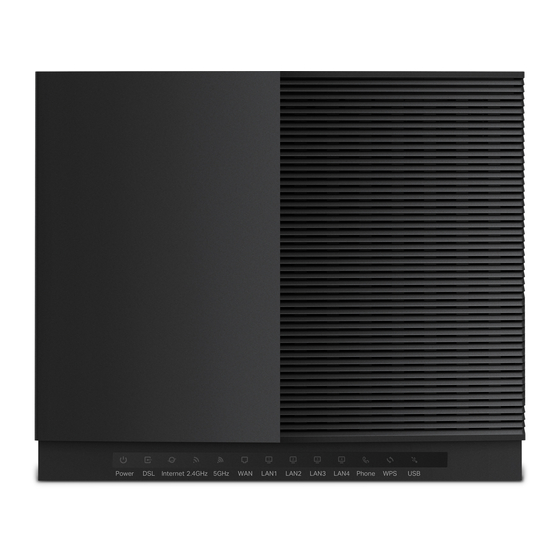
TP-Link VX420-G2v
Important Message
Your modem has been pre-configured; you do not need to follow each step of the setup
guide but should retain this document if you need to configure your equipment manually.
Physical Connection
1. Ensure your NBN Connection Box is turned on.
2. Plug the supplied yellow Ethernet cable from the UNI-D1 port on your NBN Connection
Box into the blue WAN port on your TP-Link modem.
If UNI-D1 doesn't work, try each UNI-D port.
3. Plug in the supplied power cable and turn your TP-Link modem on using the Power
button.
Modem Setup Guide – NBN HFC
1
Advertisement
Table of Contents

Summary of Contents for TPG NBN HFC
- Page 1 Modem Setup Guide – NBN HFC TP-Link VX420-G2v Important Message Your modem has been pre-configured; you do not need to follow each step of the setup guide but should retain this document if you need to configure your equipment manually.
- Page 2 Phone port on your modem. Once you receive notification that your TPG NBN service is active, your TP-Link VX420-G2v should now be online. If you are still having issues, please call us on 1300 997 271 for further assistance.
- Page 3 Modem Setup Guide – NBN HFC 3. On the home screen, click Internet on the menu. 4. Enter you TPG Username and Password. 5. Click Save. Connecting To WiFi It is easiest to connect your devices using the modem’s default WiFi Network Name (SSID) and Password.
- Page 4 Modem Setup Guide – NBN HFC 2. Go to http://192.168.1.1 in your browser. 3. Log in with your TP-Link modem password. By default, the password is admin. 4. On the menu, click Wireless. 5. Enter your new Network name (SSID) and Password as desired.


Need help?
Do you have a question about the NBN HFC and is the answer not in the manual?
Questions and answers