Advertisement
PARTS INCLUDED
A [2] HEADBOARD & FOOTBOARD
B [1]
SIDE RAIL (BIG)
C [1] SIDE RAIL (SMALL)
D [3] BED SLATS
E [4] LEGS
F [2] PLATFORM PANEL
ASSEMBLY INSTRUCTIONS
1.
Gently lay the Headboard and footboard (A) on a flat and non-abrasive surface. Note:
There are holes at the bottom of the headboard and footboard (A) with pre-installed nuts
that correspond to the threaded rods pre-installed in the leg (E).
2.
Align and insert the threaded rod to the headboard and footboard (A) into the hole with
pre-installed insert nut then turn it clockwise direction to tighten, as illustrated in FIGURE 1.
3.
Gently lay the big side rail (B) on a flat and non-abrasive surface. Align and insert the
thread rod of the legs (E) to the headboard, footboard and big side rail. See FIGURE 2.
A
FIGURE 1
FIGURE 2
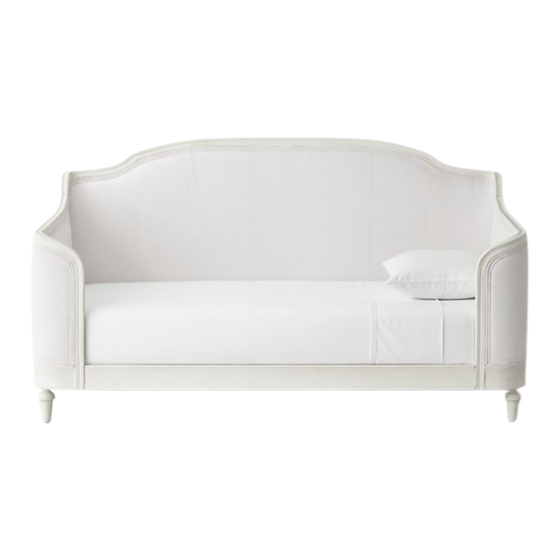
J U L I E T D A Y B E D T W I N B E D
1
NO.
1
2
3
4
5
6
Fig.1
Fig.2
B
Fig.2
ITEM
DESCRIPTION
Threaded Rod
Curved Washer
Lock Washer
Hex Nut
Wrench
Philip round head
Screw
A
Page 1 of 3
QTY.
4 pcs.
4 pcs.
4 pcs.
4 pcs.
1 pc.
30 pcs.
Fig.2
Advertisement
Table of Contents

Related Manuals for RH Teen JULIET DAYBED TWIN BED


Summary of Contents for RH Teen JULIET DAYBED TWIN BED
- Page 1 J U L I E T D A Y B E D T W I N B E D PARTS INCLUDED ITEM DESCRIPTION QTY. A [2] HEADBOARD & FOOTBOARD B [1] SIDE RAIL (BIG) Threaded Rod 4 pcs. C [1] SIDE RAIL (SMALL) Curved Washer 4 pcs.
- Page 2 J U L I E T D A Y B E D T W I N B E D Raise the headboard and footboard (A) up and place the rod (1) to align with the bore holes on the end of the small side rails (C). Put the side rails (C) up against the headboard and footboard (A) so the threaded rods go through the bore holes.
- Page 3 J U L I E T D A Y B E D T W I N B E D On inside surface of both side rails are cavities designed to hold the individual bed slats (D). Set individual bed slats (D) on both sides of the side rails, as illustrated in FIGURE 05.
Need help?
Do you have a question about the JULIET DAYBED TWIN BED and is the answer not in the manual?
Questions and answers