
Related Manuals for HunterDouglas Duette Honeycomb Shades


Summary of Contents for HunterDouglas Duette Honeycomb Shades
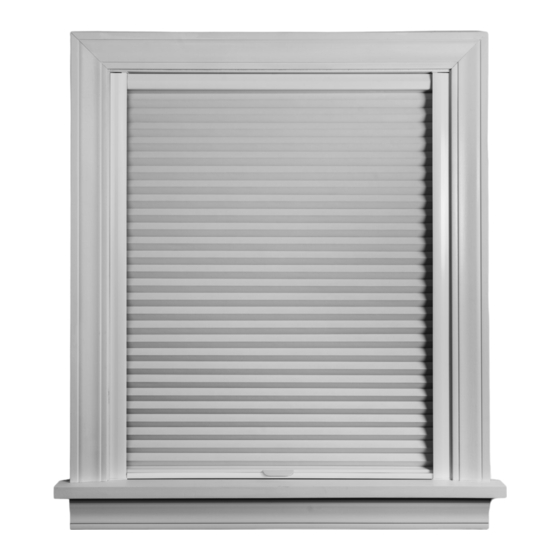
- Page 1 Installation Care • Duette Honeycomb Shades ® LightLock System for LiteRise ™ ® PowerView Automation Operating Systems ®...
-
Page 2: Table Of Contents
CONTENTS GETTING STARTED LightLock Parts ................1 ™ Tools and Fasteners Needed ............2 INSTALLATION Install the Channels ................3 Install the Brackets .................7 Apply D-seal (If Necessary) ............7 Install the Shade ................8 Test the Shade ................8 Finish the Installation ..............8 CARE Removing the Shade (If Necessary) ..........11 Removing the Bottom and Rear Channels (If Necessary) ....11 WARRANTY ................. -
Page 3: Getting Started
GETTING STARTED LightLock Parts ™ Top End Cap Pre-drilled Mounting Channel Trim the template at this dotted line for: PowerView ® (High and low mount battery wand) Trim the template at this dotted line for: LiteRise ® Flush Mount Depth (3 "): - PowerView (Headrail-mounted... -
Page 4: Tools And Fasteners Needed
GETTING STARTED Thank you for purchasing Hunter Douglas Duette Honeycomb Shades. With proper ® installation, operation, and care, your new shades will provide years of beauty and performance. Please thoroughly review this instruction booklet and the enclosed packing list before beginning the installation. -
Page 5: Installation
INSTALLATION Install the Channels Using the outline on the template, determine where to mount the side channel. ■ If your shade is LiteRise or PowerView (battery wand), the minimum mounting depth ➤ ® ® for flush mount is 2 ⁄ ". - Page 6 INSTALLATION Test fit the left pre-drilled mounting channel into the window opening. ■ Pre-drilled holes are 6in apart Pre-drilled holes Room Street If the gap is greater than ⁄ ", select the proper combination of top and bottom end ➤ caps to minimize the gap.
- Page 7 INSTALLATION Place the mounting channel in the window opening, lining up the rear of the mounting ■ channel to the marks previously made on the side jambs. Attach the mounting channel to the window frame at the ■ pre-drilled holes using the screws provided. NOTE: For highly nonconforming flat surfaces or out of square installs, it may be necessary to add an additional screw in the not pre-drilled location...
- Page 8 INSTALLATION Remove the protective liner from the front and the rear channels. ■ Snap the rear channel onto the mounting channel, starting at the bottom and working up ■ to the top. Use a mallet if necessary. Reach behind the rear ■...
-
Page 9: Install The Brackets
INSTALLATION Install the Brackets Your order will include the correct number of installation brackets for your shade width, as ■ shown in the table. Install the installation brackets. ■ Shade Brackets Installation End Mount Width Required Bracket Brackets 12" – 36" ∕... -
Page 10: Install The Shade
For PowerView shades: use the control button to test the operation. Refer to the ➤ Duette Honeycomb Shades PowerView Automation Installation, Operation, and Care document. NOTE: If the channels interferes with the shade’s operation, make sure the side channel is installed completely to the mounting channel. - Page 11 INSTALLATION If using screws: Remove the bottom channel cover. ■ Center the bottom channel between the side channels. ■ Install the bottom channel using the screws provided. ■ Use the screw holes closest to the sides ➤ first, then space the rest of the screws approximately 12"...
- Page 12 INSTALLATION Center the bottom channel between the side channels. ■ Press the bottom channel firmly to the sill. ■ Snap the front channel onto the rear channel, starting at the bottom and working up to the ■ top. Use a mallet if necessary. Repeat for opposite side.
-
Page 13: Care
CARE Removing the Shade (If Necessary) Start at the bottom of the front channel, pull the channel to separate from the mounting ■ channel. Repeat for the opposite side. ■ Lower the shade approximately 4". ■ Bracket While holding the headrail, push ■... - Page 14 CARE Once the bottom channel is removed, grasp the corner of the rear channel and peel ■ inward. If necessary, use a wide flat blade screw driver or 1" putty knife between the mounting channel and the rear channel. Repeat for the opposite side. ■...
-
Page 15: Warranty
If you are not thoroughly satisfied, simply contact Hunter Douglas at (888) 501-8364 or visit hunterdouglas.com. In support of this policy of consumer satisfaction, we offer our Lifetime Limited Warranty as described below.
Need help?
Do you have a question about the Duette Honeycomb Shades and is the answer not in the manual?
Questions and answers