Sign In
Upload
Download
Table of Contents
Contents
Add to my manuals
Delete from my manuals
Share
URL of this page:
HTML Link:
Bookmark this page
Add
Manual will be automatically added to "My Manuals"
Print this page
×
Bookmark added
×
Added to my manuals
Manuals
Brands
signia Manuals
Hearing Aid
Insio Nx IIC
User manual
signia Insio Nx IIC User Manual
Hide thumbs
Also See for Insio Nx IIC
:
User manual
(48 pages)
,
User manual
(52 pages)
1
Table Of Contents
2
3
4
5
6
7
8
9
10
11
12
13
14
15
16
17
18
19
20
21
22
23
24
25
26
27
28
page
of
28
Go
/
28
Contents
Table of Contents
Troubleshooting
Bookmarks
Table of Contents
Table of Contents
Welcome
Your Hearing Instruments
Instrument Type
Getting to Know Your Hearing Instruments
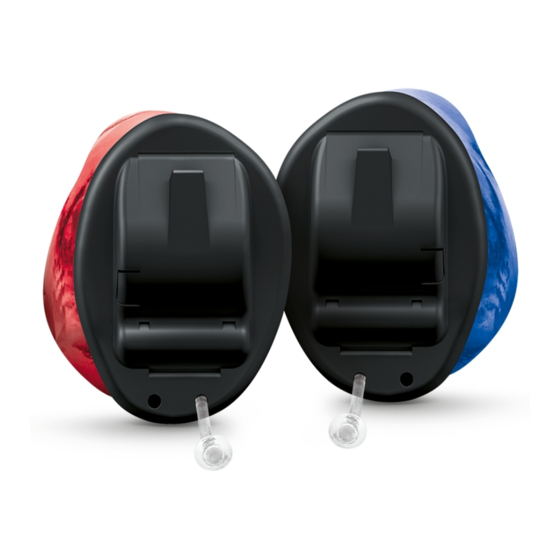
Components and Names
Controls
Hearing Programs
Features
Batteries
Battery Size and Handling Tips
Replacing Batteries
Daily Use
Turning on and off
Inserting and Removing the Hearing Instruments
Adjusting the Volume
Changing the Hearing Program
Further Adjustments (Optional)
Special Listening Situations
On the Phone
Audio Induction Loops
Maintenance and Care
Hearing Instruments
Professional Maintenance
Further Information
Safety Information
Wireless Functionality
Accessories
Symbols Used in this Document
Troubleshooting
Country-Specific Information
Service and Warranty
Advertisement
Quick Links
1
Your Hearing Instruments
2
Controls
3
Adjusting the Volume
4
Maintenance and Care
5
Troubleshooting
Download this manual
Custom instruments
Insio Nx IIC, Insio Nx CIC, Insio Nx ITC, Insio Nx ITE
User Guide
Table of
Contents
Previous
Page
Next
Page
1
2
3
4
5
Advertisement
Table of Contents
Need help?
Do you have a question about the Insio Nx IIC and is the answer not in the manual?
Ask a question
Questions and answers
Related Manuals for signia Insio Nx IIC
Hearing Aid signia Insio Nx CIC User Manual
Custom instruments (52 pages)
Hearing Aid signia Insio Nx CIC User Manual
Custom instruments (48 pages)
Hearing Aid signia Insio Nx ITC User Manual
(28 pages)
Hearing Aid signia Insio Nx ITE User Manual
(28 pages)
Hearing Aid signia Insio primax User Manual
Custom instruments (32 pages)
Hearing Aid signia Insio primax User Manual
(34 pages)
Hearing Aid signia Insio C&G AX ITE Manual For Hearing Care Professionals
Made for iphone/ipad/ipod (24 pages)
Hearing Aid signia Insio C&G AX ITC/ITE User Manual
(35 pages)
Hearing Aid Signia Pure primax User Manual
(35 pages)
Hearing Aid Signia Motion SX primax User Manual
(39 pages)
Hearing Aid signia Pure Charge&Go Nx User Manual
(32 pages)
Hearing Aid signia Pure 10 Nx User Manual
(29 pages)
Hearing Aid signia Motion 13 Nx User Manual
(37 pages)
Hearing Aid signia Styletto User Manual
(29 pages)
Hearing Aid signia Contrast SP+ User Manual
(36 pages)
Hearing Aid signia Styletto Manual
Hearing care professionals (9 pages)
This manual is also suitable for:
Insio nx cic
Insio nx itc
Insio nx ite
109 549 89
Table of Contents
Print
Rename the bookmark
Delete bookmark?
Delete from my manuals?
Login
Sign In
OR
Sign in with Facebook
Sign in with Google
Upload manual
Upload from disk
Upload from URL


Need help?
Do you have a question about the Insio Nx IIC and is the answer not in the manual?
Questions and answers