Table of Contents
Advertisement
Quick Links
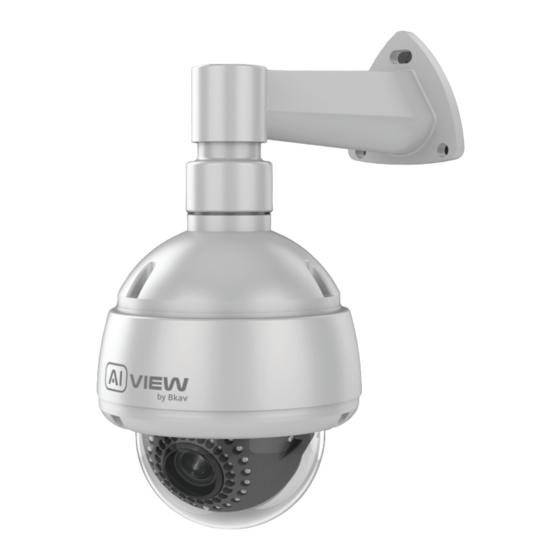
4k dome
AI-BASED CAMERA
Qualcomm products contained herein are products of Qualcomm Technologies, Inc. and/or its subsidiaries.
Qualcomm is a trademark of Qualcomm Incorporated, registered in the United States and other countries.
The Made with Qualcomm Technologies logo is a trademark of Qualcomm Incorporated.
Advertisement
Table of Contents

Related Manuals for Bkav AI View P400


Summary of Contents for Bkav AI View P400
- Page 1 4k dome AI-BASED CAMERA Qualcomm products contained herein are products of Qualcomm Technologies, Inc. and/or its subsidiaries. Qualcomm is a trademark of Qualcomm Incorporated, registered in the United States and other countries. The Made with Qualcomm Technologies logo is a trademark of Qualcomm Incorporated.
- Page 2 INSTALLATION GUIDE Model: P400 Product number: 0803F/0802N/0803FW/0802NW...
-
Page 3: Product Kit
PRODUCT KIT Wi-Fi antenna GPS antenna Waterproof Set 3 of screws Hex tool (Option) couplings and anchors size 3, 4, 5 Camera (0803FW/0802NW) 4k dome WALL DECAL FOR DRILLING POSITION AI-BASED CAMERA Ø10 mm, 3 holes Qualcomm products contained herein are products of Qualcomm Technologies, Inc. and/or its subsidiaries. Qualcomm is a trademark of Qualcomm Incorporated, registered in the United States and other countries. -
Page 4: Technical Specification
TECHNICAL SPECIFICATION POE IEEE802.3af/802.3at Power supply Maximum 13W, 12VDC Protection standards IP66, IK10 Resolution, frame rate UHD 3840 x 2160, 60fps P400-0803F / P400-0803FW: 3x Optical zoom P400-0802N / P400-0802NW: 2x P400-0803F / P400-0803FW: 10.9 - 29mm ± 5% Focal length P400-0802N / P400-0802NW: 4.36 - 9.33mm ±... -
Page 5: Product Overview
PRODUCT OVERVIEW RJ45 terminal block 12VDC power supply Camera body Camera lens Infrared LED Dust and waterproof lens protector... - Page 6 INSTALLTION GUIDE Step 1: Apply to the position decal and then drill 4 anchors to the wall (Figure 1). Step 2: Fix the camera mount with 3 anchors onto the wall (Figure 2). Step 3: Tighten 3 screws to fix the camera onto the wall. Drilling position decal...
- Page 7 WI-FI, GPS ANTENNA INSTALLATION Connecting GPS antenna: Step 1: Insert the GPS antenna connector into the waiting cable terminal (Figure 1). Step 2: Put the GPS antenna on the position, as in the figure and fix it using silicone glue. Connecting Wi-Fi antenna (with Wi-Fi assistant model) Insert 2 Wi-Fi antennas into 2 available terminal positions (Figure 2).
- Page 8 CONNECTING DEVICES INSTALLATION Connect the PoE cable. Insert the cable into the waterproof coupling before connecting the wires into the terminal. Two options to connect devices: Option 1: Use the network cable connected from the switch PoE to the waiting RJ45 terminal, no need to use 12VDC power supply (Figure 1).
- Page 9 ADJUSTING THE CAMERA VIEWING ANGLE 65° 360°...
- Page 10 THE MEMORY CARD AND RESET INSTALLATION Reset installation: Open the protective cover that protects the camera against dust and water to reset the device. Memory card: Open the protective cover, you can find the location of Micro SD card. Reset factory Mirco SD card Note: Power off the camera, press and hold the factory reset button.
-
Page 11: Accessing The Camera
ACCESSING THE CAMERA Password setting Using your web browser, access the camera's default IP: 192.168.1.168 Note: To complete the installation steps for the camera, refer to the User Manual. The system will ask you to reset the password on your initial access. When the "Administrator password change"... -
Page 12: Software Installation
SOFTWARE INSTALLATION Login screen When accessing the camera, a login window will appear. Enter your user name and password to access the camera. 1. Enter "admin" in the <User name> box. 2. Enter your chosen password in <Password> box. 3. Click User name Password... -
Page 13: Safety Information
Improper installation may cause damage to the product. Contact Bkav's customer support or authorized Bkav agents if you experience any problems. This equipment has been tested and found to comply with the limits for a Class A digital device, pursuant to part 15 of the FCC rules. - Page 14 BKAV CORPORATION Address: 2nd Floor - HH1 Building, Yen Hoa Ward, Cau Giay District, Ha Noi, Viet Nam Website: www.aiview.ai Email: aiview@bkav.com...
Need help?
Do you have a question about the AI View P400 and is the answer not in the manual?
Questions and answers