Table of Contents
Advertisement
Quick Links
Advertisement
Table of Contents

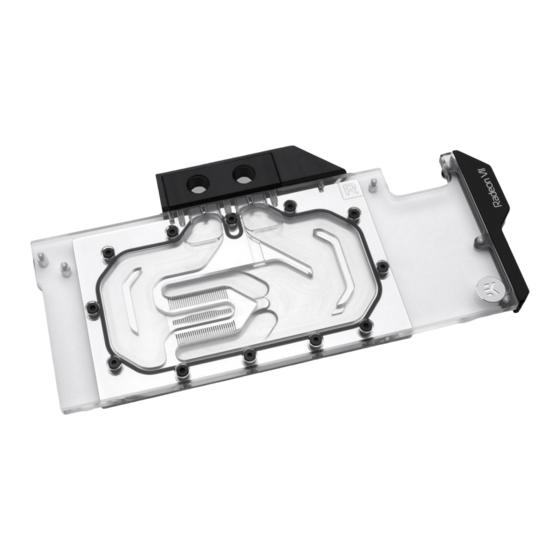
Summary of Contents for ekwb EK-Vector Radeon VII
- Page 1 EK-Vector Radeon VII GPU WATER BLOCK INSTALLATION MANUAL...
- Page 2 The following instructions are subject to change without notice. Please visit our web site at www.ekwb.com for updates. Before installation of this product please read important notice, disclosure and warranty conditions printed on the back of the box.
-
Page 3: Table Of Contents
TABLE OF CONTENT PREPARING YOUR GRAPHIC CARD INSTALLATION OF SINGLE SLOT I/O BRACKET (OPTIONAL) INSTALLING THE WATER BLOCK CHECKING FOR CONTACTS INSERTING THE CARD IN YOUR PC CASE INSTALLATION OF FITTINGS AND TUBING CONNECTING THE RGB LED STRIP (optional) SUPPORT AND SERVICE SOCIAL MEDIA - 3 -... -
Page 4: Preparing Your Graphic Card
PREPARING YOUR GRAPHIC CARD STEP 1 REMOVING THE FACTORY BACKPLATE Remove all 9 encircled screws using a Phillips head screwdriver, then take off the backplate and XO clip. STEP 1 STEP 2 REMOVING THE STOCK COOLER Remove both encircled screws using a Phillips head screwdriver. STEP 2 STEP 3 REMOVING THE STOCK COOLER (CONTINUED) - Page 5 CLEANING THE PCB CWipe off the remains of any thermal compound from the GPU core and HBM by using a non-abrasive cloth or q-tip. EKWB recommends the use of denatured alcohol for removing TIM leftovers. Additionally, remove all of the stock thermal pads from both sides of the PCB.
- Page 6 STEP 6 CUTTING THERMAL PADS Your block is supplied with thermal pads that need to be cut into smaller pieces in order to cover all VRM components. PLEASE REMOVE THE PROTECTIVE STICKER FROM BOTH SIDES OF THE THERMAL PADS PRIOR TO INSTALLATION. Replacement thermal pads: 1.
-
Page 7: Installation Of Single Slot I/O Bracket (Optional)
INSTALLATION OF SINGLE SLOT I/O BRACKET (OPTIONAL) STEP 1 REMOVE THE FACTORY I/O BRACKET Use a Phillips head screwdriver to remove all 6 screws which secure the I/O bracket to the card. Retain these screws for the next step and take the I/O bracket off the PCB. -
Page 8: Installing The Water Block
ATTACHING THE BLOCK TO THE GRAPHIC CARD Use a Phillips head screwdriver with the enclosed M2,5 x 4 AX1 screws. EKWB recommends users to start tightening the screws evenly around the GPU core and then to continue outwards. Always use a plastic washer under every screw. -
Page 9: Checking For Contacts
In case you fail to obtain good contact, please check again that your thermal pad thickness or contact our support service at: http://www.ekwb.com/support. INSERTING THE CARD IN YOUR PC CASE Carefully lift your graphics card with block installed and insert it into the correct PCIe expansion slot on your PC’s motherboard (consult... -
Page 10: Installation Of Fittings And Tubing
Screw in two male G1/4 threaded fittings. Attach the liquid cooling Tubing EK-Fitting tubes and connect the water-block(s) into the cooling loop. EKWB recommends using EK-STC or EK-HTC fittings with the EK- Vector series water blocks. TIf you are using barb fittings please... -
Page 11: Support And Service
SUPPORT AND SERVICE For assistance please contact: http://support.ekwb.com/ EKWB d.o.o. Pod lipami 18 1218 Komenda Slovenia - EU SOCIAL MEDIA EKWaterBlocks @EKWaterBlocks ekwaterblocks EKWBofficial ekwaterblocks...


Need help?
Do you have a question about the EK-Vector Radeon VII and is the answer not in the manual?
Questions and answers