Advertisement
Quick Links
Advertisement

Related Manuals for ekwb EK


Summary of Contents for ekwb EK
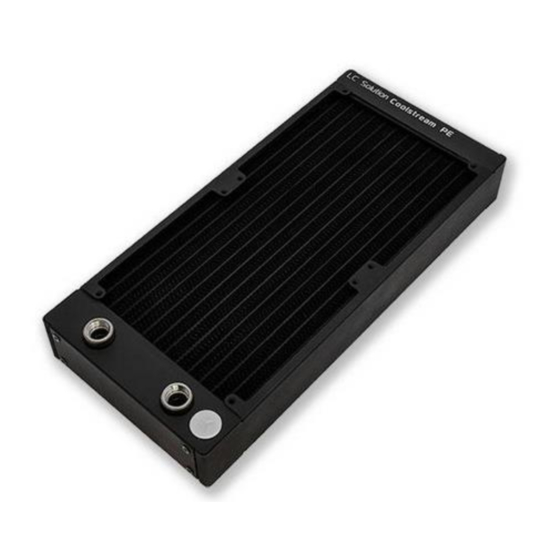
- Page 2 CPU Water Block with AMD plate CPU Backplate mechanism Thermal compound - grease Radiator Fans Pump/reservoir combo Pump/reservoir holder LED lights Compression fittings CPU mounting mechanism Coolant Tube ATX Bridging Plug Fan cable Y-splitter 1L bottle of distilled water Needed hardware for installation...
-
Page 4: Step 2: Table Of Content
This product is intended for installation only by expert users. Please consult with a qualified technician for installation. Improper installation may result in damage to your equipment. EK Water Blocks assumes no liability whatsoever, expressed or implied, for the use of these products, nor their installation. The following instructions are subject to change without notice. Please visit our web site at www.ekwb.com... - Page 5 CIRCUIT spring and thumb nut over each M4 thumb screw. Start fastening two Carefully identify the direction of the flow in your circuit. For the EK- thumb nuts at a time, preferably in cross pattern and do not tighten Supremacy MX series water block to operate properly the G1/4 port them fully until all of them are partially screwed in.
- Page 6 Secure the motherboard by screwing in motherboard mounting screws Take the PC case plate and install the necessary spacers and install the motherboard. (provided with your Motherboard) Take the fans and put it into the factory provided fan holder. Ideally, radiator First you need to assemble the fan, fan holder and the radiator.
- Page 7 Mount your pump holder using two M4x12 screws from the front side. Use the Secure the assembly screws using PVC washers and two M4 nuts. pre-drilled holes, as shown on the sketch. Mount the pump/reservoir combo on the pump holder. Please use four rubber Make sure all the screws are tight as the vibrations that come from the pump may dumpers, pvc washers and four M4x6 screws as shown on the sketch.
- Page 8 Repeat the procedure on the Pump/Reservoir unit. Repeat the procedure in the graphics card waterblock, if Repeat the procedure on CPU water block Screw in the fitting on the outlet and inlet port. present. Take the cable with adaptors from the pump Connect pumps female 4-PIN connector to male Connect 4-pin Molex female connector to male Molex delivery.
- Page 9 And fill in whole content (100mL) of the water Open top of the reservoir. Fill in the ready liquid about 1 cm from the top additive concentrate Fill up the liquid while the pump is running and stop Alternately turn off and on (cycle) power supply in few Turn on the power supply when the water level reaches 2 cm under the edge second intervals to speed up air bleeding process.
- Page 10 Cover all exposed hardware with a towel or paper Unscrew one of the G1/4 fitting rings on the Gently pull the tube off the fitting and direct it into the towels. Put a container under reservoirs inlet and pump/reservoir combo. container.
Need help?
Do you have a question about the EK and is the answer not in the manual?
Questions and answers