Table of Contents
Advertisement
Quick Links
Advertisement
Table of Contents

Subscribe to Our Youtube Channel
Related Manuals for SIIG AV-GM01Q3-S1A


Summary of Contents for SIIG AV-GM01Q3-S1A
- Page 1 Dual-View Universal Video to DVI-I Scaler (with Audio support) P/N: AV-GM01Q3-S1A...
-
Page 2: Table Of Contents
Dual-View Universal Video to DVI-I Scaler(with Audio support) been tested for conformanceto safety regulations and requirements, and has been certified for international use. However,like all electronic equipments, the AV-GM01Q3-S1A should be used with care. Please read and follow thesafety instructions to protect yourself from possible injury the unit. -
Page 3: Introduction
AV-GM01Q3-S1A is designed to ease the conversion among the available video formats to the common VGA, DVI and even HDMI with affordable cost. With AV-GM01Q3-S1A, the bothersome video format issues will not become a bottleneck in your applications and the handy audio support can make the input video and audio become HDMI ready. -
Page 4: Specifications
SPECIFICATIONS Model Name AV-GM01Q3-S1A Technical Role of usage Video scaling & format converter HDMI & HDCP HDMI & HDCP 1.1 Compliance Audio support stereo audio Digital video bandwidth 4.95 Gbps Analog video bandwidth 165 MHz Maximum resolution 1080p60 / 1920x1200@60 Input TMDS signal 1.2 Volts [peak-to-peak]... -
Page 5: Ir Remote Control
Relative humidity 20~90% RH [no condensation] IR REMOTE CONTROL PIP/PAP Menu Freeze Video Sleep ON Menu Control Buttons Menu On Exit OSD Source: Sequential source switch Info: Display input type and time Auto: Auto adjustment for VGA input C.C.:No use in this model HDMI:No use in this model TV: No use in this model Aspect: Aspect ratio change... - Page 6 The buttons not listed above are not in use for this model.
-
Page 7: Panel Descriptions
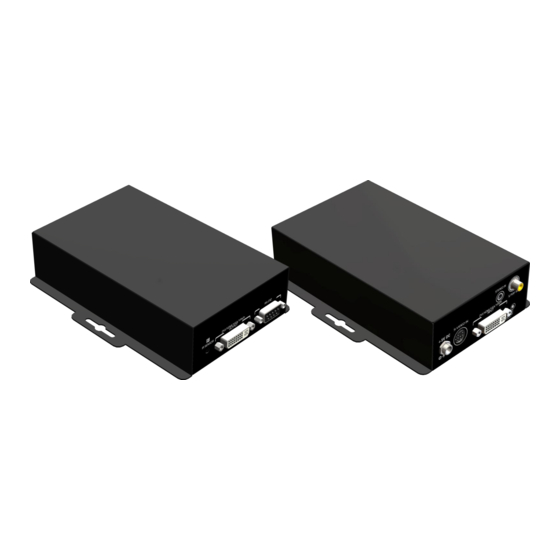
PANEL DESCRIPTIONS Front Panel IR: IR sensor DVI/HDMI OUT : Dual output DVI & VGA video signals RS-232: Firmware update and future software control Rear Panel STEREO IN: Analog audio from PC or DVD players S/PDIF IN: 48KHz digital audio input from PC or DVD players +5V DC power jack S-VIDEO IN: Input Composite and S-Video by breakout cable DVI-I IN: Input HDMI / DVI / Component... -
Page 8: Hardware Installation
1. Power up the AV-GM01Q3-S1A. 2. To reset AV-GM01Q3-S1A back to the factory default values, pull up-and-down the DIP switch 1 & 2 from OFF to ON to complete the process. You NEED to pull back the DIP switch back to OFF in order to get AV-GM01Q3-S1A work normally. -
Page 9: Ir Control Tree
IR CONTROL TREE... -
Page 13: Software Procedure
SOFTWARE PROCEDURE 1. Setting Select the correct ComPort connected to the device. Push “Scan” to start the automatic scan on each. 2. System IR Simulation Cutting Function Update the status from the device to software. Main Function... - Page 14 3. Display Control Display Mode 4. Firmware Update 1. Press this button first 2. Reboot the device to proceed firmware updating...
-
Page 15: Connection Diagram
CONNECTION DIAGRAM... -
Page 17: Warranty
The SELLER will NOT be liable for direct, indirect, incidental, special, or consequential damages resulting from any defect or omission in this manual, even if advised of the possibility of such damages. Also, the technical information contained herein regarding the AV-GM01Q3-S1A features and specifications is subject to change without further notice...
Need help?
Do you have a question about the AV-GM01Q3-S1A and is the answer not in the manual?
Questions and answers