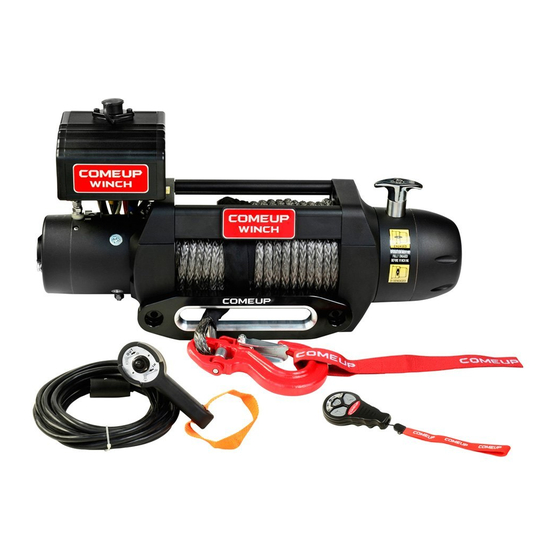
Comeup Seal Gen2 Series Instruction Manual
Hide thumbs
Also See for Seal Gen2 Series:
- Manual (2 pages) ,
- Quick start manual (2 pages) ,
- Instruction manual (29 pages)
Summary of Contents for Comeup Seal Gen2 Series
- Page 3 Control Indicator Guide To prevent any serious injury, do not install or operate this winch before reading this manual. Keep this manual with the winch at all times. Winch operators must read and understand contents fully. Know the specific function of your winch. 1.
- Page 4 Control Indicator Guide Temperature Warning Handheld Remote Warning Buzzer warning 5. Wireless Remote Control Icon: a. While using wireless control, the wireless signal icon of IDB of your Seal Gen2 9.5rsi will turn on. b. The LED indicators on the wireless transmitter indicate the signal condition. If green, the signal is good;...
- Page 5 Control Indicator Guide ► Seal Gen2 9.5rsi with IDB (Intelligence Dashboard), cutout switch and buzzer warning. 1).Wireless remote control module: Applicable models Seal Gen2 9.5rsi LED & Buzzer Transmitter LOGO 2 short Turn on beeps for 1 minutes Blinking Press Transmitter for 5 seconds Turn on Long beeps Green...
- Page 6 Control Indicator Guide 2).Wired remote control module: Applicable models Seal Gen2 9.5i/9.5si/9.5rsi LED & Buzzer Remote LOGO Control Press the power button 2 short to turn winch on. Light Light Blinking beeps for (remark 1.) 1 minutes Plug in connector Green (remark 2) Cable in/IDB LED (Green)
- Page 7 Control Indicator Guide 3).Wireless remote control or wired remote control (2 LEDs on wired remote control and buzzer in the control box), For Seal Gen2 9.5rs/12.5rs/16.5rs only: Applicable models Seal Gen2 9.5rs/12.5rs/16.5rs LED & Buzzer Transmitter Remote Buzzer Control LED Press the power button on transmitter for 5 seconds to Green...
- Page 8 1.1 Press the cutout switch button to activate the winch operation. Verify a red light appears around the button. 1.2 The white COMEUP winch logo icon will bright up for Seal Gen2 9.5i/9.5si/9.5rsi, battery indicator icons will light on in green.
- Page 9 Control Indicator Guide 1. Loose the three screws from the back cover of the wireless transmitter. 2. Separate the top section and remove the old battery (and dispose it). 3. Insert new 3V lithium battery and join the top section with the bottom section. 4.
- Page 10 Control Indicator Guide Wiring Diagram Attach the black lead firmly to the negative (–) battery terminal and red lead to the positive (+) battery terminal. The voltage drop for the winch motor must not exceed 10% of the nominal voltage of 12/24V DC.
- Page 11 Control Indicator Guide 3. Additional Emergency Stop Function: The power button also works as an emergency stop if the radio control is in malfunction of any reason. While the radio control is in operation (either winch in or winch out, the red light is on), once power button is pressed, the radio control will be forced to power off immediately.
-
Page 12: Mounting Guide
Mounting Guide Clutch Repositioning Change the position of the Free-Spool T-handle according to the following steps. 1. Loosen and release the bolts on the brake rear cover for separating the brake rear cover away. 2. Loosen and release the bolts on the gearbox away for separating the gear box away. 3. - Page 13 In the event of repair or replace, purchaser must send the defective winch or part, with freight prepaid, to COMEUP or its authorized distributor. And COMEUP will send the serviced product back to purchaser on COMEUP’s cost. This warranty does not cover the removal or reinstallation of the winch.


Need help?
Do you have a question about the Seal Gen2 Series and is the answer not in the manual?
Questions and answers