Table of Contents
Advertisement
Quick Links
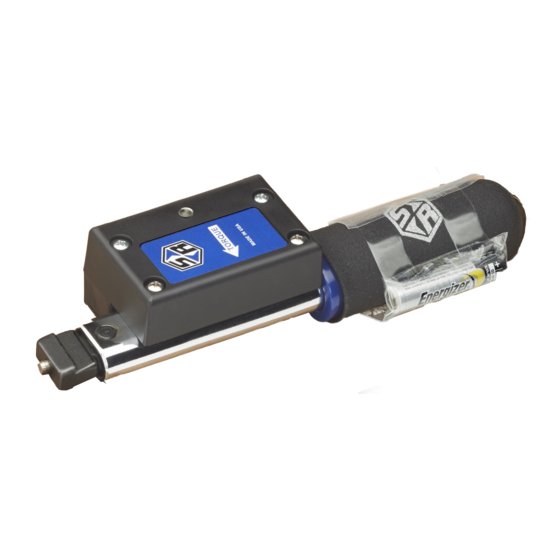
SLTC24-FM (2.4GHz) Torque Wrench Operating Instructions
Models to which these instructions apply:
P/N
Description
810410
SLTC-FM 2.4GHz OHT
810412
SLTC-FM 2.4GHz 150I
810415
SLTC-FM 2.4GHz 1800I
SR SLTC-FM 2.4 GHz torque wrenches are designed and manufactured to provide consistent torque application in
multiple manufacturing and maintenance applications. They meet or exceed the requirements of ASME B107.300 and
ISO 6789. These wrenches are accurate to +/-4% of the preset value from 20% to 100% of rated capacity.
Interchangeable Heads and Dovetail
Any S/R interchangeable head may be used with the wrench. Note: It is imperative that the head used to preset the
torque wrench have the same common centerline length as the head that will be used in assembly. Failure to do so
will create a different torque output during assembly than that which was preset.
To attach the head:
1. Align the head with the dovetail and slide it onto the dovetail until it contacts the retaining pin.
2. Use a small hex key or other device to depress the locking pin.
3. Slide the head completely onto the dovetail.
To remove the interchangeable head:
1. Use small hex key or similar device to depress the locking pin through the access hole in the rear of the head.
2. While the pin is depressed, slide the head sideways to hold the pin down and remove the hex key.
3. Slide the head completely off the dovetail.
Torque Setting
A torque tester of +/- 1% indicated value accuracy or better, an SR CART (Combination
Adjusting and Release Tool shown at right), and an interchangeable head having the
same common centerline length as the head that will be used in assembly and capable
Sturtevant Richmont
P/N
Description
810405
SLTC-FM 2.4GHz Ergo
810413
SLTC-FM 2.4GHz 300I
of engaging the tester are required.
1. Insert the Torque Adjustment Key fully into the rear
of the wrench so the hex engages the adjustment nut. Do not engage the Lock
Key. Rotate the Torque Adjustment Key slightly clockwise to disengage the
adjustment nut from the lock nut.
The Tools You Trust.
555 Kimberly Drive Carol Stream, IL 60188
Phones Worldwide: +1 847/455-8677
Toll Free US Only: 800/877-1347
CustomerService@srtorque.com
P/N
810411
810414
Fax: 847/455-0347
www.srtorque.com
Description
SLTC-FM 2.4GHz 50I
SLTC-FM 2.4GHz 750I
Advertisement
Table of Contents

Subscribe to Our Youtube Channel
Related Manuals for Sturtevant Richmont SLTC-FM 2.4GHz Series


Summary of Contents for Sturtevant Richmont SLTC-FM 2.4GHz Series
- Page 1 Sturtevant Richmont The Tools You Trust. 555 Kimberly Drive Carol Stream, IL 60188 Phones Worldwide: +1 847/455-8677 Toll Free US Only: 800/877-1347 Fax: 847/455-0347 www.srtorque.com CustomerService@srtorque.com SLTC24-FM (2.4GHz) Torque Wrench Operating Instructions Models to which these instructions apply: Description Description...
- Page 2 2. Slide the Lock Key in until it engages the lock nut. You may need to rotate the lock key slightly to align it with the internal hex of the lock nut. Rotate the Lock Key counterclockwise several turns to assure the lock nut is fully disengaged from the adjustment nut and that there is sufficient travel available for the adjustment nut to attain the torque setting desired.
- Page 3 Notice that the channels we use leave a much smaller footprint than WLAN. Also notice that one WLAN channel radiates energy onto several of the adjacent WLAN and process monitor (PM) channels. For the most reliable communication between the SR PM and the Frequency Map of 802.15.4 vs.
- Page 4 Battery and Battery Replacement These tools are shipped with an alkaline battery. Always respect polarity requirements for our tools. 1. The battery compartment is located directly under the LED on the underside of the wrench. Turn the wrench over so the face plate is facing the floor.
- Page 5 Operation & LED's Once the tool has been preset, the appropriate interchangeable head installed and the radio transceiver has been associated with the appropriate controller and specifications exchanged, the tool is ready for use. In normal operation, the tool will emit a strong tactile and sound impulse when it clicks. If the tool is jerked (too little time in the clicked position) the LED on the tool will not illuminate.
Need help?
Do you have a question about the SLTC-FM 2.4GHz Series and is the answer not in the manual?
Questions and answers