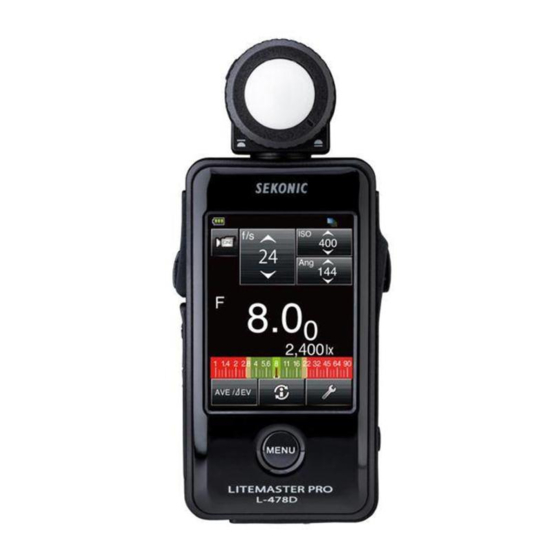
Sekonic LITEMASTER PRO L-478 Series Operating Manual
Light meter
Hide thumbs
Also See for LITEMASTER PRO L-478 Series:
- Startup manual (4 pages) ,
- Operating manual (68 pages)
Table of Contents
Advertisement
Quick Links
Operating Manual
LITEMASTER PRO
L-478 Series
This manual is for common operation between L-478 Series.
Refer to each L-478DR Series, L-478DR-EL Series or
L-478DR-PX Series manual for specific radio operations.
Please read the operating manual and safety precaution carefully
to fully understand the features of this product before use and
keep it for future use. Keep the operating manual in a safe place.
Light Meter
Advertisement
Table of Contents


Need help?
Do you have a question about the LITEMASTER PRO L-478 Series and is the answer not in the manual?
Questions and answers