Advertisement
Quick Links
Advertisement

Related Manuals for Edu-Logger 900-235


Summary of Contents for Edu-Logger 900-235
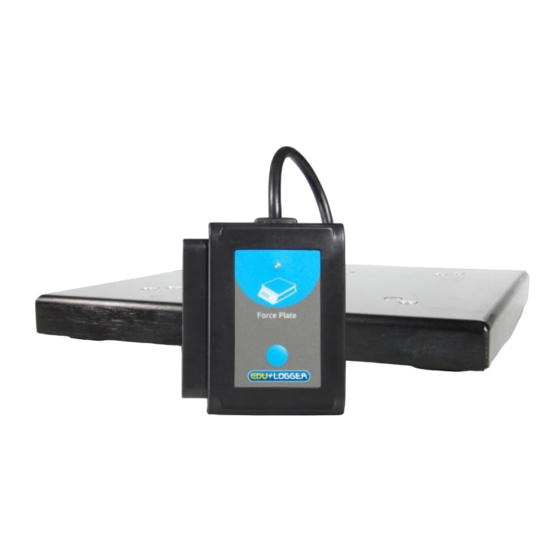
- Page 1 Edu-Logger Force Plate Plate Logger Sensor Guide 900-235...
- Page 2 The sensor can easily be reset to zero at any time. Hundreds of possible experimental subjects that can be done with the 900-235 sensors are: Newton’s Laws of Motion, kinetic and potential energy, gravitational force strength, impulse, elastic and inelastic collisions, and many more.
- Page 3 “zero”. This also is used to eliminate the “Tare”. Quick start procedure: PC or Mac Computer Materials needed: 900-235 Force Plate Sensor USB Module USB to mini USB cable (included with the 900- 213 module) Your force sensor needs to be connected to a 900-213 module.
- Page 4 Note: Make sure not to download and install both types of software they will conflict on the computer. Procedure: Install the Edu-Logger software Connect the 900-213 module to the PC or Mac Connect the force plate sensor to the 900-213 module (they directly plug together).
- Page 5 900-268 module. The 900-268 module will create a closed Edu-Logger WiFi network which will stream the Edu-Logger data to a device of your choosing. Once your device is wirelessly connected to the Edu- Logger network you can run experiments and collect data through a browser of your choosing.
- Page 6 Take your tablet or smart phone, go to the WiFi settings and select the Edu-Logger network which matches the 900-268 Module ID found on back 900-268 device. (Edu- LoggerXXXX for example). Give your device about 20 seconds to connect to the 900-268.
- Page 7 Operation with Edu-Logger viewer Materials needed: 900-235 Force Plate Sensor 900-272 Viewing Module 900-215 Battery Procedure: Connect the force plate sensor to the left side of the viewer. Connect the 900-215 module to the right side of the viewer.
- Page 8 Click the “Load data from sensors” button. Select which experimental data to upload. (5 experimental runs can be stored at one time on the 900-235 force plate sensor) Restoring sensor’s factory default settings: Procedure: Connect the 900-213 to a PC, Mac, tablet, or smart device.
- Page 9 Resume from step 4. Included with sensor: Edu-Logger 900-235 force plate sensor guide (this document). Force plate attached to the sensor by a durable rubber-coated wire. Sensor specifications Range and operation -800 to +2000 N modes 12 bit...
- Page 10 Videos, literature and other probes can be found www.edulab.com Technical background: The philosophy behind Edu-Logger’s plug and play technology is based on each sensor’s ability to store its own data due to an internal flash memory chip and micro-controller in each plastic Edu-Logger body.
-
Page 11: Warranty
Never submerge the Edu-Logger plastic body in any liquid. Do not allow liquid into either the sensor’s or the force plate’s body. After use, gently wipe away any foreign material from the force plate and sensor. Store in a box at room temperature out of direct sunlight. - Page 12 Thank you for using Edu-Logger! www.edulab.com info@edulab.com V10012013...
Need help?
Do you have a question about the 900-235 and is the answer not in the manual?
Questions and answers