Advertisement
Quick Links
Advertisement

Summary of Contents for Edu-Logger 900-209
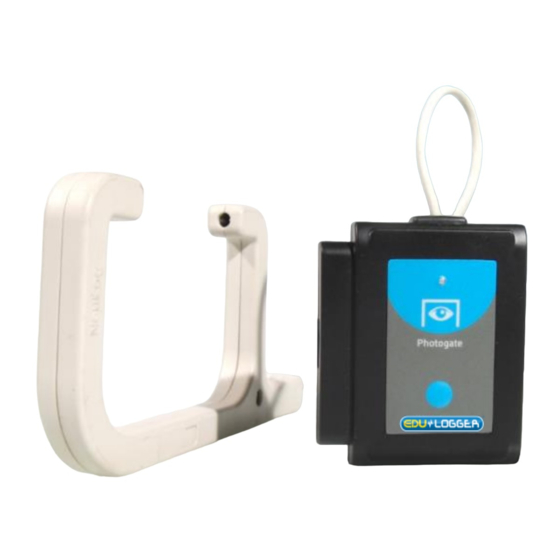
- Page 1 Edu-logger Photo Gate Logger Sensor Guide 900-209 Edu-logger photo gate logger sensor 900-209...
- Page 2 The Edu-logger photo gate sensor can be used for any science experiment or activity which involves taking accurate velocity and/or acceleration measurements especially in the field of Physics. The sensor comes pre-calibrated so you can start experimentation right out of the box using this guide.
- Page 3 appears when other sensor is connected with the photo gate sensor. The photo gate sensor cannot work at off-line mode because the computer is mandatory for its operation options. The off-line option is eliminated when the software finds that the photo gate sensor is connected. The photo gate sensor cannot work with the monitor display unit 900-272.
- Page 4 Quick start procedure: PC or Mac Computer Materials needed: 900-209 Photo Gate Sensor 900-213 USB Module A USB to mini USB cable (which comes with the 900-213) Your photo gate sensor needs to be connected to a 900-213 module.
- Page 5 Click on the “Module setup” button located on the photo gate sensor icon in the module window to change the sensor settings if need be. Click on the "experiment set up" button to change the experiment settings if need be (experiment duration for example).
- Page 6 900-268 module. The 900-268 module will create a closed Edu-logger WiFi network which will stream the Edu-logger data to a device of your choosing. Once your device is wirelessly connected to the Edu- logger network you can run experiments and collect data through a browser of your choosing.
- Page 7 Take your tablet or smart phone, go to the WiFi settings and select the Edu-logger network which matches the 900-268 Module ID found on the back of the 900-268 device. (Edu-loggerXXXX for example). Give your device about 20 seconds to connect to the 900-268.
- Page 8 Experiment customization: The Edu-logger photo gate sensor offers several different experimental customization options. access them; click on the “Experiment Setup” button after your photo gate sensor has been detected. Timing cards: Making timing cards is a unique option to further customize any experiment with the Edu-logger photo gate sensor.
- Page 9 Velocity with a single gate: Velocity with a single gate is the very basic velocity measurement using only one photo gate sensor and any object with a known width. Click the “Experiment Setup” button in the Edu- logger software and select “Velocity with a single gate”.
- Page 10 Acceleration with a single gate: Acceleration with a single gate requires an object (or timing card) with two flags (example shown above) with known widths. Click the “Experiment Setup” button in the Edu- logger software and select “Acceleration with a single”.
- Page 11 Change in time between two gates: Change in time between two photo gates requires two Edu-logger photo gate sensors and an object or timing card with a known width. Click the “Experiment Setup” button in the Edu- logger software and select “Change in time between two gates”.
- Page 12 Connect the photo gate sensor to a 900-213 module (they directly plug together). Please note there is no calibration required for this sensor. Open the Edu-logger software. Click the “Tools” icon. Click the “Restore sensor’s factory defaults” on the enu.
- Page 13 Included with sensor: Edu-logger 900-209 Photo Gate Sensor Guide (this document). Infrared transmitter and receptor housed in the photo gate unit. Threaded rod for easy connection to retort stands or other labware. Sensor specifications 16 bit ADC resolution Accuracy 100 µs...
- Page 14 The Edu-logger photo gate sensor uses an infrared beam to determine when an object has passed through the photo gate. Every point that there is a break in the infrared beam, a 1 is registered in the program.
-
Page 15: Warranty
Maintenance and storage: Never submerge the Edu-logger plastic body in any liquid. Do not allow liquid into the photo gate sensor’s body. After use, gently wipe away any foreign material from the photo gate sensor. Store in a box at room temperature out of direct sunlight. - Page 16 Thank you for using Edu-logger! Flexible, simple, fast, forward thinking. www.edulab.com info@edulab.com V10012013...


Need help?
Do you have a question about the 900-209 and is the answer not in the manual?
Questions and answers