Table of Contents
Advertisement
Quick Links
2
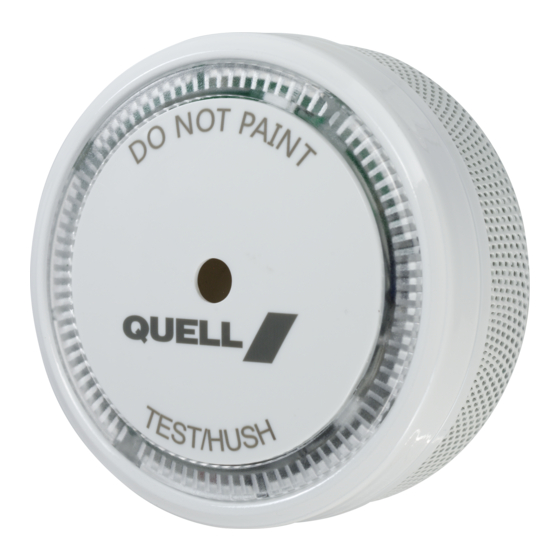
Multi Purpose Photoelectric
Smoke Alarm
Manual
Model QM10
Product code 138625
Photoelectric smoke alarms are designed to detect visible particles
(associated with slow smouldering fires). Home fires develop in
different ways and are often unpredictable. For maximum protection
against fast flaming fires and slow smouldering fires, both ionisation
and photoelectric alarms should be installed.
Quell ® is a registered trademark of Chubb Fire & Security Pty Ltd
Copyright © 2020 carrier. All rights reserved.
Chubb Fire and Security Pty Ltd is part of the Carrier Global Corporation
(NYSE: CARR) group of companies.
Advertisement
Table of Contents

Related Manuals for Quell QM10


Summary of Contents for Quell QM10
- Page 1 Quell ® is a registered trademark of Chubb Fire & Security Pty Ltd Copyright © 2020 carrier. All rights reserved. Chubb Fire and Security Pty Ltd is part of the Carrier Global Corporation...
-
Page 2: Table Of Contents
Lidcombe NSW, 2141 Australia Telephone : 1800 654 435 Website: www.quell.com.au Introduction Model QM10 If you have any questions about the operation or installation of your alarm, please call 1800 654435. Figures 1A to 2B will help you determine the correct location of safety products. - Page 3 Installation Instructions By law at least one smoke alarm must be installed on each level of your home ( Figure 1B). Recommended Locations • In every room where someone sleeps with the door closed. The closed door may prevent an alarm located outside from waking the sleeper.
-
Page 4: Installation
Installation DINING KITCHEN BEDROOM BEDROOM ROOM BEDROOM HALL BEDROOM LIVING ROOM BEDROOM LIVING KITCHEN ROOM Smoke Alarms for Minimum Protection Smoke Alarms for Additional Protection Ionisation Type Smoke Alarm with Alarm BASEMENT Silencer (Hush ® ) or Photoelectric Type SINGLE FLOOR PLAN MULTIPLE FLOOR PLAN FIGURE 1A FIGURE 1B... - Page 5 Installation Figure 2A 500mm NOT IN THIS AREA 1000mm DEAD AIR ANYWHERE IN THIS AREA DO NOT INSTALL PEAK CEILING Figure 2B 500mm NOT IN THIS AREA 1000mm ANYWHERE IN THIS DEAD AIR AREA DO NOT INSTALL SLOPED CEILING...
- Page 6 Installation Do Not Install Smoke Alarm Devices In The Following Places: 1:Near appliances or areas where normal combustion regularly occurs (kitchens, near furnaces, hot water heaters). 2:In areas with high humidity, like bathrooms or areas near dishwashers or washing machines. Install al least 3 meters away from these areas.
- Page 7 Installation ・Take off the bracket from the alarm body. ・Put the bracket on the installation position, mark installation hole of the bracket with pencil. ・Drill a 5mm hole through the pencil marks and insert the two plastic plug supplied. ・Attach the bracket to the plastic plugs and fix tightly the screws into the plastic plugs.(Refer to Figure 3).
- Page 8 Installation Figure 3E...
-
Page 9: Operation
Operation Testing The alarm must be fully mounted on bracket. Test the unit to ensure proper operation by pressing the test button, this will sound the alarm if the electronic circuitry, bracket is mounted, horn, and battery are working. If no alarm sounds, there is a defective battery or other failure, you can refer to“Trouble shooting”section for solution. - Page 10 Operation NOTE: When the units chirp once every 40 seconds, you can press the test button temporarily for pausing this warning tone for 10 hours,it can still normally detect smoke during this period, it only removes nuisance warning tone. You can refer to “Trouble shooting”...
-
Page 11: Troubleshooting
Troubleshooting: Problem Action 1.Fit the alarm on the bracket and turn the alarm body clockwise, until locking in place on the bracket. Smoke alarm device 2.Clean smoke alarm device. does not sound when Please refer to the tested. “maintenance and cleaning” section. -
Page 12: Maintenance
The alarm sounds 1. Clean smoke alarm device. Please different from it is used to. refer to the “maintenance and It starts and stops. cleaning” section. 2. If there are still failures during warranty, you can return to your retailer. 3. -
Page 13: Fire Safety
Fire Safety WARNING: Please read carefully and thoroughly. • Australian Standard AS 1670.6 states the purpose of installing smoke alarms is to provide early warning of a potentially life threatening condition and provide the maximum possible exit time. • Smoke alarms have sensing limitations. Ionisation sensing alarms may detect invisible fire particles (associated with fast flaming fires) sooner than photoelectric alarms. - Page 14 Fire Safety Additional Information Smoke Detection - Where required by applicable laws, codes, or standards for the specified occupancy, approved single and multiple-station smoke alarms shall be installed as follows: • In all sleeping rooms with the exception: Smoke alarms shall not be required in sleeping rooms in existing one and two-family dwelling units.
-
Page 15: Good Safety Habits
Installation Date: Alarm Model(s): Installer/Landlord: Tel: Chubb Fire & Security Pty Limited ABN 47 000 067 541 Building F Unit 1B 3 -29 Birnie Ave Lidcombe NSW, 2141 Australia www.quell.com.au... -
Page 16: Warranty & Contact Details
If a defect in the product appears within the time frame stated, you are entitled to submit a warranty claim by returning your product to the address shown below. Please contact Quell on the telephone numbers provided below, Monday to Friday during 9.00AM - 5.00PM. -
Page 17: Chubb Fire & Security Pty Ltd
This warranty is provided by: Registered office: Chubb Fire & Security Pty Ltd 39 Talavera Road ABN 47 000 067 541 Macquarie Park NSW, 2113 Australia Building F Unit 1B 3-29 Birnie Ave Lidcombe NSW, 2141 Australia Telephone: 1800 654 435 Website: www.quell.com.au...
Need help?
Do you have a question about the QM10 and is the answer not in the manual?
Questions and answers