Salus OPTIMA S Setup Manual
Hide thumbs
Also See for OPTIMA S:
- User manual (44 pages) ,
- User manual (40 pages) ,
- Installation manual (2 pages)
Table of Contents
Advertisement
Quick Links
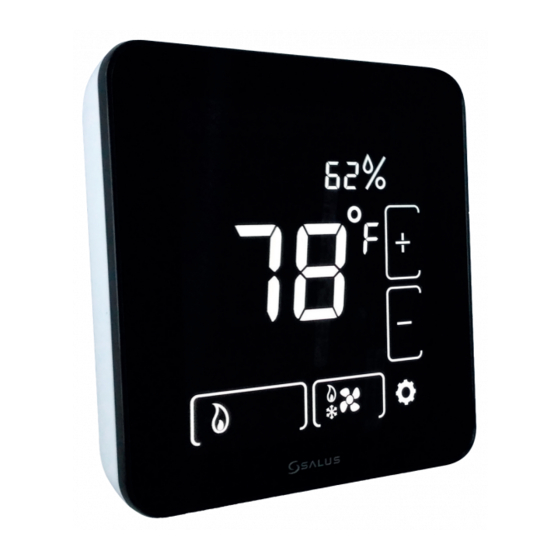
OPTIMA S THERMOSTAT
SETUP GUIDE
Thermostat with
Mounting Plate
• #1 Phillips or flathead screwdriver
• Drill with 3/16" bit
(only if you cannot mount the thermostat using the existing
holes)
STEP 1
TURN OFF POWER TO THE HVAC SYSTEM
STEP 3
REMOVE OLD THERMOSTAT
Remove the old thermostat from the wall, taking care not to
allow the wiring to fall inside the wall.
TIP: Wrap the wire
ends around a long
stick (such as a
pencil) to keep the
wires from falling
into the wall.
IN THE BOX YOU WILL FIND THE FOLLOWING:
Wall
2 x Wood Screws
Plate
2 x Wall Anchors
2 x Locking Pins
YOU WILL NEED THE FOLLOWING TOOLS:
or
Wire
Labels
Optional Tools
• Smartphone or digital camera to take picture of wiring for later
reference
• Screwdriver to disconnect wires from old thermostat
• Pencil
STEP 2
DETERMINE WIRING CONFIGURATION
Use the Wire Labels and the following table to keep track of wire colors
on the old thermostat or on the heat pump / furnace / air conditioner.
HP
NON-HP
R
R or RH
---
RC
C
Y or Y1
Y2
AUX
W or W1
O/B
W2
G
L
---
For new installations, refer to Appendix A and the "Install Mounting
Plate" sections of the Optima S User Manual.
STEP 4
INSTALL MOUNTING PLATE
If there is space on the wall that needs to be covered, insert the Wall
Plate between the Mounting Plate and the wall, and mount both plates
using the same screws.
Make sure the wires run through the center opening.
SALUS North America, Inc.
Redwood City, CA 94063
www.salusinc.com
2 x AA
User
Alkaline
Manual
Batteries
Wire Color
or
850 Main Street
Setup Guide
Advertisement
Table of Contents

Subscribe to Our Youtube Channel
Related Manuals for Salus OPTIMA S


Summary of Contents for Salus OPTIMA S
- Page 1 OPTIMA S THERMOSTAT SETUP GUIDE SALUS North America, Inc. 850 Main Street Redwood City, CA 94063 www.salusinc.com IN THE BOX YOU WILL FIND THE FOLLOWING: Thermostat with Wall 2 x Wood Screws Wire 2 x AA User Setup Guide Mounting Plate Plate 2 x Wall Anchors Labels Alkaline Manual 2 x Locking Pins Batteries YOU WILL NEED THE FOLLOWING TOOLS: • #1 Phillips or flathead screwdriver Optional Tools • Smartphone or digital camera to take picture of wiring for later • Drill with 3/16” bit reference (only if you cannot mount the thermostat using the existing • Screwdriver to disconnect wires from old thermostat holes) • Pencil STEP 1 STEP 2 TURN OFF POWER TO THE HVAC SYSTEM...
- Page 2 STEP 5 STEP 6 ATTACH WIRING CONNECT THE BATTERIES • Using the labels, match the Pull the battery tab from the back of the thermostat to wires to the appropriate activate the batteries. terminal. • For each wire, press the • If the C wire is connected, terminal button and fully the thermostat will draw power...
Need help?
Do you have a question about the OPTIMA S and is the answer not in the manual?
Questions and answers