Advertisement
Quick Links
Model:R313K
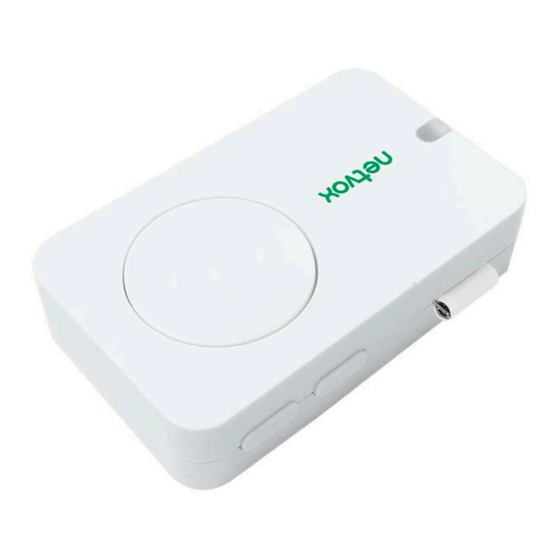
Wireless Tilt Sensor
Wireless Tilt Sensor
R313K
User Manual
Copyright©Netvox Technology Co., Ltd.
This document contains proprietary technical information which is the property of NETVOX Technology. It shall be maintained in
strict confidence and shall not be disclosed to other parties, in whole or in part, without written permission of NETVOX
Technology. The specifications are subject to change without prior notice.
Advertisement

Summary of Contents for netvox R313K
- Page 1 This document contains proprietary technical information which is the property of NETVOX Technology. It shall be maintained in strict confidence and shall not be disclosed to other parties, in whole or in part, without written permission of NETVOX Technology. The specifications are subject to change without prior notice.
-
Page 2: Table Of Contents
Table of Content 1. Introduction ....................2 2. Appearance ....................2 3. Main Feature .................... 3 4. Set up Instruction ..................4 5. Data Report ....................5 6. Installation ....................9 7. Important Maintenance Instruction ............ 10... -
Page 3: Introduction
1. Introduction R313K is a long-distance tilt detection device which is a Class A device based on the LoRaWAN open protocol of Netvox and is compatible with LoRaWAN protocol. The device is a title detection sensor. When the device is tilted greater than or equal to 45 degrees in any direction, it will send a tipping signal. -
Page 4: Main Feature
The product has low power consumption and supports longer battery life. Note: Battery life is determined by sensor reporting frequency and other variables. Please refer to web: http://www.netvox.com.tw/electric/electric_calc.html In this website, users can find battery lifetime for various models at different configurations. -
Page 5: Set Up Instruction
4. Set up Instruction On/Off Insert 2 x 3V CR2450 button batteries into the battery slot in the correct direction and Power on close the back cover. (user may need a screwdriver to open) Note: Require 2 button batteries to supply power at the same time. Turn on Press any one of the function key and the green and red indicator flashes once. -
Page 6: Data Report
Sleeping Mode Sleeping period: Min Interval. The device is turn on and join in the When the reportchange exceeds the default or the state of the device changes: send a data network report according to Min Interval. Low Voltage Warning Low Voltage 2.4V 5. - Page 7 3. If there are special customized shipments, the settings will be changed according to customer’s requirement. The device reported data parsing please refer to Netvox LoraWAN Application Command document and Netvox Lora Command Resolver http://www.netvox.com.cn:8888/page/index Data report configuration and sending period are as following:...
- Page 8 (1) Configure R313K device parameter MinTime = 1min、MaxTime = 1min、BatteryChange = 0.1v Downlink: 019E003C003C0100000000 Device return: 819E000000000000000000 (configuration success) 819E010000000000000000 (configuration failure) (2) Read R313K device parameter Downlink: 029E000000000000000000 Device return: 829E003C003C0100000000 (device current parameter) Example#1 based on MinTime = 1 Hour, MaxTime= 1 Hour, Reportable Change i.e. BatteryVoltageChange=0.1V...
- Page 9 Example#3 based on MinTime = 15 Minutes, MaxTime= 1 Hour, Reportable Change i.e. BatteryVoltageChange= 0.1V. MaxTime Wakes up and collects Users push the button, data REPORTS 2.7V. 2.7V |2.7-2.8|=0.1 Wakes up and Recalculate MaxTime. REPORTS 2.7V collects data 2.7V sleeping sleeping Does not report 1H 10...
-
Page 10: Installation
6. Installation (1) The device does not have a waterproof function. After the configuration of joining the network is completed,please place it indoors. (2) The dust at the installation location should be wiped clean before paste the device. 1. Remove the 3M release paper on the back of the device The device is suitable for the following applications: ... -
Page 11: Important Maintenance Instruction
(3) The battery installation method is as the figure below. (the battery with the "+" side facing up) Note: The user may need a screwdriver to open the cover. 7. Important Maintenance Instruction Kindly pay attention to the following in order to achieve the best maintenance of the product: •...


Need help?
Do you have a question about the R313K and is the answer not in the manual?
Questions and answers