Table of Contents
Advertisement
Quick Links
Model: R313B
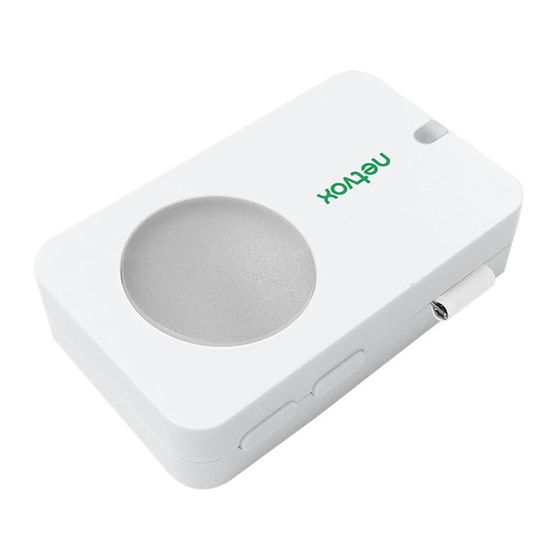
Wireless Light Sensor
Wireless Light Sensor
R313B
User Manual
Copyright©Netvox Technology Co., Ltd.
This document contains proprietary technical information which is the property of NETVOX Technology. It shall
be maintained in strict confidence and shall not be disclosed to other parties, in whole or in part, without written
permission of NETVOX Technology. The specifications are subject to change without prior notice.
Advertisement
Table of Contents

Related Manuals for netvox R313B


Summary of Contents for netvox R313B
- Page 1 User Manual Copyright©Netvox Technology Co., Ltd. This document contains proprietary technical information which is the property of NETVOX Technology. It shall be maintained in strict confidence and shall not be disclosed to other parties, in whole or in part, without written...
-
Page 2: Table Of Contents
5. Data Report ....................................... 5 5.1 Example of ReportDataCmd ..............................5 5.2 Example of ConfigureCmd ............................... 6 5.3 Example for MinTime/MaxTime logic............................. 7 5.4 Difference between R313B and R313G ........................... 8 6. Installation ......................................9 7. Important Maintenance Instruction ..............................10... -
Page 3: Introduction
1. Introduction R313B is a long-distance Wireless Light Sensor based on the LoRaWAN open protocol (Class A). When the illuminance exceeds the set threshold, a report will be sent immediately. LoRa Wireless Technology: LoRa is a wireless communication technology famous for its long-distance transmission and low power consumption. -
Page 4: Appearance
⚫ Low power consumption and long battery life Note*: Battery life is determined by the sensor reporting frequency and other variables, please refer to http://www.netvox.com.tw/electric/electric_calc.html On this website, users can find battery life time for varied models at different configurations. -
Page 5: Set Up Instruction
4. Set up Instruction On/Off Insert batteries. (users may need a screwdriver to open) ; Power on Insert two sections of 3V CR2450 button batteries and close the battery cover.) Turn on Press any function key till green and red indicator flashes once. Turn off (Restore to factory setting) Press and hold the function key for 5 seconds till green indicator flashes for 20 times. -
Page 6: Data Report
Illuminance Threshold: 0x00FF (255 LUX) // The threshold setting range is 0x0000-0x0BB8 (0~3000 LUX) Note: The reported data is decoded by the Netvox LoRaWAN Application Command document and http://loraresolver.netvoxcloud.com:8888/page/index Data report configuration and sending period are as following: Current Change<... -
Page 7: Example Of Configurecmd
0x01 (1Byte, unit:0.1V) (2Bytes,unit:1Lux) (5Bytes,fixed 0x00) Uplink: 014B011C03840000000000 byte (01): Version byte (4B): DeviceType 0x4B - R313B byte (01): Report Type byte (1C): Battery-2.8v , 1C Hex=28 Dec 28*0.1v=2.8v byte (0384): illuminance-900 LUX, 384 Hex=900 Dec ~ 11 byte (0000000000): Reserved 5.2 Example of ConfigureCmd... -
Page 8: Example For Mintime/Maxtime Logic
(2) Read Configuration: Downlink: 024B000000000000000000 Response: 824B003C003C0100C80000(Current configuration) 5.3 Example for MinTime/MaxTime logic Example#1 based on MinTime = 1 Hour, MaxTime= 1 Hour, Reportable Change i.e. BatteryVoltageChange=0.1V Max Time Max Time leeping (Min Time) leeping (Min Time) Wakes up and Wakes up and Wake up and collects data... -
Page 9: Difference Between R313B And R313G
4) Whenever the device sends a report, no matter resulting from data variation, button pushed or MaxTime interval, another cycle of MinTime / MaxTime calculation is started. 5.4 Difference between R313B and R313G... -
Page 10: Installation
(2) The dust in the installation position of the equipment needs to be wiped clean and then affixed to the equipment. 1. Remove the 3M adhesive on the back of the light sensor and This figure shows the scene where the light sensor (R313B) attach the device to the position where the light value needs to is applied in the office. -
Page 11: Important Maintenance Instruction
7. Important Maintenance Instruction Kindly pay attention to the following in order to achieve the best maintenance of the product: • Keep the device dry. Rain, moisture, or any liquid, might contain minerals and thus corrode electronic circuits. If the device gets wet, please dry it completely.
Need help?
Do you have a question about the R313B and is the answer not in the manual?
Questions and answers