
Subscribe to Our Youtube Channel
Summary of Contents for Nu-Vu SMOKE6
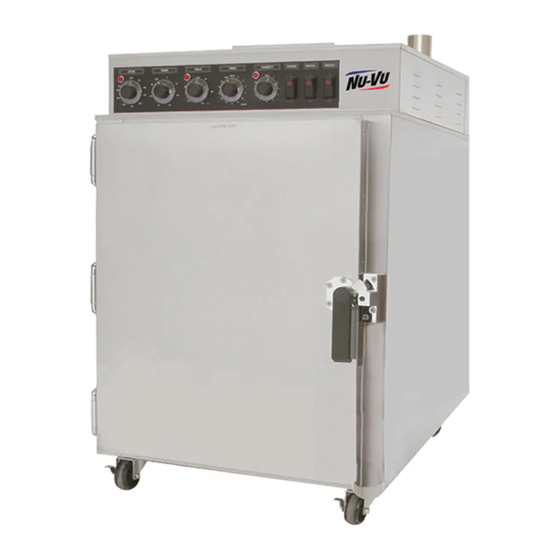
- Page 1 Models: SMOKE6 SMOKE13 Revised: March 23, 2010 This page was created using BCL ALLPDF Converter trial software. To purchase, go to http://store.bcltechnologies.com/productcart/pc/instPrd.asp?idproduct=1...
-
Page 2: Table Of Contents
SMOKE6 & SMOKE13 TABLE OF CONTENTS EQUIPMENT WARRANTY ..................RECEIPT AND INSTALLATION .................. INITIAL START–UP ....................OPERATING INSTRUCTIONS ................... MAINTENANCE AND CLEANING GUIDE..............REPLACEMENT PARTS LIST..................ELECTRICAL SCHEMATICS ..................This page was created using BCL ALLPDF Converter trial software. To purchase, go to... -
Page 3: Equipment Warranty
NUVU EQUIPMENT WARRANTY NUVU products are warranted against defects in workmanship and materials. No other express warranty, written or oral, applies. No person is authorized to give any other warranty or assume any other liability on behalf of NUVU, except by written statement from an officer of NUVU. Your NUVU equipment warranty is limited to the following time periods for the original owner only: PARTS LABOR... - Page 4 •Ongoing operational adjustments due to changing environmental conditions or normal wear and tear. •Any overtime charges. NUVU will pay straight time only for any work performed on NUVU equipment. Food service equipment and parts must be installed and maintained in accordance with NUVU instructions. Users are responsible for the suitability of the units or parts to their application.
-
Page 5: Receipt And Installation
A. Check to determine that the power source is the same voltage and phase as that indicated on the label on the side of the unit. If you have received an SMOKE6 you should attach the included Appliance Legs to the bottom of the unit. Each Leg stud screws into a threaded hole in each corner of the base. - Page 6 Electrical Connections F. Install the water supply (refer to WATER SUPPLY CONNECTION on the following page). G. The installing technician or electrician should complete the electrical connections by removing the Outside Top of the unit, this panel is held in place with two screws located on the top of the unit. Connect the unit to the available power supply either through an attached cord and receptacle or through direct wiring by following these steps: 1.Take note of the labeling on the Power Terminal Block (Line 1, Line 2, Line 3, ).
- Page 7 WATER SUPPLY CONNECTION: IMPORTANT: NUVU strongly recommends that SOFT WATER only be used in any unit requiring a water supply. Also, a good quality water filter MUST be installed in-line between the unit connection and the water supply to guard against clogging and mineral build-up in the components. This is extremely important in areas having hard water.
-
Page 8: Initial Start-Up
INITIAL START–UP (Manual Controls) This START–UP procedure is used to verify that your NUVU Smoker has been installed correctly and will perform as intended when put into use. This INITIAL START–UP procedure should be carried out by your electrician, licensed installer or a NUVU-approved service agency. Please read completely through all of this Manual Control START–UP procedure before beginning. - Page 9 far right of the control panel. Too high of a setting will burn up wood quickly and too low will not generate smoke. (NOTE: It may take a few minutes for this heat to be felt through the metal of the SMOKE BOX.) Set the SMOKER switch(s) to the OFF position and close the DOOR.
-
Page 10: Operating Instructions
OPERATING INSTRUCTIONS The NUVU Smoker is designed to offer maximum flexibility for different products. Cooking time can be pre-set or determined by the internal temperature of the product through use of the Probe attachment. Manual Control units are equipped with our COOK-N-HOLD feature, allowing you to cook your product at one temperature and hold it at another. - Page 11 4) Load the SMOKER BOX with wood if you want to add smoke flavoring and color to your product. Set the SMOKER switch to the ON position. 5) Set the 60–MINUTE TIMER as a reminder during short cooking or smoking cycles. 6) Remove your product as soon as it is finished and reload the smoker.
-
Page 12: Maintenance And Cleaning Guide
MAINTENANCE AND CLEANING GUIDE NUVU equipment is designed to last for years of useful service. Careful consideration is given in selecting components for durability, performance and ease of maintenance. For example, the Smoker Motor has sealed bearings and never needs to be lubricated. While NUVU equipment is designed for minimum care and maintenance certain steps are required by the user for maximum life and effectiveness: •Proper installation of the equipment. - Page 13 and hot water followed by a thorough rinse with clean fresh water and a sanitizing agent; wiping the interior dry will help to prevent water spotting. Water spotting and other mineral deposits should be removed with any mild mineral removal agent as soon as they are noticeable.
-
Page 14: Replacement Parts List
REPLACEMENT PARTS LIST (SMOKE6 & SMOKE13) Reference # Description Replacement Part # ELECTRICAL COMPONENTS: Power Terminal Block ..................50–1332 Ground Lug ......................50–1329 Control Fuse Assembly..................66-1097 Contactor: 120v coil....................66-2013 240v coil....................66-2017 Heating Element: ES-6, 208v, 1000w................60-0194-A ES-6, 240v, 1000w................60-0195-A ES-13, 208v, 2000w................60-0192-A ES-13, 240v, 2000w................60-0193-A... - Page 15 CONTROL COMPONENTS Power Switch ......................66-3008 Indicator Light.....................50-0030 Humidity Control ....................252-3003 Control Knob ..................253-2003 Humidity Control Indicator Light: 120v...................50–0029-A 240v....................50-0030 Cook Control (425F)..................252-5008 Control Knob ..................253-2003 Control Sensor ..................252-3001 Hold Control (250F)..................252-4001 Control Knob ..................253-2003 Control Sensor ..................252-3001 24–Hour Timer: 120v......................252-1005 240v......................66-1160 Timer Knob.....................253-2002 60–Minute Timer...
-
Page 16: Electrical Schematics
This page was created using BCL ALLPDF Converter trial software. To purchase, go to http://store.bcltechnologies.com/productcart/pc/instPrd.asp?idproduct=1... - Page 17 This page was created using BCL ALLPDF Converter trial software. To purchase, go to http://store.bcltechnologies.com/productcart/pc/instPrd.asp?idproduct=1...
- Page 18 This page was created using BCL ALLPDF Converter trial software. To purchase, go to http://store.bcltechnologies.com/productcart/pc/instPrd.asp?idproduct=1...
- Page 19 This page was created using BCL ALLPDF Converter trial software. To purchase, go to http://store.bcltechnologies.com/productcart/pc/instPrd.asp?idproduct=1...
Need help?
Do you have a question about the SMOKE6 and is the answer not in the manual?
Questions and answers