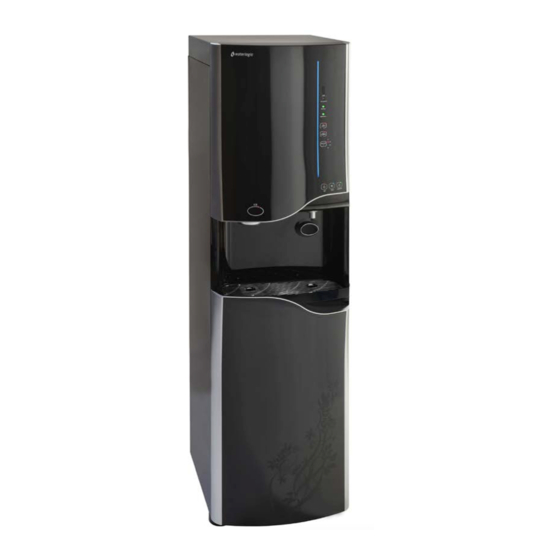
WaterLogic WL900 Quick Start Manual
Hide thumbs
Also See for WL900:
- Service manual (29 pages) ,
- Quick start manual (9 pages) ,
- Installation manual (9 pages)
Advertisement
ADVANCED OPERATIONS: ACCESS THE ICE DISPENSE CHUTE
In the event of an ice dispense failure, the Ice Dispense Chute and other components may need
to be accessed for repair or replacement. The steps below outline how to access the dispense
chute and surrounding components.
1. To access the dispense chute, first remove the top cover and upper front panel. Remove
the two screws at the rear and sliding the cover back and off the unit. Then, remove the
two screws holding the upper front panel in place, lift and pull away from the unit, and
set aside.
2. With the front upper panel removed, locate the white plastic ice chute. Locate the silver
dispensing ring mounted to the bottom of the chute, protruding into the dispensing
area. Twist this ring 1/4 turn counterclockwise and pull down to remove. Notice the four
screws around the perimeter of the ice chute. Remove these screws. Trace the Ice Door
Motor wire up to the PCB and remove if necessary.
WL900 Manual
Remove
Page 68 – Revision: 5-12-2021
Advertisement
Table of Contents

Related Manuals for WaterLogic WL900


Summary of Contents for WaterLogic WL900
- Page 1 Twist this ring 1/4 turn counterclockwise and pull down to remove. Notice the four screws around the perimeter of the ice chute. Remove these screws. Trace the Ice Door Motor wire up to the PCB and remove if necessary. Remove WL900 Manual Page 68 – Revision: 5-12-2021...
- Page 2 With all screws out and the tabs unclipped, the two halves should come apart. NOTE: The components inside the clamshell are captured in place and will become loose and possibly fall out once the clamshell is opened. WL900 Manual Page 69 – Revision: 5-12-2021...
Need help?
Do you have a question about the WL900 and is the answer not in the manual?
Questions and answers