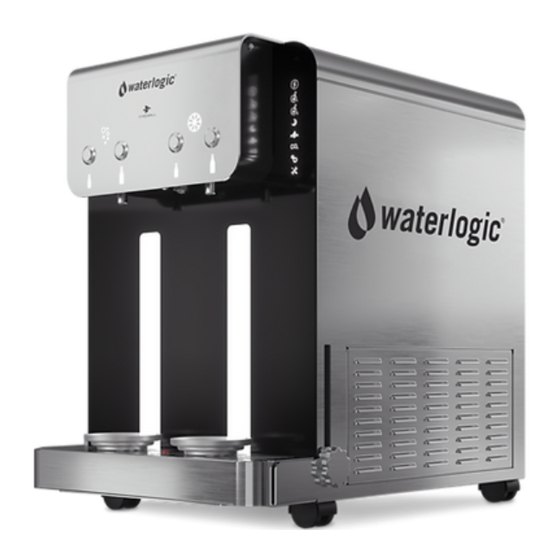
Advertisement
DANGER!
ELECTRICAL SHOCK HAZARD.
Only qualified personnel who have read and understand this entire manual should
attempt to install, or service this WLH2 Classe, failure to do so could result in death or
serious injury. DO NOT plug into an electrical supply until specifically instructed.
CAUTION!
DRIP TRAY DRAIN.
If you intend to provide a drip tray drain for your customer, be aware that you will be
called multiple times per month to service and unclog the tubing leading away from the
drip tray to drain. Users will clog the drain with paper clips, erasers, napkins, tea bags,
gum, and various other intended items. Waterlogic recommends you establish a
minimum of weekly visits to the machine for cleaning of the drip tray drain.
WARNING!
USE PROPER PERSONAL PROTECTIVE EQUIPMENT
Always ensure proper ventilation and use proper personal protective equipment such as
gloves and eye protection when using chemicals. Refer to Material Safety Data Sheet for
specific requirements of each chemical product. Take all necessary precautions to
prevent sanitizer from contacting eyes, clothing, and any other surfaces in could damage
(carpets).
DANGER!
ELECTRICAL SHOCK HAZARD.
Do not plug in unit unless qualified. Only qualified personnel who have read and
understand this entire manual should attempt to install or service this unit.
1. Remove the WLH2 Classe from the box, and place on the countertop or surface where it
will be operated. Remove all cellophane wrapping from the machine. Perform a visual
inspection of the unit for any damage or missing pieces.
2. Open the drip tray, remove the power cord and any accessories. Remove all cellophane
wrapping, reassemble the drip tray and return to its position on the drip tray shelf.
3. Once the machine is in the desired position, lock the rolling wheels installed on the
bottom of the machine to keep it in place. Do not install on an inclined surface.
4. Remove the bulkhead caps on the top two bulkhead connectors at the rear of the
machine.
WLH2 Classe Manual
Page 32 – Revision: 3-2-2021
Advertisement
Table of Contents

Summary of Contents for WaterLogic WLH2 Classe
- Page 1 Only qualified personnel who have read and understand this entire manual should attempt to install, or service this WLH2 Classe, failure to do so could result in death or serious injury. DO NOT plug into an electrical supply until specifically instructed.
- Page 2 WARNING! USE ONLY Waterlogic SUPPLIED POWER CORD. Locate system within 5 feet of power supply. Never use an extension cord or adapter. Do not use a damaged power cord or plug. Keep power cord out of heavy traffic areas and away from heat sources. Do not, under any circumstances, remove ground prong or alter the power cord.
- Page 3 Switches have internal LED that illuminates when placed in I=ON position. 4. Connect the power cord to the back of the Waterlogic WLH2 Classe and to a 120 Volt supply. Turn Red Compressor Switch to the I=ON position to power the unit.
- Page 4 12. This is important to allow proper airflow and heat exchange of refrigeration system. 13. Be sure to lock the adjustable feet of the WLH2 Classe. Never install on an incline. 14. When the WLH2 Classe has reached its Cold Temp Set Point Temperature, the compressor will cycle off.
- Page 5 3. Close the valve on the CO bottle. 4. To drain the WLH2 Classe Ice Bath, remove the 1/4” plug, that is inserted into the drain bulkhead located on the rear of the machine. *Upon removal of the plug, water will begin draining from the ice bath.
- Page 6 2. Using a wide flathead screwdriver (NOT A PHILLIPS), turn the adjustment point clockwise to dial back the gas or counter-clockwise to increase the gas blend. Adjust until a smooth stream is achieved. WLH2 Classe Manual Page 37 – Revision: 3-2-2021...


Need help?
Do you have a question about the WLH2 Classe and is the answer not in the manual?
Questions and answers