Table of Contents
Advertisement
Quick Links
Advertisement
Table of Contents

Related Manuals for RELM RP7200


Summary of Contents for RELM RP7200
- Page 1 OWNER’S MANUAL RP7200 FM HANDHELD TRANSCEIVER...
- Page 2 NOTE OWNER’S MANUAL RP7200 FM HANDHELD TRANSCEIVER We are very grateful for your purchasing brand two- way radios produced We believe two-way radio, which always incorporates the latest technology, can bring great convenience to your life and work; We also believe that the quality and function of two- way radio can meet your demands for reliable communication.
- Page 3 Do not modify this radio for any reason. Refer service to qualified licensed or certificated technicians only. Notice to the User: · Government laws prohibit radio communication without permission in government districts. · Illegal operation is subject to punishment by fine and/or imprisonment.
-
Page 4: Table Of Contents
CONTENTS receive for 4 minutes. Long time transmitting or continuous working in high power mode will make the rear side of the radio generate heat. ■ UNPACKING AND CHECKING THE EQUIPMENT.......1 · Please don't disassemble or assemble the radio under any Supplied Accessories..............1 circumstances. -
Page 5: Supplied Accessories
PREPARATION UNPACKING AND CHECKING EQUIPMENT CHARGING THE BATTERY PACK Carefully unpack the radio. We recommend that you identify the items listed in the following table before discarding the Plug the power adapter into the proper AC wall packing material. If any damage has occurred during shipment, outlet;... -
Page 6: Installing/Removing The Battery Pack
INSTALLING THE ANTENNA * When you charge the battery for the first time after purchasing or long storage (over 2 months), you should repeat charging it several times to achieve the normal battery capacity. Screw the antenna into the connector at * Do not recharge the battery if it has been fully charged or the battery the top of the radio by holding the power doesn't become low, otherwise it might affect the battery life or... -
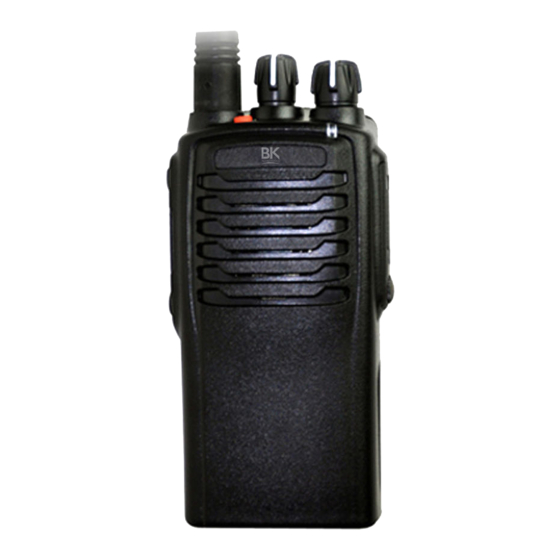
Page 7: Radio Overview
⑤ Side Button 1 (Programmable Button) RADIO OVERVIEW ⑥ Side Button 2 (Programmable Button) ⑦ Top Button (Programmable Button) ⑧ Speaker/Microphone Jacks Used to connect the optional speaker/microphone. BASIC OPERATIONS Switch On Switch on the radio by turning the Power/Volume switch clockwise till a click is heard, then the radio will be in the state of ①... -
Page 8: Programmable Button Function
High/Low Power Switch Make a Call Squelch Level adjust / Check To make a call, select the desired channel, Monitor Momentary/Call Cancel press and hold the PTT button, and speak in Monitor/ Call Cancel normal voice. Please keep your mouth 3~8 cm Squelch off Momentary/Call Cancel away from the microphone. - Page 9 CALL 1/CALL 2/CALL3/CALL4 B) The working channel of the radio will revert to the following Press the side button set as ¡CALL 1/CALL 2/CALL3/CALL4¡ to channels automatically when you press PTT button during transmit the stored coding. scanning. The dealer can select one among the following six options.: Lone Work 1) Start channel...
- Page 10 channel, either. Squelch off Momentary/Call Cancel Press the button set as “Squelch off Momentary” to open the After exiting scanning mode and entering it again, the temporarily deleted channel will be added in the scanning list again. squelch; release it to exit. When in selective call state, press this key to exit selective call Call Forward Press this key to enter mode.
-
Page 11: Vox (Voice Operated Transmission)
GPS:GPS Position Annunciation (Optional) twice and the radio enters cloning mode. The radio can annunciate the information of the current position 2) Press once the PTT button on the host radio, and then the sub such as longitude and latitude through the microphone when the radio to receive data will enter Wired Cloning Mode. -
Page 12: Battery Save
a) Before the time-out timer stops transmitting, the radio sounds current channel number will sound. pre-alert tone. b) After the alarm tone, if the transmitting time is longer than the CTCSS/DCS preset time limit, the time-out timer will be activated. The dealer can set CTCSS/DCS on the radio channels to ignore calls on the same channel from irrelevant radios. -
Page 13: 5-Tone Signalling
The dealer can set DTMF Signalling into encoding sequence. If 2TONE Signalling DTMF is set in the encoding template, press the corresponding This function can be enabled or disabled by dealers through programmable button “Call 1” , “Call 2”, “Call 3”, or “Call programming software. -
Page 14: Trouble Shooting
■ MAJOR SPECIFICATIONS The battery The battery life is finished; please replace it power consume with a new battery pack. quickly after RP7200 charging. Frequency Range (1) 136~174 (2) 400~470 The frequency or QT/DQT Signallings are not Cannot talk to or... -
Page 15: Settings
Receiver Sensitivity Narrow Band≤0.28μV / QT/DQT QT/DQT Transmitting Receiving Channel User Channel Decode En code Power Frequency Frequency Spacing Solution Wide Band≤0.25μV ≥60dB (N)/ 70dB (W) Adjacent Channel Selectivity ≥65dB Intermodulation Reject Ratio ≥1000mW Maximum AF Output Power Number of Channels Battery(Standard)... - Page 16 GPS GPS Position Annunciation Scan Temporarily Delete Noise Channel GPS ID GPS ID Annunciation GPS GPS Time Annunciation Transport High/Low Power Switch Squelch Level Check Monitor Momentary/Call Cancel Side Button 2 Monitor/ Call Cancel Null Squelch Momentary/Call Cancel Channel Annunciation Squelch / Call Cancel Whisper Monitor/ Call Cancel...
- Page 17 Radio and Telecommunication Terminal Equipment Directive,1999/5/EC,and that any applicable Essential Test Suits measurement have been performed. Description of equipment: FM Handheld Transceiver Model No.: RP7200 This compliances is based on conformity with the following harmonised standards or documents: (1). ETSI EN301 489-1 (2).
Need help?
Do you have a question about the RP7200 and is the answer not in the manual?
Questions and answers