
Subscribe to Our Youtube Channel
Related Manuals for Webasto Cool Top Trail 34


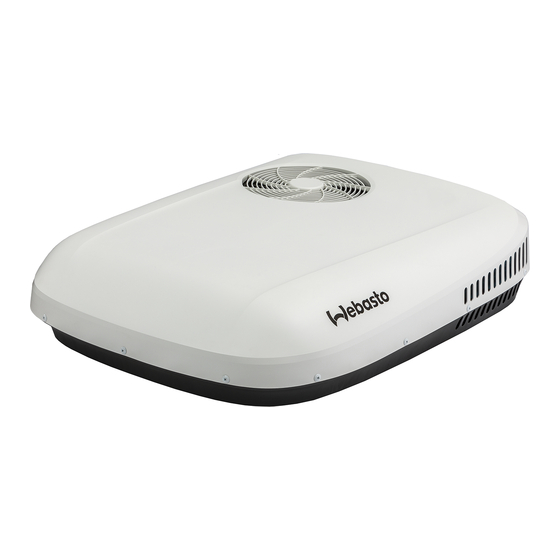
Summary of Contents for Webasto Cool Top Trail 34
- Page 1 Operating - and Installation Instructions Air Conditioner roof top unit Cool Top Trail 34 - Outdoor unit HGN47080009 - Indoor unit HGN47090009, HGN47090012 More information https://www.caravansplus.com.au...
-
Page 2: Table Of Contents
5.11 Setting the timer 5.12 Activating the timer 5.13 Sleep function 5.14 Units of temperature change 5.15 LED lights 5.16 Reset of the remote control 5.17 Operation at the air distributor 5.18 Adjusting the air outlets Cool Top Trail 34 More information https://www.caravansplus.com.au... -
Page 3: Introduction
Safety Use of symbols and highlighting Intended use Explanation The Cool Top Trail 34 is designed for installation in DANGER caravans or motor homes and vehicles with habita- Indicates a hazard with a high level of risk tional compartments. -
Page 4: Qualifications Of Installation And Maintenance Personnel
■ If faults occur in the air conditioner’s refrigerant circuit, the device must be checked by a specialist company and properly repaired. The refrigerant must never be released into the air. Cool Top Trail 34 More information https://www.caravansplus.com.au... -
Page 5: Scope Of Delivery
■ Do not add any other parts or modify the product in purchase as an optional extra a 400x400 mm adaptor. the installation. ■ Consult Webasto or the local distributor in case of unusual applications or installation conditions that are not specifically covered by this manual. WARNING... -
Page 6: Installation Position
NOTE Angle of inclination of the air conditioner shall not be greater than 5° (=8,8%) and the rear of the cir conditioner shall not be higher than the front. Cool Top Trail 34 More information https://www.caravansplus.com.au... -
Page 7: Roof Reinforcement / Power Supply
1. Roof 2. Wooden bars Fig. 05: Roof reinforcement 1. Cut-out ≥ 20 mm ≥ 20 mm 2. Insulation in roof 3. Wooden bars Fig. 06: Cut-out with wooden reinforcement Cool Top Trail 34 More information https://www.caravansplus.com.au... -
Page 8: Installation Of The Adaptor Frame
If so, cut or drill an opening into the bottom side of the frame so that the cable can be led through. Fig. 08: Orientation of the adaptor frame Confirm orientation by starting with the “This side up” label upwards. Cool Top Trail 34 More information https://www.caravansplus.com.au... -
Page 9: Installation Of The Outdoor Unit
Firmly tighten up the screws to make sure the power line is not loose or improperly connected, otherwise a short circuit or fire could be caused. Fig. 12: Location of the terminal block Cool Top Trail 34 More information https://www.caravansplus.com.au... -
Page 10: Installation Of The Air Distributor Mounting Bracket
Connect the socket and plug of the air distributor wires and outdoor unit. – Note that colours of the wires match: yellow to yellow, red to red, etc. Fig. 16: Connecting air distributor - and outdoor unit cables Cool Top Trail 34 More information https://www.caravansplus.com.au... - Page 11 Install the air filter (3) as shown: Insert the lips of the filter in the slots (1). Move the filter upwards and make sure the tabs en- gage (2) Fig. 20: Installing the air filter Cool Top Trail 34 More information https://www.caravansplus.com.au...
-
Page 12: Holder Remote Control
■ Set the clock, see chapter 5.10. ■ After selecting the COOL or HEAT mode, the compressor may delay starting for 3 minutes. This is a feature to protect the compressor. Cool Top Trail 34 More information https://www.caravansplus.com.au... -
Page 13: Condensation
Choosing and using a generator ■ Close and seal all doors, skylights, and windows to The Cool Top Trail 34 requires a mains quality AC reduce the entrance of warm moist air. power source for correct operation. If you decide to ■... -
Page 14: Switching The Unit On/Off
The remote control shows the selected symbols COOL HEAT AUTO – Each push on the key changes the mode in the se- MODE quence as shown in Fig. 27. Fig. 27: Setting the operation mode Cool Top Trail 34 More information https://www.caravansplus.com.au... -
Page 15: Setting The Clock
SET TIME To end the setting mode press the key 3 times or wait SET TIME 10 seconds until the digits stop flashing. HOUR/MIN Fig. 33: Setting the clock Cool Top Trail 34 More information https://www.caravansplus.com.au... -
Page 16: Setting The Timer
TIMER nently. – The clock time shows again. Fig. 36: Activating the timer NOTE When only the clock shows and no symbol, the timer is not activated. Cool Top Trail 34 More information https://www.caravansplus.com.au... -
Page 17: Sleep Function
To reset the remote control to factory settings take out the batteries and put them back in. – The clock will have to be set again. – The timer is deactivated. Fig. 40: Reset of the remote control Cool Top Trail 34 More information https://www.caravansplus.com.au... -
Page 18: Operation At The Air Distributor
5.18 Adjusting the air outlets Adjust the direction and angle of the air outlet on one type by moving blade around its axis. The 2 blades move together. Fig. 42: Adjust the air outlet Cool Top Trail 34 More information https://www.caravansplus.com.au... -
Page 19: Maintenance
Regularly remove leaves or other dirt from the ventilation grilles of the outdoor unit. Regularly clean the unit with a soft, damp cloth and mild detergent. Clean the vehicle roof at regular intervals. A dirty roof heats up more than a clean roof. Cool Top Trail 34 More information https://www.caravansplus.com.au... -
Page 20: Heat Exchangers
Indoor heat exchanger temperature sensor fault. Outdoor heat exchanger temperature sensor fault. No cooling effect. Possible root causes are: – Insufficient refrigerant amount due to piping fracture. – Compressor fault. – Sensor failure. Cool Top Trail 34 More information https://www.caravansplus.com.au... -
Page 21: Disposal
The system cannot be disposed off as regular waste. Dispose the system according the local applicable rules and regulations. Obtain information about disposal at the city council, the responsible waste station and/or your local Webasto sales partner. Technical Specifications Parameter... -
Page 22: Wiring Schematic
10 Wiring schematic See the „Wiring schematic Cool Top Trail 34“ on page Legend: Item Description Item Description Wiring code Wiring Colour Control panel 4WV 4 Way reversing Valve Brown Room sensor InDoor (sensor) Blue Outdoor heat exchanger sensor Indoor Fan... - Page 23 Annex Wiring schematic Cool Top Trail 34 CON 1 OD 1 ID 1 LIVE COMP 220-240 V 50 Hz GNYE N N N CE-Declaration Belaire H3400 / Cool Top Trail 34 More information https://www.caravansplus.com.au Cool Top Trail 34...
- Page 24 In multilingual versions the English language is binding. The telephone number of the respective country can be obtained from the Webasto service point flyer or the homepage of your respective Webasto country representative. Im Fall einer mehrsprachigen Version ist Englisch verbindlich. Die Telefonnummer des jeweiligen Landes entnehmen Sie bitte dem Webasto Servicestel- len-Faltblatt oder der Webseite Ihrer jeweiligen Webasto Landesvertretung.
Need help?
Do you have a question about the Cool Top Trail 34 and is the answer not in the manual?
Questions and answers