Advertisement
Quick Links
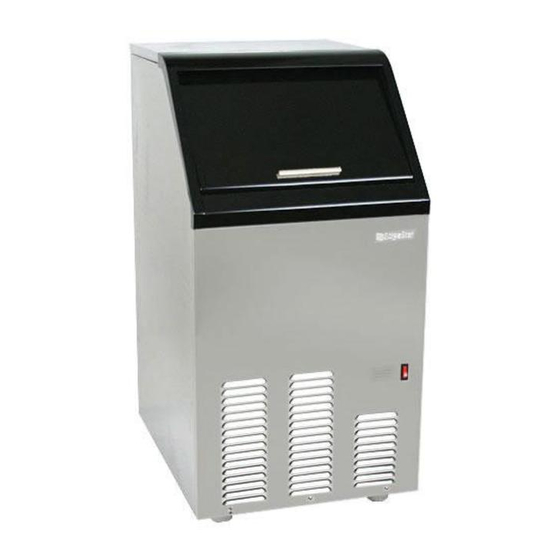
EDGESTAR IB650 Lid Replacement
Tools Required
Phillips Screwdriver
Step 1: Remove the top panel of the unit
Remove the top two screws on each side of the back of the unit for a total of 4 screws
Pull the top half of the back of the unit away to expose the two screws that hold the top panel on
Remove the two screws that secure the top panel
EdgeStar, 8606 Wall St, Suite 1600, Austin, TX 78754
support.edgestar.com • service@edgestar.com • edgestar.com
Advertisement

Subscribe to Our Youtube Channel
Related Manuals for EdgeStar IB650


Summary of Contents for EdgeStar IB650
- Page 1 Pull the top half of the back of the unit away to expose the two screws that hold the top panel on Remove the two screws that secure the top panel EdgeStar, 8606 Wall St, Suite 1600, Austin, TX 78754 support.edgestar.com • service@edgestar.com • edgestar.com...
- Page 2 NOTE: The edges of this unit can be sharp. Lift up the top panel and slide it backwards to remove EdgeStar, 8606 Wall St, Suite 1600, Austin, TX 78754 support.edgestar.com • service@edgestar.com • edgestar.com...
- Page 3 Step 2: Remove the lid stopping bar Remove the 2 screws in the front stopping bar Step 3: Remove the lid handle EdgeStar, 8606 Wall St, Suite 1600, Austin, TX 78754 support.edgestar.com • service@edgestar.com • edgestar.com...
- Page 4 Remove the two screws on the inside of the lid that attach the handle Step 4: Remove and replace the lid assembly Slide the door from the front of the unit towards the back EdgeStar, 8606 Wall St, Suite 1600, Austin, TX 78754 support.edgestar.com • service@edgestar.com • edgestar.com...
- Page 5 NOTE: Test to verify that the door opens and closes properly before going further. The door can be tricky to get on the pins and if it does not work, you will have to go back a few steps and try again. EdgeStar, 8606 Wall St, Suite 1600, Austin, TX 78754 support.edgestar.com • service@edgestar.com • edgestar.com...
- Page 6 Slide the front of the top panel under the lid assembly. The panel needs to be slid under at a steep angle to ensure the lid fits properly behind the lid stopping bar EdgeStar, 8606 Wall St, Suite 1600, Austin, TX 78754 support.edgestar.com • service@edgestar.com • edgestar.com...
- Page 7 Lay the top of the unit back down and slide into place Install the two Phillips screws on the rear of the unit to secure the top panel EdgeStar, 8606 Wall St, Suite 1600, Austin, TX 78754 support.edgestar.com • service@edgestar.com • edgestar.com...
- Page 8 Step 8: Reinstall the back panel screws Reinstall the top four Phillips screws that attach the back panel of the unit Procedure Completed! EdgeStar, 8606 Wall St, Suite 1600, Austin, TX 78754 support.edgestar.com • service@edgestar.com • edgestar.com...
Need help?
Do you have a question about the IB650 and is the answer not in the manual?
Questions and answers