Advertisement
Quick Links
Advertisement

Related Manuals for BROSA Baker Console Table


Summary of Contents for BROSA Baker Console Table
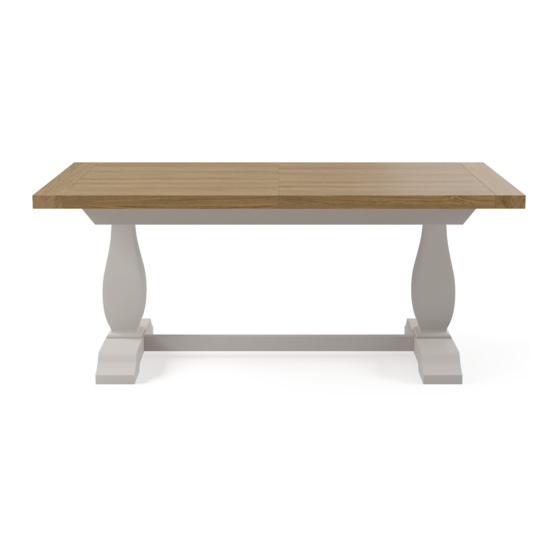
- Page 1 ASSEMBLY GUIDE Baker Console Table...
- Page 2 Components Before you get started, check you have all of the pieces below. If anything’s missing, please visit www.brosa.com.au/pages/product-return-and-parts-request and we’ll sort it out right away. Mounting Plate x 2 Table Top x 1 Leg Base x 2 Leg x 2...
- Page 3 Insert two dowels into the diagonal holes on the Step 1 mounting plate (2). Repeat this for the second mounting plate. A x 2 Align a leg with the leg base and the mounting Step 2 plate (2). Attach the parts together. Secure the base with long bolts using the Allen key and the...
- Page 4 Screw a steel dowel into the side hole on the Step 3 leg base. Ensure that the hole is facing the bottom as shown in the diagram. Repeat this for the other leg. Insert wooden dowels into the holes on each end of the middle rail (5).
- Page 5 Align one of the formed leg structures with the Step 4 underside of the table top so that the holes overlap. Secure them with short M6 bolts using an allen key (F). H x 8 F x 1...
- Page 6 Attach the stretcher to the leg that was xed Step 5 in the previous step. Attach the second leg to the stretcher and make sure that the holes on the mounting plate are aligned with the holes on the table top. Secure the leg with M6 short bolts using the M4 Allen key (F).
- Page 7 Secure the stretcher with grub screws using an Step 6 M5 allen key (E). C x 2 E x 1...
- Page 8 Place the table upright on a level surface. Step 7 Enjoy your new table!
Need help?
Do you have a question about the Baker Console Table and is the answer not in the manual?
Questions and answers