Advertisement
Quick Links
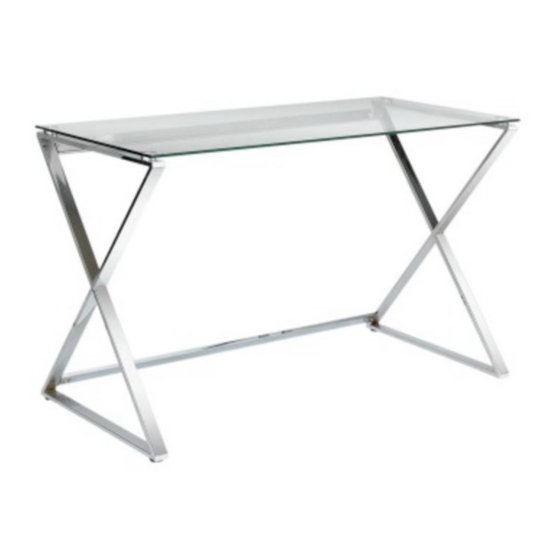
Cortez Desk
Assembly Instructions
541/0530
- please keep for future reference
Dimensions
Width - 120cm
Depth - 60cm
Height - 75cm
Important
– Please read these instructions fully before starting assembly
If you need help or have damaged or missing parts, call the Customer Helpline: 03456 400800
Issue 1 - 04/11/16
Advertisement

Related Manuals for hygena 541/0530


Summary of Contents for hygena 541/0530
- Page 1 Cortez Desk Assembly Instructions 541/0530 - please keep for future reference Dimensions Width - 120cm Depth - 60cm Height - 75cm Important – Please read these instructions fully before starting assembly If you need help or have damaged or missing parts, call the Customer Helpline: 03456 400800...
- Page 2 Safety and Care Advice Important – Please read these instructions fully before starting assembly • Check you have all the • During assembly do not stand • To reduce the components and tools listed on or put weight on the product, likelihood of damaging the following pages.
- Page 3 Components - Panels If you have damaged or missing components, call the Customer Helpline: 03456 400800 Please check you have all the panels listed below 1 Glass Desktop x 1 2 Right side frame x 1 3 Left side frame x 1 (120(h)cm x 60(d)cm) (72.5(h)cm x 59.5(d)cm) (72.5(h)cm x 59.5(d)cm)
- Page 4 Components - Fittings If you have damaged or missing components, call the Customer Helpline: 03456 400800 Note: may be supplied than are required. Plastic plugs x 8 23mm Bolt x 4 13mm Bolt x 8 Adjustable feet x 4 Allen Key x 1 15mm Screw x 12 19mm Screw x 2 Rawl plug x 1...
- Page 5 Assembly Instructions Step 1 Fitting Plastic Plug Insert plastic plug A into right side frame 2 and left side frame 3 . Step 2 Fitting Support bar Attach left side frame 3 and support bar 4 using bolts C . Please do not fully tighten the bolts at this stage.
- Page 6 Assembly Instructions Step 3 Fitting Right Side Frame Attach right side frame 2 and support bar 4 using bolts C . Please do not fully tighten the bolts at this stage. Step 4 Glass top should be placed upside down on a protective surface Fitting Glass desktop Attach glass desktop 1...
Need help?
Do you have a question about the 541/0530 and is the answer not in the manual?
Questions and answers