Sign In
Upload
Download
Table of Contents
Contents
Add to my manuals
Delete from my manuals
Share
URL of this page:
HTML Link:
Bookmark this page
Add
Manual will be automatically added to "My Manuals"
Print this page
×
Bookmark added
×
Added to my manuals
Manuals
Brands
Ancona Manuals
Ventilation Hood
Pryamid 30
User instructions
Ancona Pryamid 30 User Instructions
Hide thumbs
1
2
3
4
5
6
7
8
9
10
11
12
13
14
15
16
17
18
19
20
21
Table Of Contents
22
page
of
22
Go
/
22
Contents
Table of Contents
Troubleshooting
Bookmarks
Table of Contents
Important Safety Notice
Parts Supplied
Calculating Vent System Length
Venting Methods
Electrical Requirements
Installation
Control Panel Operation
Replacing the Bulbs
Mounting Brackets
Troubleshooting
Range Hood Assembly
Specifications
Circuit Diagram
Blower Assembly
Electrical Assembly
Advertisement
Quick Links
Download this manual
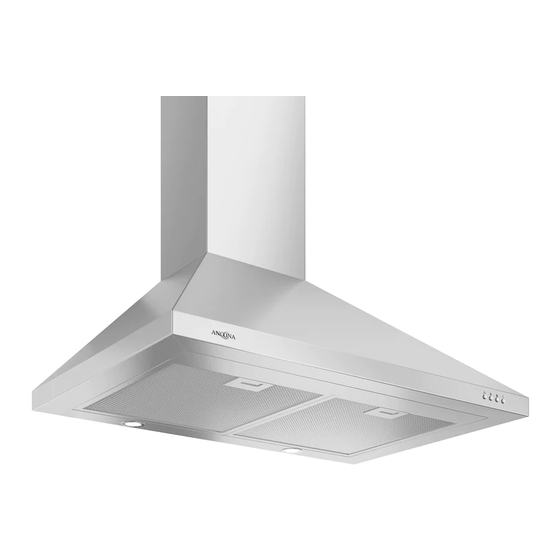
MODEL:
AN-1129
Pryamid 30
IMPORTANT SAFETY INSTRUCTIONS
Carefully read the following important information regarding
installation safety and maintenance.
Keep these instructions for future reference.
2015-11-19 MAAN1129-06
Table of
Contents
Previous
Page
Next
Page
1
2
3
4
5
Advertisement
Table of Contents
Need help?
Do you have a question about the Pryamid 30 and is the answer not in the manual?
Ask a question
Questions and answers
Related Manuals for Ancona Pryamid 30
Ventilation Hood Ancona PRESTO 30 User Instructions
(23 pages)
Ventilation Hood Ancona Pro Insert 28 User's Manual & Installation Instructions
(20 pages)
Ventilation Hood Ancona Ancona Pro UC User's Manual & Installation Instructions
Electronic controls (18 pages)
Ventilation Hood Ancona B428 28" User Instruction
(21 pages)
Ventilation Hood Ancona Pro Pyramid User's Manual & Installation Instructions
(21 pages)
Ventilation Hood Ancona WPE630 User Manual
(16 pages)
Ventilation Hood ANCONA Arca 30 User Instructions
(6 pages)
Ventilation Hood Ancona gc430 User Instructions
30" (22 pages)
Ventilation Hood Ancona II 30 User Instructions
(25 pages)
Ventilation Hood Ancona SP User Instructions
(21 pages)
Ventilation Hood Ancona Advanta Pro Elite User Instructions
30" & 36" (37 pages)
Ventilation Hood Ancona chef 30 User Instructions
Under cabinet range hoods (25 pages)
Ventilation Hood Ancona 450 CFM User Instructions
Wall mount pyramid rim 30 inches (6 pages)
Ventilation Hood Ancona aero island iv User Instructions
36" (41 pages)
Ventilation Hood Ancona Elite IGCE636 User's Manual & Installation Instructions
(16 pages)
Ventilation Hood Ancona AN-1167 User's Manual & Installation Instructions
(21 pages)
This manual is also suitable for:
An-1129
Table of Contents
Print
Rename the bookmark
Delete bookmark?
Delete from my manuals?
Login
Sign In
OR
Sign in with Facebook
Sign in with Google
Upload manual
Upload from disk
Upload from URL


Need help?
Do you have a question about the Pryamid 30 and is the answer not in the manual?
Questions and answers