Sign In
Upload
Download
Table of Contents
Contents
Add to my manuals
Delete from my manuals
Share
URL of this page:
HTML Link:
Bookmark this page
Add
Manual will be automatically added to "My Manuals"
Print this page
×
Bookmark added
×
Added to my manuals
Manuals
Brands
NORDIC SEASON Manuals
Grill
3B Black Series
Use and instruction manual
NORDIC SEASON 3B Black Series Use And Instruction Manual
Hide thumbs
1
Table Of Contents
2
3
4
5
6
7
8
9
10
11
12
13
14
15
16
17
18
19
20
21
22
23
24
page
of
24
Go
/
24
Contents
Table of Contents
Troubleshooting
Bookmarks
Table of Contents
Table of Contents
Warnings
Technical Data
Gas Category
Explotion Drawing
Parts List
Hardware
Assembly Instructions
Gas Leak Test
Connecting Gas
Before Using the Grill
Grilling Tips
Lighting Instructions
Warnings
Maintenance
Cleaning
Troubleshooting
Consumer Contact
Advertisement
Quick Links
Download this manual
EN
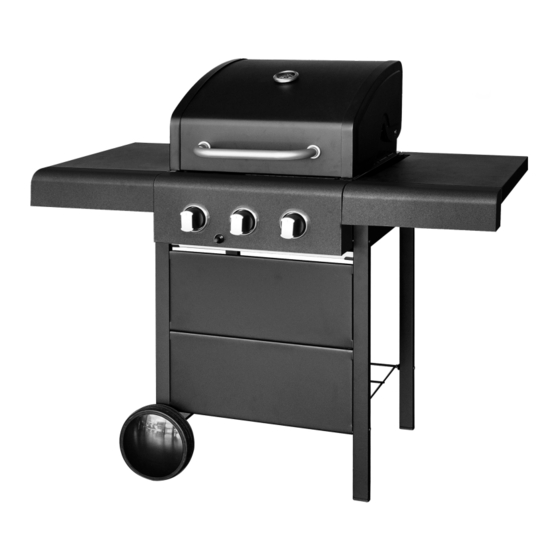
ASSEMBLY, USE
Meteor
AND INSTRUCTION MANUAL
3B
GG501700
Black
EDITION
!
READ THE OPERATING INSTRUCTIONS
BEFORE USING THE APPLIANCE.
FOR OUTDOOR USE ONLY.
Table of
Contents
Previous
Page
Next
Page
1
2
3
4
5
Advertisement
Table of Contents
Need help?
Do you have a question about the 3B Black Series and is the answer not in the manual?
Ask a question
Questions and answers
Related Manuals for NORDIC SEASON 3B Black Series
Grill NORDIC SEASON Hamilton 3.0 Instruction And User's Manual
3 burner gas bbq (24 pages)
Grill NORDIC SEASON Buffalo 3 Instruction And User's Manual
3 burner gas bbq (24 pages)
Grill NORDIC SEASON MEMPHIS KG201781 Owner's Manual
(13 pages)
Grill NORDIC SEASON CUSTER GG501799 Assembly, Use And Instruction Manual
(24 pages)
Grill nordic season SEATTLE Assembly, Use And Maintenance
(26 pages)
Grill NORDIC SEASON LANGFORD KG180047 Owner's Manual
18inch charcoal barbecue (9 pages)
Grill NORDIC SEASON Florida 4 Instruction And User's Manual
(26 pages)
Grill NORDIC SEASON Summer BBQ GG291715 Instruction And Use
(12 pages)
Grill NORDIC SEASON CANYON User Manual
(14 pages)
Grill NORDIC SEASON MANCHESTER Instruction & Assembly Manual
Electric bbq (12 pages)
Grill NORDIC SEASON CAMBELL Assembly, Use And Service Manual
(28 pages)
Grill NORDIC SEASON TORONTO 57 User Manual
Klotgrill (12 pages)
Grill NORDIC SEASON RISOR PG201900 User Manual
(8 pages)
Grill NORDIC SEASON Wortham CO207001 Use And Instruction Manual
(24 pages)
Grill NORDIC SEASON KEY WEST GG201973 Use And Instruction Manual
(26 pages)
Grill NORDIC SEASON Florida 3 Manual
Burner gas bbq (24 pages)
This manual is also suitable for:
Meteor
Gg501700
Table of Contents
Print
Rename the bookmark
Delete bookmark?
Delete from my manuals?
Login
Sign In
OR
Sign in with Facebook
Sign in with Google
Upload manual
Upload from disk
Upload from URL


Need help?
Do you have a question about the 3B Black Series and is the answer not in the manual?
Questions and answers